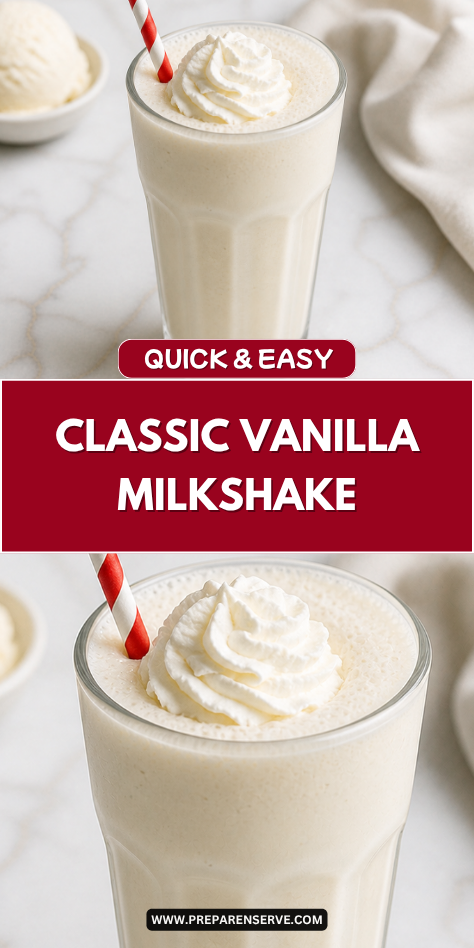
I make Classic Vanilla Milkshake when my family wants something cold, creamy, and simple that feels like a little treat at home. It only takes a few basic ingredients, but it has that smooth diner-style flavor that makes everyone slow down and enjoy it.
I love this milkshake because it is easy enough for a weeknight dessert, but still fun enough for birthdays, movie nights, or summer afternoons. The vanilla flavor is sweet and familiar, and the texture is thick without being hard to sip through a straw.
Why You’ll Love This Recipe
Classic Vanilla Milkshake is smooth, creamy, and made with ingredients you probably already know and trust. It has a clean vanilla flavor, a rich ice cream base, and just enough milk to blend into a thick, drinkable treat.
This recipe is also very easy to adjust. You can make it thicker, thinner, sweeter, lighter, or more dressed up with toppings, but the simple vanilla base stays comforting and familiar.
It is a great family recipe because it comes together in minutes and feels special without much effort. Kids love the creamy sweetness, and adults enjoy how simple and nostalgic it tastes.
Serves: 2 people
This recipe makes 2 medium milkshakes or 1 very large milkshake to share. The portions are just right for a dessert or afternoon treat, especially when served with whipped cream on top.
If you are making milkshakes for kids, you can divide the mixture into 3 smaller glasses. The recipe also doubles easily, but it is best to blend in batches so the shake stays thick and smooth.
Ingredients You’ll Need
- 3 cups vanilla ice cream
- 3/4 cup whole milk, cold
- 1 teaspoon vanilla extract
- 1 tablespoon granulated sugar, optional
- 1/8 teaspoon fine sea salt, optional
- Whipped cream, for topping
- Maraschino cherries, for topping
- Rainbow sprinkles, optional for topping
Pro Tips
Use good vanilla ice cream because it is the main flavor in the milkshake. A rich, creamy ice cream with real vanilla flavor will give you the best homemade result.
Start with less milk and add more only if needed. Too much milk can make the shake thin, so it is better to loosen it slowly until it reaches the texture you like.
Let the ice cream sit out for 3 to 5 minutes before blending if it is very hard. Slightly softened ice cream blends more smoothly without needing extra milk.
Add a little vanilla extract to make the flavor taste more homemade. Even a small amount can make the milkshake taste deeper and more like a classic soda fountain shake.
Use a pinch of salt if the shake tastes too sweet or flat. It does not make the milkshake salty, but it helps balance the sweetness and bring out the vanilla flavor.
Serve the milkshake right away after blending. It has the best thick, creamy texture when it is freshly made and still very cold.
Chill the glasses before serving if you want the milkshake to stay thick longer. A cold glass helps keep everything frosty, especially on warm days.
Tools You’ll Need
- Blender
- Ice cream scoop
- Measuring cups
- Measuring spoons
- Rubber spatula
- Two tall glasses
- Straws
- Long spoons
- Refrigerator or freezer, for chilling glasses if desired
Substitutions and Variations
Use a Different Milk
Swap whole milk for 2% milk, oat milk, almond milk, or coconut milk. Whole milk makes the creamiest shake, while lighter milk creates a thinner, less rich version.
Make It Dairy-Free
Use dairy-free vanilla ice cream and your favorite plant-based milk. Oat milk and coconut milk work especially well because they blend into a creamy texture.
Add a Flavor Twist
Blend in a little cinnamon, almond extract, maple syrup, or caramel sauce. These small add-ins keep the milkshake simple while giving the vanilla base a warm, sweet flavor.
Make It Thicker or Lighter
For a thicker shake, use more ice cream and less milk. For a lighter shake, use a little more milk or choose a lower-fat vanilla ice cream.
Dress It Up With Toppings
Top the milkshake with whipped cream, cherries, sprinkles, crushed cookies, or a drizzle of chocolate sauce. This makes it feel extra fun while keeping the classic vanilla flavor at the center.
Make Ahead Tips
Classic Vanilla Milkshake is best made fresh because the texture is thickest and creamiest right after blending. Ice cream melts quickly once it is mixed with milk, so I do not recommend fully blending the milkshake too far ahead.
You can still prep a few things early to make serving easier. Chill the glasses in the freezer for 10 to 15 minutes, set out the toppings, and measure the milk and vanilla extract before you start.
If you are making milkshakes for a family dessert night, scoop the ice cream into a freezer-safe bowl or tray ahead of time and keep it frozen. This makes blending faster, especially when kids are waiting nearby.
You can also make a thicker milkshake base and freeze it for a short time, but it will firm up like soft ice cream. Let it sit at room temperature for a few minutes, then stir or re-blend with a splash of milk before serving.
Instructions
Step 1: Chill the Glasses
Place 2 tall glasses in the freezer for 10 to 15 minutes before making the milkshake. This step is optional, but it helps keep the milkshake cold and thick a little longer.
Cold glasses are especially helpful on warm days. They also make the milkshake feel more like something from an old-fashioned diner.
Step 2: Soften the Ice Cream Slightly
Take the vanilla ice cream out of the freezer and let it sit at room temperature for 3 to 5 minutes. It should be scoopable but not melted.
Slightly softened ice cream blends more easily and keeps you from adding too much milk. This helps the milkshake stay creamy instead of thin.
Step 3: Add the Milk to the Blender
Pour the cold whole milk into the blender first. Starting with the liquid helps the blender blades move smoothly.
Use 3/4 cup milk for a classic thick but drinkable shake. If you like a very thick milkshake, start with 1/2 cup and add more only as needed.
Step 4: Add the Ice Cream
Scoop 3 cups of vanilla ice cream into the blender. Try to use generous scoops so the milkshake has a rich, creamy base.
If the ice cream is very hard, press it down gently with a spoon before blending. This helps it mix more evenly with the milk.
Step 5: Add the Flavorings
Add the vanilla extract to the blender. If you want a sweeter shake, add the granulated sugar as well.
Add the fine sea salt if using. A tiny pinch helps balance the sweetness and makes the vanilla flavor taste a little fuller.
Step 6: Blend Until Smooth
Blend the milkshake on low speed at first, then increase to medium just until smooth. This usually takes about 20 to 30 seconds.
Do not overblend the milkshake. Blending too long can warm the ice cream and make the shake thinner than you want.
Step 7: Check the Texture
Stop the blender and check the milkshake with a spoon. It should be smooth, creamy, and thick enough to coat the spoon, but still loose enough to pour.
If it is too thick, add milk 1 tablespoon at a time and blend briefly. If it is too thin, add another scoop of ice cream and blend again.
Step 8: Pour Into Glasses
Remove the chilled glasses from the freezer. Pour the milkshake evenly into the glasses, using a rubber spatula to scrape out the blender if needed.
Work quickly so the milkshake stays thick and cold. Fill each glass almost to the top if you plan to add whipped cream.
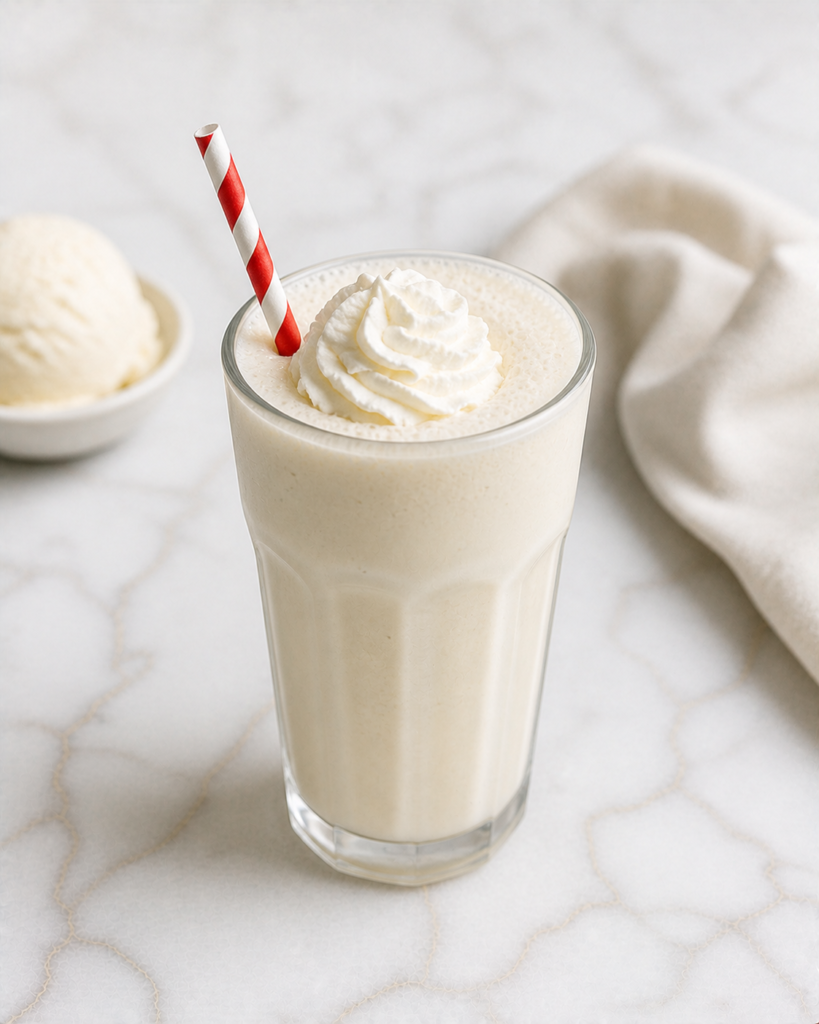
Step 9: Add the Toppings
Top each milkshake with whipped cream. Add a maraschino cherry and rainbow sprinkles if you like a classic, fun finish.
Keep the toppings simple or let everyone add their own. This makes it easy for kids to enjoy the milkshake the way they like it.
Step 10: Serve Right Away
Add straws and long spoons to each glass. Serve the milkshakes immediately while they are cold, creamy, and freshly blended.
If the milkshake sits for too long, it will melt and become thinner. A quick stir can help, but the best texture comes right after blending.
Serving Suggestions
Classic Vanilla Milkshake is perfect with simple family foods like burgers, grilled cheese, chicken tenders, or homemade fries. The sweet vanilla flavor feels extra comforting next to salty, crispy meals.
It also makes a fun dessert for pizza night. Serve smaller glasses after dinner so everyone gets something sweet without needing a baked dessert.
For birthdays or movie nights, set up a small topping bar with whipped cream, cherries, sprinkles, cookie crumbs, and chocolate sauce. Everyone can make their own glass feel special while starting with the same creamy vanilla base.
Serve the milkshake with cookies for an easy afternoon treat. Chocolate chip cookies, shortbread, sugar cookies, or sandwich cookies all taste good with the simple vanilla flavor.
For a summer snack, pair it with fresh strawberries or sliced bananas. The fruit keeps the treat feeling a little lighter and adds a fresh bite between sips.
You can also pour the milkshake into smaller cups for younger kids. This helps keep portions manageable and makes it easier to serve without too much melting.
Leftovers and Storage
Classic Vanilla Milkshake tastes best right after blending, so try to make only what you plan to drink. Once it sits, it melts and loses that thick, creamy texture that makes a milkshake so good.
If you do have leftovers, pour them into a freezer-safe container and freeze for up to 1 week. The texture will become firm, more like soft ice cream than a fresh milkshake.
To serve frozen leftovers, let the container sit at room temperature for 5 to 10 minutes. Stir well or re-blend with a small splash of milk until it becomes smooth again.
Avoid storing a milkshake in the refrigerator for more than a short time. It will stay cold, but it will become thin and separated as the ice cream melts.
Leftover milkshake can also be poured into popsicle molds. This turns extra shake into simple vanilla freezer pops that kids can enjoy later.
Nutrition and Benefits
- Vanilla ice cream gives this milkshake its creamy texture and rich flavor, making it a satisfying occasional treat.
- Whole milk helps create a smooth, drinkable consistency while adding calcium and protein.
- Making milkshakes at home lets you control the thickness, sweetness, and toppings.
- Vanilla extract adds flavor without needing extra mix-ins or artificial syrups.
- Serving smaller portions can make this treat easy to enjoy as part of a family dessert night.
Recipe FAQ
Can I make a milkshake without a blender?
Yes, you can make a milkshake without a blender if the ice cream is soft enough. Add the ice cream, milk, and vanilla extract to a large jar or bowl and mash everything together with a spoon or whisk. The texture may not be as smooth, but it will still taste creamy and sweet.
How do I make a thicker vanilla milkshake?
Use more ice cream and less milk for a thicker milkshake. Start with 1/2 cup milk instead of 3/4 cup, then add more only if the blender needs help. You can also chill the glass and avoid overblending so the shake stays thick.
Why is my milkshake too thin?
A milkshake usually turns thin when there is too much milk or when it has been blended too long. Add another scoop or two of ice cream and blend briefly to thicken it. Next time, start with less milk and add it slowly.
Can I use low-fat ice cream?
Yes, low-fat ice cream can work, but the milkshake may be less rich and creamy. It may also turn thinner faster because it has less fat. For the best classic texture, regular vanilla ice cream works best.
What kind of vanilla ice cream is best?
A creamy vanilla ice cream with a flavor your family already enjoys is the best choice. French vanilla gives a richer taste, while classic vanilla or vanilla bean gives a clean, simple flavor. Since the ice cream is the main ingredient, good flavor matters.
Can I make this dairy-free?
Yes, use dairy-free vanilla ice cream and a creamy plant-based milk. Oat milk, coconut milk, or cashew milk work well because they blend smoothly. Add the milk slowly so the shake does not become too thin.
Can I add mix-ins to this milkshake?
Yes, this vanilla milkshake is a great base for simple mix-ins. Try cookies, chocolate chips, strawberries, caramel sauce, peanut butter, or a little cinnamon. Add mix-ins after the base is mostly blended, then pulse just until combined.
A Creamy Vanilla Treat for Simple Sweet Moments
Classic Vanilla Milkshake is one of those easy homemade treats that always feels comforting and fun. With cold ice cream, a splash of milk, and a little vanilla, it turns into a smooth, creamy drink that works for family desserts, movie nights, and warm afternoons.
I love how dependable this milkshake is because it takes only a few minutes and still feels special. It is simple enough for everyday cravings, sweet enough for celebrations, and easy to make again whenever everyone wants something cold and familiar.