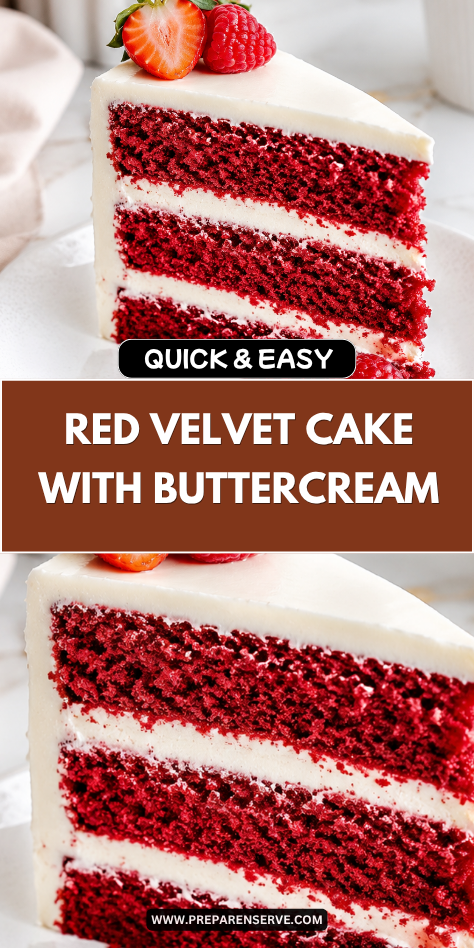
I make Red Velvet Cake with Ermine Buttercream when I want a dessert that feels classic, soft, and special without being too heavy. The cake has a tender crumb, a light cocoa flavor, and that beautiful red color that always makes it feel like a celebration.
I love this cake because the ermine buttercream is smooth, creamy, and not overly sweet. It gives the cake a soft, old-fashioned finish that feels comforting, homemade, and perfect for birthdays, holidays, family dinners, or any day that deserves a little extra care.
Why You’ll Love This Recipe
Red Velvet Cake with Ermine Buttercream has a soft, moist texture and a gentle flavor that is not quite chocolate and not quite vanilla. The buttermilk, vinegar, cocoa powder, and vanilla work together to create the classic red velvet taste.
The frosting is one of the best parts of this cake. Ermine buttercream is made with a cooked flour and milk base, then whipped with butter and sugar until light and silky.
This recipe feels special but still uses simple baking steps. It is a wonderful family cake because it slices beautifully, tastes balanced, and gives you dependable results when you follow the method carefully.
Serves: 12 people
This recipe serves 12 people with generous slices from a two-layer 9-inch cake. The cake is rich enough to feel like a true dessert, but the frosting keeps it lighter than many very sweet buttercreams.
For smaller servings, you can cut thinner slices and serve up to 14 people. This is helpful for parties, potlucks, or holiday tables where there may be other desserts available.
Ingredients You’ll Need
For the red velvet cake:
- 2 1/2 cups all-purpose flour
- 2 tablespoons unsweetened cocoa powder
- 1 teaspoon baking soda
- 1 teaspoon kosher salt
- 1 1/2 cups granulated sugar
- 1 cup vegetable oil
- 2 large eggs, room temperature
- 1 cup buttermilk, room temperature
- 2 teaspoons vanilla extract
- 1 teaspoon white vinegar
- 1 tablespoon red gel food coloring, or 2 tablespoons liquid red food coloring
- 1/2 cup hot water
For the ermine buttercream:
- 1/4 cup all-purpose flour
- 1 cup whole milk
- 1 cup granulated sugar
- 1 cup unsalted butter, softened
- 2 teaspoons vanilla extract
- 1/4 teaspoon kosher salt
For preparing the pans:
- 1 tablespoon unsalted butter or baking spray
- 2 tablespoons all-purpose flour, for dusting pans
- 2 parchment paper rounds
Pro Tips
Use room temperature eggs and buttermilk for a smoother cake batter. Cold ingredients can make the batter harder to mix evenly and may affect how the cake rises.
Measure the flour carefully so the cake stays soft. Spoon the flour into the measuring cup, then level it off with a knife instead of packing it down.
Use gel food coloring if you want a stronger red color without adding too much extra liquid. Liquid food coloring works too, but the color may be a little softer.
Do not skip the vinegar. It helps support the classic red velvet texture and works with the baking soda and buttermilk to make the cake tender.
Let the cooked flour mixture for the ermine buttercream cool completely before adding it to the butter. If it is warm, the butter can melt and the frosting may become loose.
Chill the cake layers before frosting if you have time. Cold layers are easier to stack, trim, and frost, especially for beginners.
Tools You’ll Need
- 2 9-inch round cake pans
- Parchment paper
- Large mixing bowl
- Medium mixing bowl
- Medium saucepan
- Whisk
- Hand mixer or stand mixer
- Rubber spatula
- Measuring cups
- Measuring spoons
- Cooling rack
- Offset spatula
- Cake turntable, optional
- Serrated knife, optional for leveling cake layers
- Toothpick or cake tester
- Fine-mesh sieve, optional for dry ingredients
Substitutions and Variations
Make It as Cupcakes
Divide the batter into lined muffin cups and fill each one about two-thirds full. Bake at 350°F for 18 to 22 minutes, or until a toothpick comes out clean.
Use a Different Frosting
Cream cheese frosting can be used if your family prefers a tangier, sweeter finish. The cake will still taste classic, but ermine buttercream gives it a lighter old-fashioned texture.
Make It Less Bright Red
Use less food coloring or skip it for a more natural cocoa-colored cake. The flavor will stay the same, but the cake will look more like a soft reddish-brown velvet cake.
Add a Decorative Finish
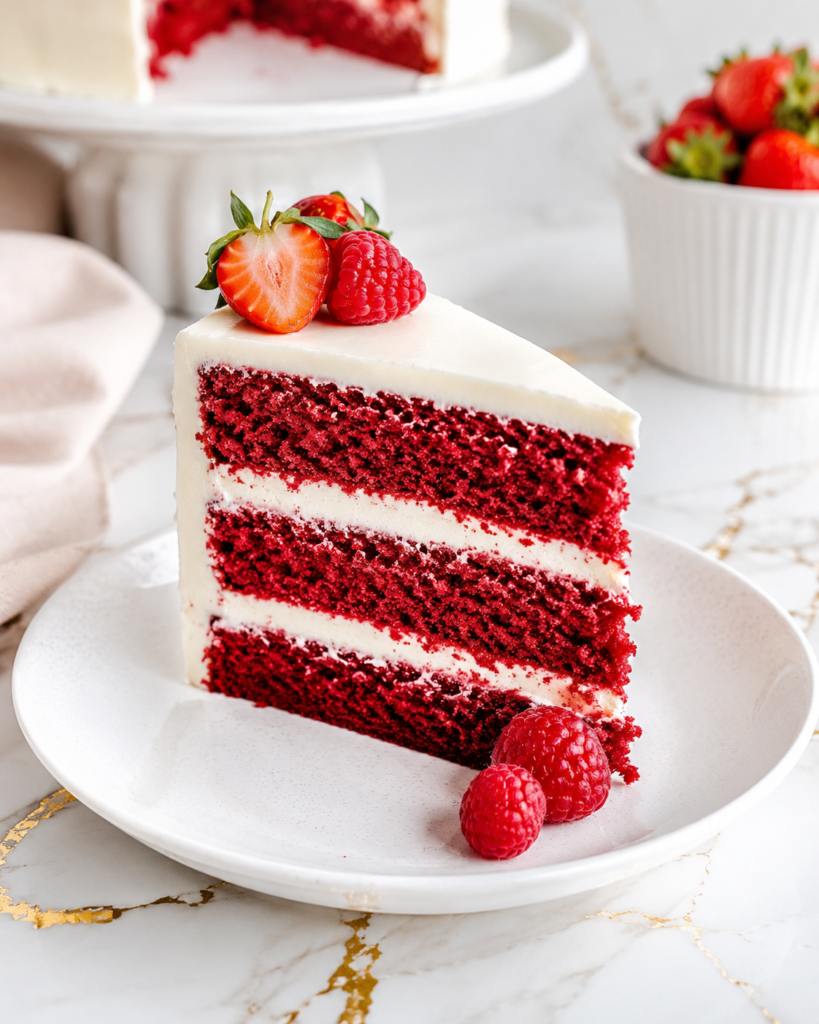
Top the cake with red velvet crumbs, white chocolate curls, sprinkles, or fresh berries. Keep the decorations simple so the soft cake and silky buttercream stay the focus.
Make It a Sheet Cake
Bake the batter in a greased 9×13-inch pan at 350°F for 30 to 38 minutes. This is a great option for potlucks, school events, or family gatherings because it is easy to slice and serve.
Make Ahead Tips
Red Velvet Cake with Ermine Buttercream is a great cake to make in stages because both the cake layers and frosting base can be prepared ahead. You can bake the cake layers 1 day in advance, let them cool completely, wrap them tightly, and store them at room temperature or in the refrigerator.
The cooked flour and milk base for the ermine buttercream can also be made ahead. Store it covered in the refrigerator for up to 2 days, then bring it to room temperature before whipping it into the butter.
If you want the easiest frosting experience, chill the cake layers for 30 to 60 minutes before assembling. Cold cake layers are firmer, easier to stack, and less likely to tear when you spread the buttercream.
You can fully frost the cake a day ahead and refrigerate it. Let it sit at room temperature for about 30 to 45 minutes before serving so the buttercream softens and the cake tastes tender.
Instructions
Step 1: Prepare the Cake Pans
Preheat the oven to 350°F. Grease two 9-inch round cake pans with butter or baking spray, dust them lightly with flour, and line the bottoms with parchment paper rounds.
This helps the cake layers release cleanly after baking. Smooth the parchment into the pans so the batter spreads evenly.
Step 2: Mix the Dry Ingredients
In a medium mixing bowl, whisk together the all-purpose flour, cocoa powder, baking soda, and kosher salt. Make sure the cocoa powder is evenly mixed through the flour.
This step helps prevent dry pockets in the batter. It also helps the baking soda spread evenly so both cake layers rise properly.
Step 3: Mix the Wet Ingredients
In a large mixing bowl, whisk together the granulated sugar and vegetable oil until smooth. Add the eggs one at a time, whisking well after each addition.
Stir in the buttermilk, vanilla extract, white vinegar, and red food coloring. The mixture should look smooth, glossy, and evenly red before the dry ingredients are added.
Step 4: Combine the Batter
Add the dry ingredients to the wet ingredients in two additions, mixing gently after each one. Stir just until the flour disappears and the batter looks mostly smooth.
Pour in the hot water and mix gently until combined. The batter will be thinner than some cake batters, but that helps create a soft, moist crumb.
Step 5: Bake the Cake Layers
Divide the batter evenly between the prepared cake pans. Tap the pans gently on the counter to release any large air bubbles.
Bake for 28 to 33 minutes, or until a toothpick inserted into the center comes out clean or with a few moist crumbs. Let the cakes cool in the pans for 10 to 15 minutes before turning them out onto a cooling rack.
Step 6: Cool the Cakes Completely
Let the cake layers cool completely before frosting. If the cakes are even slightly warm, the buttercream can soften too much and slide.
Once cool, you can wrap the layers and chill them if you want easier assembly. Level the tops with a serrated knife if they domed during baking.
Step 7: Make the Ermine Base
In a medium saucepan, whisk together the flour and milk until smooth. Place the pan over medium heat and cook, whisking constantly, until the mixture thickens into a pudding-like paste.
This usually takes 5 to 7 minutes. Remove it from the heat and let it cool completely before using it in the buttercream.
Step 8: Beat the Butter and Sugar
In a large bowl, beat the softened butter and granulated sugar with a hand mixer or stand mixer for 4 to 5 minutes. The mixture should look lighter in color and fluffy.
This step helps dissolve the sugar and gives ermine buttercream its soft texture. Scrape down the sides of the bowl as needed.
Step 9: Finish the Buttercream
Add the cooled flour mixture to the whipped butter mixture a spoonful at a time, beating well after each addition. Once all of it is added, beat in the vanilla extract and kosher salt.
Continue beating for 2 to 3 minutes, until the frosting looks smooth, creamy, and spreadable. If it looks loose, chill it briefly, then beat again.
Step 10: Assemble and Frost the Cake
Place one cake layer on a cake plate or turntable. Spread a generous layer of ermine buttercream over the top, then place the second cake layer over it.
Spread a thin crumb coat over the whole cake and chill for 15 to 20 minutes. Add the remaining buttercream in an even layer, smoothing the top and sides with an offset spatula.
Serving Suggestions
Red Velvet Cake with Ermine Buttercream is lovely served as a birthday cake, holiday dessert, or Sunday dinner treat. Its soft crumb and silky frosting make it feel special without needing fancy decorations.
Serve each slice with a glass of cold milk, hot coffee, or black tea. The gentle cocoa flavor and creamy frosting pair well with simple drinks.
For a pretty dessert plate, add fresh strawberries, raspberries, or a few chocolate curls beside each slice. The fruit brings a fresh flavor that balances the richness of the cake.
If serving at a party, chill the cake until the frosting is firm, then slice with a clean sharp knife. Wipe the knife between cuts for neat slices.
For kids, serve smaller slices because the cake is rich enough to feel satisfying. A little scoop of vanilla ice cream also makes it feel extra fun.
This cake also works well on a dessert table with cookies, brownies, or fruit. Its red color makes it a natural centerpiece for celebrations.
Leftovers and Storage
Leftover Red Velvet Cake with Ermine Buttercream should be stored covered in the refrigerator for up to 4 days. Because the frosting contains a cooked milk base and butter, refrigeration is the safest choice.
For the best texture, let slices sit at room temperature for 20 to 30 minutes before serving. This gives the buttercream time to soften and makes the cake taste more tender.
You can store individual slices in airtight containers if you want easy desserts for later. Place parchment paper between slices if stacking to protect the frosting.
The cake layers can be frozen before frosting. Wrap cooled layers tightly in plastic wrap and foil, then freeze for up to 2 months.
A fully frosted cake can also be frozen, but the texture is best when freezing slices. Thaw frozen cake in the refrigerator overnight, then bring it closer to room temperature before serving.
Nutrition and Benefits
- Buttermilk helps create a tender crumb. It gives red velvet cake its soft texture and gentle tang. It also works with the baking soda to help the cake rise.
- Cocoa adds mild chocolate flavor. Red velvet is not meant to taste like a full chocolate cake. A small amount of cocoa gives it depth while keeping the flavor soft and balanced.
- Ermine buttercream is less sweet than many frostings. The cooked flour and milk base creates a silky texture. It tastes creamy and smooth without being as sugary as some buttercreams.
- Homemade cake gives better control. Making the cake from scratch lets you choose the color, sweetness, and frosting style. It also gives the cake a fresh, classic flavor.
- This cake is made for sharing. A two-layer cake gives enough slices for family meals, birthdays, or gatherings. It is rich, pretty, and dependable for special occasions.
Recipe FAQ
Can I make Red Velvet Cake with Ermine Buttercream ahead of time?
Yes, this cake works well as a make-ahead dessert. Bake the cake layers a day ahead and wrap them tightly once cooled. You can also make the cooked ermine base ahead and refrigerate it. Frost the cake the next day for the freshest look and texture.
What does ermine buttercream taste like?
Ermine buttercream tastes creamy, light, and less sweet than traditional American buttercream. It has a soft vanilla flavor and a smooth texture from the cooked milk and flour base. It pairs beautifully with red velvet cake because it does not overpower the mild cocoa flavor. Many people love it for its old-fashioned taste.
Can I use cream cheese frosting instead?
Yes, cream cheese frosting can be used if your family prefers it. It will give the cake a tangier and sweeter finish. Ermine buttercream is more traditional in many older red velvet recipes. Both frostings work well, so choose the one your family enjoys most.
Why is my red velvet cake dry?
Dry cake often comes from overbaking or using too much flour. Measure the flour carefully and check the cake a few minutes before the timer ends. The cake is done when a toothpick comes out clean or with a few moist crumbs. Letting the cake cool properly also helps protect the texture.
Do I have to use red food coloring?
No, you can reduce or skip the food coloring. The cake will taste the same, but the color will be more reddish-brown or cocoa-toned. Gel food coloring gives a stronger red color with less liquid. Natural food coloring may give a softer shade.
Why did my ermine buttercream look curdled?
Ermine buttercream can look curdled if the butter or flour base is too cold or too warm. Keep beating, because it often comes together after a few minutes. If it is too soft, chill it briefly and whip again. If it is too firm, let it sit at room temperature and beat again.
Can I make this cake as cupcakes?
Yes, this batter works well for cupcakes. Fill lined muffin cups about two-thirds full and bake at 350°F for 18 to 22 minutes. Let them cool fully before frosting with ermine buttercream. This is a great option for parties, school events, or easier serving.
A Classic Red Velvet Cake to Share
Red Velvet Cake with Ermine Buttercream is soft, beautiful, and comforting in a way that feels made for special moments.
The tender cake, gentle cocoa flavor, and silky frosting come together with a classic homemade taste that never feels too heavy.
It is worth making again because it slices well, serves a crowd, and brings a warm sense of celebration to the table.
With simple steps and dependable results, this cake is a sweet family favorite that feels timeless.