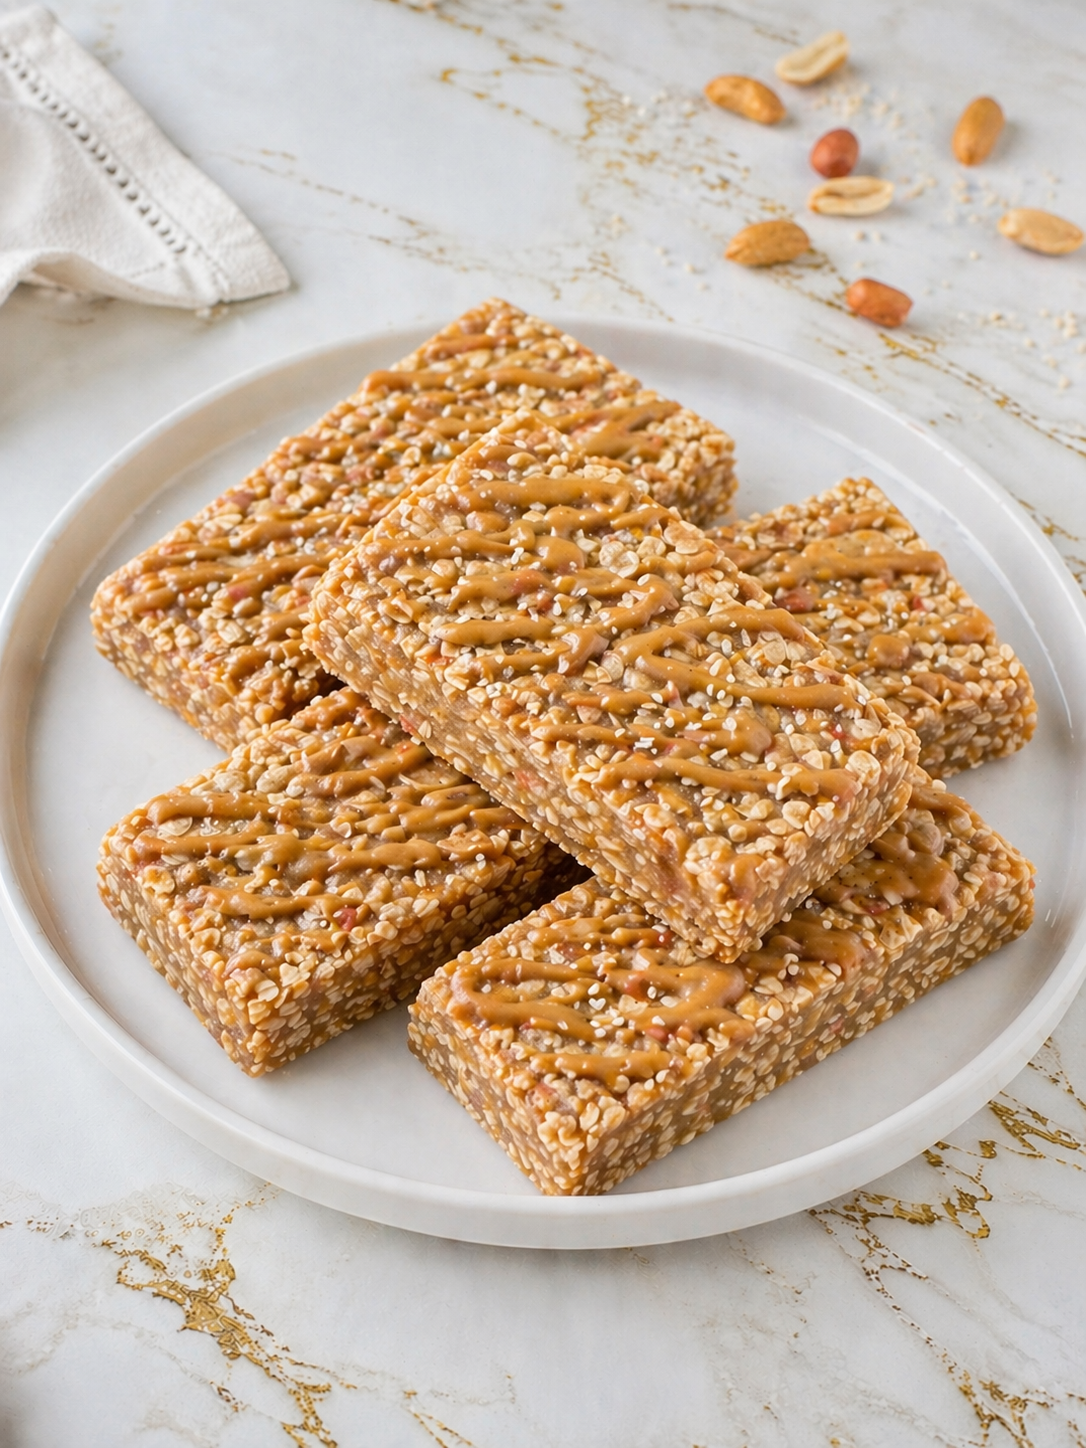
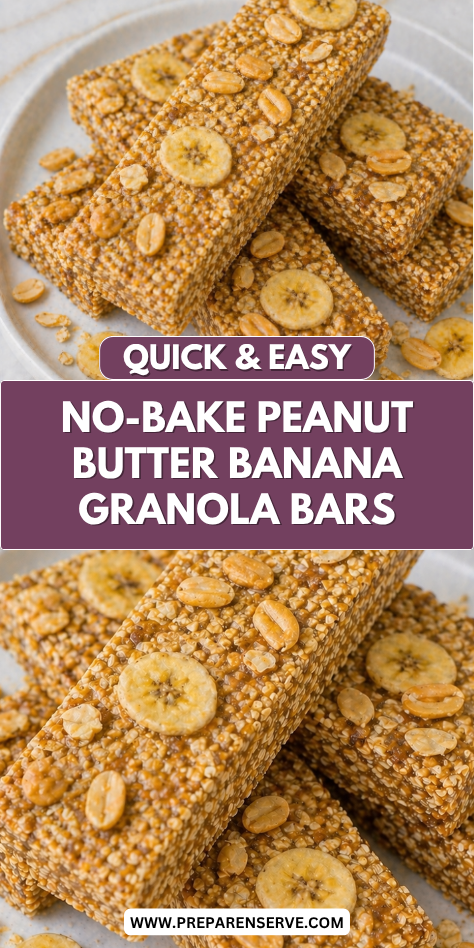
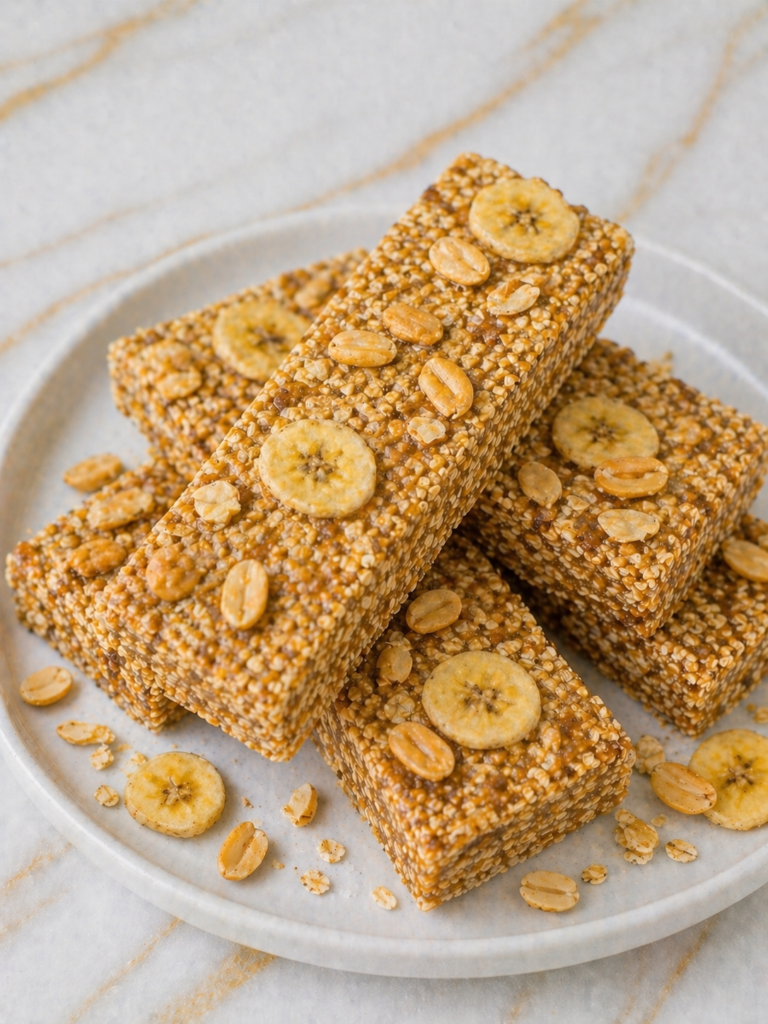
I keep a batch of these No-Bake Peanut Butter Banana Granola Bars in my fridge whenever life feels busy and snack time comes fast. They are simple to make, easy to slice, and always disappear quicker than I expect.
I love that they use everyday pantry staples and ripe bananas that need a purpose. The bars turn out soft, chewy, and satisfying, which makes them a dependable favorite in my home.
Why You’ll Love This Recipe
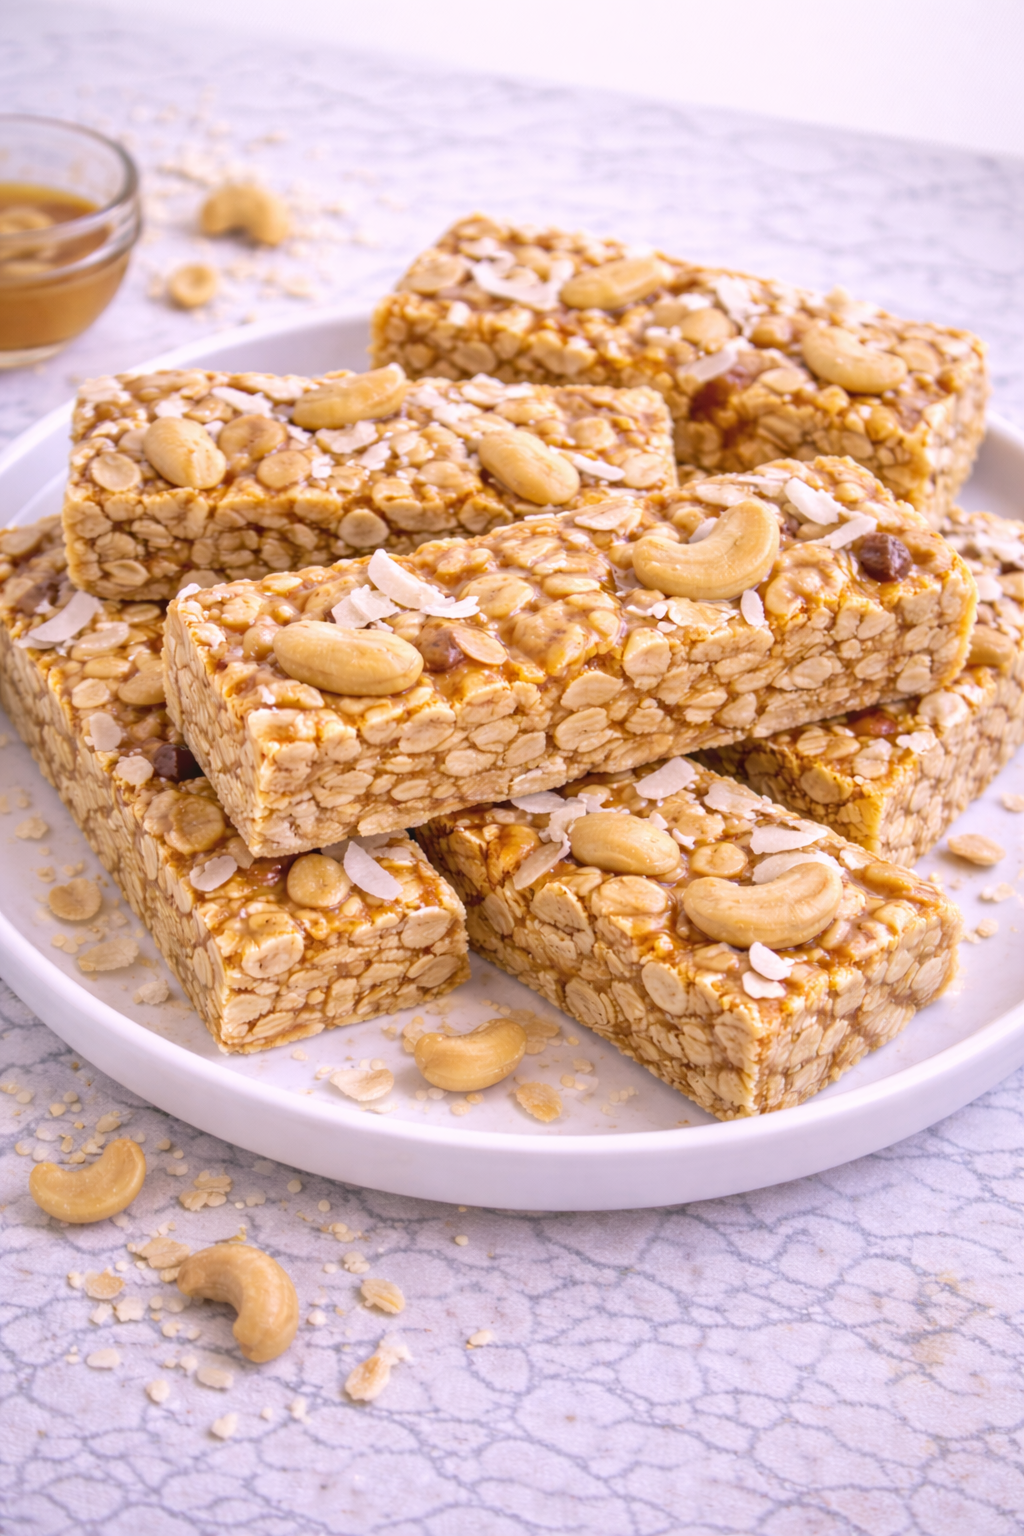
These bars bring together creamy peanut butter, sweet banana, and hearty oats in the best way. Every bite feels wholesome and filling, with just enough sweetness to feel like a treat.
There is no oven to heat, no complicated steps, and very little cleanup. You only need one bowl, a spoon, and a pan, which makes this recipe especially helpful on warm days or busy afternoons.
They are also easy to customize for different tastes and needs. You can add chocolate chips, seeds, dried fruit, or extra crunch, so everyone in the family gets something they enjoy.
Serves: 8 people
This recipe makes 8 generous bars or 10 smaller snack squares, depending on how you cut them. It is easy to double for meal prep, lunchboxes, or sharing with family during the week.
Ingredients You’ll Need
- 2 large ripe bananas, mashed well
- 3/4 cup creamy peanut butter
- 1/4 cup honey
- 1 teaspoon vanilla extract
- 2 1/2 cups old-fashioned rolled oats
- 1/2 teaspoon ground cinnamon
- 1/4 teaspoon fine salt
- 1/3 cup mini chocolate chips
- 1/4 cup chopped roasted peanuts
- 2 tablespoons ground flaxseed
- 1 tablespoon chia seeds
Optional Add-Ins
- 1/4 cup raisins
- 1/4 cup shredded coconut
- 2 tablespoons sunflower seeds
- Extra banana slices for topping before chilling
Pro Tips
- Use very ripe bananas with brown spots for the best sweetness and easiest mixing. Firmer yellow bananas can make the bars less flavorful and a little dry.
- Stir the peanut butter well before measuring, especially if it is natural peanut butter. This helps the mixture bind evenly and prevents oily spots.
- Line your pan with parchment paper and leave extra paper hanging over the sides. It makes lifting and slicing the chilled bars much easier.
- Press the mixture firmly into the pan using the back of a spoon or clean hands. Tight packing helps the bars hold together after chilling.
- Add chocolate chips after the mixture has cooled slightly from stirring. If the banana mixture is too warm, the chips may melt too much.
- Chill the bars long enough before slicing. A full 2 hours in the refrigerator gives the cleanest cuts and best texture.
Tools You’ll Need
- Medium mixing bowl
- Fork or potato masher
- Measuring cups and spoons
- Rubber spatula or wooden spoon
- 8×8-inch square pan or loaf pan
- Parchment paper
- Sharp knife
- Refrigerator space for chilling
Substitutions and Variations
Make It Nut-Free
Use sunflower seed butter instead of peanut butter. It gives a similar creamy texture and works well for school-friendly snacks.
Use a Different Sweetener
Maple syrup can replace the honey in equal amount. It adds a warm flavor and keeps the bars nicely soft.
Add More Crunch
Stir in chopped almonds, pumpkin seeds, or toasted coconut. These simple additions give the bars more texture in every bite.
Make It Heartier
Mix in 1/4 cup protein powder or extra flaxseed with a splash of milk if needed. This makes the bars more filling for breakfast or after-school snacks.
Lighten the Sweetness
Skip the chocolate chips and use unsweetened dried fruit instead. The banana still adds natural sweetness while keeping the bars satisfying.
Make Ahead Tips
These No-Bake Peanut Butter Banana Granola Bars are a great choice for planning ahead because they store well and stay tasty for days. I like to make a batch in the evening, chill them overnight, and have breakfast or snacks ready the next morning.
You can fully prepare the bars, press them into the pan, and refrigerate until firm before slicing. Once cut, place parchment paper between layers so they do not stick together in the container.
For longer storage, wrap individual bars and freeze them in a freezer-safe bag. This makes it easy to grab one at a time for lunchboxes, busy mornings, or quick snacks after activities.
If you know you will be serving them later in the week, wait to add toppings like extra banana slices until the day you plan to serve them. Fresh toppings look better and keep the bars from becoming too moist.
Instructions
Step 1: Prepare the Pan
Line an 8×8-inch square pan with parchment paper, leaving extra paper hanging over two sides. This helps you lift the bars out easily once chilled.
Step 2: Mash the Bananas
Place the ripe bananas in a medium mixing bowl and mash them with a fork until mostly smooth. A few small lumps are fine and add natural texture.
Step 3: Mix the Wet Ingredients
Add the peanut butter, honey, and vanilla extract to the mashed bananas. Stir until the mixture looks smooth, creamy, and evenly combined.
Step 4: Add the Dry Ingredients
Stir in the rolled oats, cinnamon, salt, flaxseed, and chia seeds. Mix until all of the oats are coated and the mixture looks thick and sticky.
Step 5: Fold in Extras
Gently fold in the mini chocolate chips and chopped peanuts. If the mixture feels warm, let it sit for a minute first so the chocolate chips keep their shape.
Step 6: Press into the Pan
Transfer the mixture to the prepared pan and spread it evenly. Press down firmly with the back of a spoon or clean hands so the bars hold together well after chilling.
Step 7: Chill Until Firm
Place the pan in the refrigerator for at least 2 hours, or until the mixture feels firm to the touch. For extra clean slices, chill a little longer.
Step 8: Slice and Serve
Use the parchment paper to lift the chilled slab from the pan. Cut into 8 bars or 10 smaller squares with a sharp knife, then serve cold or at room temperature.
Serving Suggestions
Serve these bars with a glass of milk or a warm mug of coffee for a quick breakfast that feels balanced and satisfying. They also pair nicely with yogurt and fresh berries on the side.
I often tuck one into lunchboxes with apple slices or grapes for an easy midday snack. They travel well and hold up nicely when packed in a container.
For after-school snacks, serve the bars with smoothies or cheese cubes. This adds extra protein and helps keep hungry kids full until dinner.
They also work well on road trips, picnic days, or busy weekends when meals feel rushed. Keeping a few chilled bars ready makes snack time much easier.
For a simple dessert, drizzle the top with a little melted chocolate before serving. It turns a wholesome snack into something that feels special.
Leftovers and Storage
Store leftover bars in an airtight container in the refrigerator for up to 6 days. I like to place parchment paper between layers so they stay neat and easy to grab.
These bars taste best chilled, but they can sit at room temperature for a short time if you are packing them for the day. If your kitchen is warm, keep them cool so they stay firm.
To freeze, wrap each bar individually in parchment paper or plastic wrap, then place them in a freezer-safe bag or container. They keep well for up to 2 months without losing texture.
When ready to eat, thaw a bar in the refrigerator overnight or let it sit at room temperature for about 20 minutes. They soften quickly and are ready whenever you need a snack.
Nutrition and Benefits
- Rolled oats provide fiber that can help keep you full longer and support steady energy through the day. They also add a hearty texture that makes these bars satisfying.
- Bananas bring natural sweetness, potassium, and moisture to the recipe. They help reduce the need for extra sweeteners while adding flavor.
- Peanut butter adds protein and healthy fats, which can make snacks feel more balanced and filling. It also gives the bars their rich, creamy taste.
- Flaxseed and chia seeds offer fiber, healthy fats, and a small boost of nutrients in an easy way. They blend right into the mixture without changing the flavor much.
- Because these bars are homemade, you control the ingredients and sweetness level. That can be especially helpful for families looking for simple snack options.
Recipe FAQ
Can I use quick oats instead of rolled oats?
Yes, quick oats can be used if that is what you have on hand. The texture will be softer and a little less chewy, but the bars will still hold together well.
Can I make these bars without honey?
Yes, maple syrup works well as a direct swap for honey. The bars may be slightly softer, but they will still chill nicely.
What if my bars seem too soft?
If the mixture feels soft, add a few more tablespoons of oats and chill longer. Bananas can vary in size and moisture, so small adjustments are normal.
Can I use crunchy peanut butter?
Absolutely. Crunchy peanut butter adds extra texture and little peanut pieces throughout the bars. Many families enjoy that added crunch.
Are these bars good for lunchboxes?
Yes, they are great for lunchboxes when packed in a sealed container. If the day is very warm, use an ice pack to help keep them firm.
Can I leave out the seeds?
Yes, the flaxseed and chia seeds are optional. You can replace them with more oats or simply leave them out.
How do I keep the bars from falling apart?
Press the mixture firmly into the pan and chill until fully set before slicing. Cutting with a sharp knife also helps make cleaner bars that stay together.
Conclusion
These No-Bake Peanut Butter Banana Granola Bars are easy to make, simple to store, and always helpful on busy days. They bring together wholesome ingredients in a snack the whole family can enjoy.
With soft texture, dependable results, and plenty of ways to customize, they are the kind of recipe worth keeping close. A chilled batch in the fridge makes everyday routines feel a little easier and more comforting.