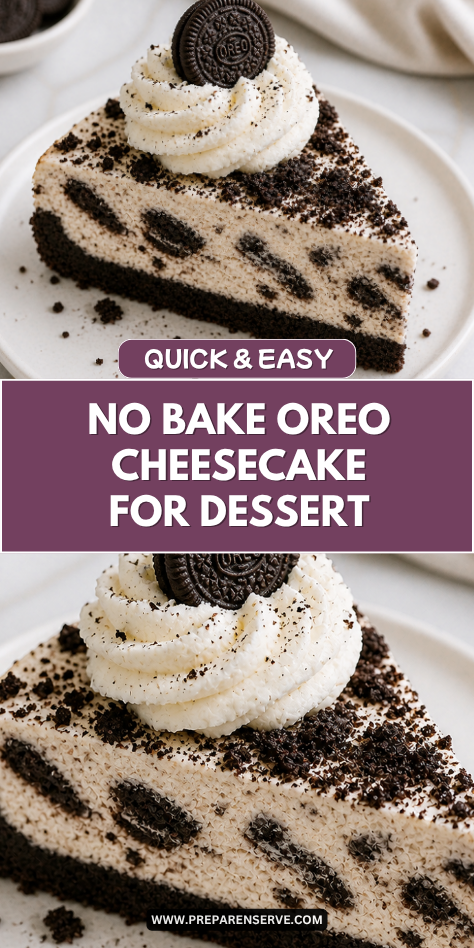
I make No-Bake Oreo Cheesecake when I want a dessert that feels creamy, chocolatey, and fun without turning on the oven. The cookie crust is rich and crunchy, the filling is smooth and fluffy, and the Oreo pieces give every slice that cookies-and-cream flavor my family always enjoys.
I like this recipe because it is simple enough for a weekend treat but special enough for birthdays, potlucks, and family gatherings. It chills in the fridge until firm, which makes it a helpful make-ahead dessert when I want something sweet ready before dinner even starts.
Why You’ll Love This Recipe
No-Bake Oreo Cheesecake is cool, creamy, and full of cookies-and-cream flavor. The Oreo crust gives the dessert a firm chocolate base, while the cream cheese filling stays light, smooth, and rich.
This recipe is great for beginner bakers because there is no oven, no water bath, and no worrying about cracks. You mix, fold, spread, and chill, which makes the process easy to follow and hard to overcomplicate.
It is also a family-friendly dessert that works for many occasions. Kids love the cookie pieces, adults enjoy the creamy cheesecake texture, and everyone can add whipped cream, extra Oreos, or chocolate drizzle on top.
Serves: 12 people
This recipe serves about 12 people with generous slices from a 9-inch springform pan. Since the cheesecake is rich and creamy, smaller slices still feel satisfying, especially after a full meal.
If you are serving this at a party, you can cut thinner slices and add extra whipped cream or crushed Oreos on each plate. For a casual family dessert, leftovers keep well in the fridge and make a sweet treat for the next few days.
Ingredients You’ll Need
For the Oreo Crust
- 30 Oreo cookies
- 6 tablespoons unsalted butter, melted
- 1/8 teaspoon fine salt
For the Cheesecake Filling
- 3 packages cream cheese, 8 ounces each, softened to room temperature
- 1 cup powdered sugar
- 1/4 cup granulated sugar
- 2 teaspoons vanilla extract
- 1/8 teaspoon fine salt
- 1 1/2 cups heavy whipping cream, cold
- 18 Oreo cookies, roughly chopped
For Topping
- 1 cup whipped cream
- 8 Oreo cookies, halved or crushed
- 2 tablespoons chocolate sauce, optional for drizzling
Pro Tips
Use softened cream cheese. Room temperature cream cheese blends into a smooth filling without lumps. If the cream cheese is too cold, the filling may look bumpy even after mixing.
Keep the heavy cream cold. Cold cream whips better and holds its shape more easily. This helps the no-bake cheesecake filling set up light and fluffy.
Pack the crust firmly. Press the Oreo crumb mixture tightly into the bottom of the pan with a measuring cup or glass. A well-packed crust holds together better when the cheesecake is sliced.
Fold the whipped cream gently. After whipping the cream, fold it into the cream cheese mixture with slow, careful strokes. This keeps air in the filling and gives the cheesecake a lighter texture.
Chop the Oreos into mixed sizes. Some small crumbs and some bigger chunks make the filling taste better. The crumbs flavor the cheesecake, while the larger pieces give each slice a nice cookie bite.
Chill long enough before slicing. The cheesecake needs at least 6 hours in the refrigerator, but overnight is best. A long chill helps the filling firm up and makes the slices cleaner.
Tools You’ll Need
- 9-inch springform pan
- Food processor or zip-top bag and rolling pin
- Large mixing bowl
- Medium mixing bowl
- Electric hand mixer or stand mixer
- Rubber spatula
- Measuring cups
- Measuring spoons
- Offset spatula or butter knife
- Sharp knife
- Cutting board
- Plastic wrap
- Serving plate or cake stand
Substitutions and Variations
Use a Different Cookie Crust
Swap the Oreo cookies for chocolate graham crackers, vanilla wafers, or Golden Oreos. Keep the melted butter amount close to the same so the crust presses together and slices neatly.
Make It Extra Chocolatey
Add 1/2 cup mini chocolate chips to the filling or drizzle chocolate sauce between the filling and topping. This gives the cheesecake more chocolate flavor while keeping the Oreo base easy to recognize.
Try Golden Oreos
Use Golden Oreos in the crust, filling, and topping for a vanilla cookies-and-cream version. The cheesecake will taste lighter and sweeter, but it will still have the same creamy no-bake texture.
Add a Mint Twist
Use mint Oreos or add 1/4 teaspoon peppermint extract to the filling. Keep the mint light so it does not overpower the cream cheese and cookie flavor.
Make It Party-Ready
Top the chilled cheesecake with whipped cream swirls, extra Oreo halves, sprinkles, or a chocolate drizzle. These simple decorations make it feel special for birthdays, holidays, or family celebrations.
Make Ahead Tips
No-Bake Oreo Cheesecake is a great dessert to make ahead because it needs several hours to chill before slicing. I like to make it the night before serving so the filling has plenty of time to firm up. This also makes the day of serving feel easier, especially for birthdays, holidays, or family dinners.
You can prepare the Oreo crust 1 day ahead and keep it covered in the refrigerator. The filling can also be made and spread into the crust the day before, then covered tightly and chilled overnight. Wait to add whipped cream, extra Oreos, and chocolate sauce until closer to serving so the topping looks fresh.
If you are bringing this cheesecake to a gathering, keep it cold until you leave and transport it in a cooler if needed. No-bake cheesecake softens when it sits in a warm room. For the cleanest slices, keep it refrigerated until just before serving.
Instructions
Step 1: Prepare the Springform Pan
Lightly grease a 9-inch springform pan or line the bottom with parchment paper. This helps the crust release more easily when it is time to slice and serve.
Set the pan aside while you make the Oreo crust. A springform pan works best because the sides can be removed cleanly after the cheesecake chills.
Step 2: Make the Oreo Crumbs
Place 30 Oreo cookies in a food processor and pulse until they become fine crumbs. If you do not have a food processor, place the cookies in a zip-top bag and crush them with a rolling pin.
Try to crush the cookies finely so the crust presses together well. A few small pieces are fine, but large chunks can make the crust crumbly.
Step 3: Mix the Crust
Pour the Oreo crumbs into a medium mixing bowl. Add 6 tablespoons melted unsalted butter and 1/8 teaspoon fine salt.
Stir until the crumbs are evenly moistened and look like damp sand. The mixture should hold together when pressed between your fingers.
Step 4: Press and Chill the Crust
Add the crumb mixture to the prepared springform pan. Press it firmly and evenly into the bottom of the pan using the bottom of a measuring cup or glass.
Place the crust in the refrigerator while you make the filling. Chilling helps the butter firm up so the crust can hold its shape.
Step 5: Beat the Cream Cheese
In a large mixing bowl, beat 3 softened 8-ounce packages of cream cheese until smooth and creamy. Scrape down the sides of the bowl so no thick pieces stay hidden.
Add 1 cup powdered sugar, 1/4 cup granulated sugar, 2 teaspoons vanilla extract, and 1/8 teaspoon fine salt. Beat again until the mixture is smooth, fluffy, and evenly combined.
Step 6: Whip the Cream
In a separate mixing bowl, beat 1 1/2 cups cold heavy whipping cream until stiff peaks form. The cream should hold its shape when the beaters are lifted.
Do not overbeat the cream, or it can turn grainy. Stop as soon as it looks thick, smooth, and sturdy.
Step 7: Fold the Filling Together
Add the whipped cream to the cream cheese mixture. Fold gently with a rubber spatula until the filling looks smooth and no white streaks remain.
Use slow, sweeping motions so the whipped cream keeps its air. This helps the cheesecake stay light while still firming up in the refrigerator.
Step 8: Add the Oreos
Fold 18 roughly chopped Oreo cookies into the cheesecake filling. Stir just enough to spread the cookie pieces evenly throughout.
Some cookie crumbs will blend into the filling and give it a cookies-and-cream look. Larger pieces will give each slice a nice Oreo bite.
Step 9: Fill the Crust
Spoon the Oreo cheesecake filling over the chilled crust. Spread it into an even layer with an offset spatula or butter knife.
Smooth the top as much as you like. It does not need to be perfect because whipped cream, Oreos, and chocolate sauce can cover the top later.
Step 10: Chill Until Firm
Cover the pan with plastic wrap and refrigerate the cheesecake for at least 6 hours. Overnight chilling gives the firmest texture and cleanest slices.
Do not rush this step. The filling needs enough time to set so it can hold its shape when the springform pan is removed.
Step 11: Decorate the Cheesecake
Once the cheesecake is firm, remove the springform ring carefully. Spread or pipe 1 cup whipped cream over the top.
Add 8 halved or crushed Oreo cookies. Drizzle with 2 tablespoons chocolate sauce if you want a sweeter, more finished look.
Step 12: Slice and Serve
Use a sharp knife to cut the cheesecake into slices. Wipe the knife clean between cuts for neater pieces.
Serve the cheesecake cold. Keep any extra slices refrigerated so the filling stays firm and creamy.
Serving Suggestions
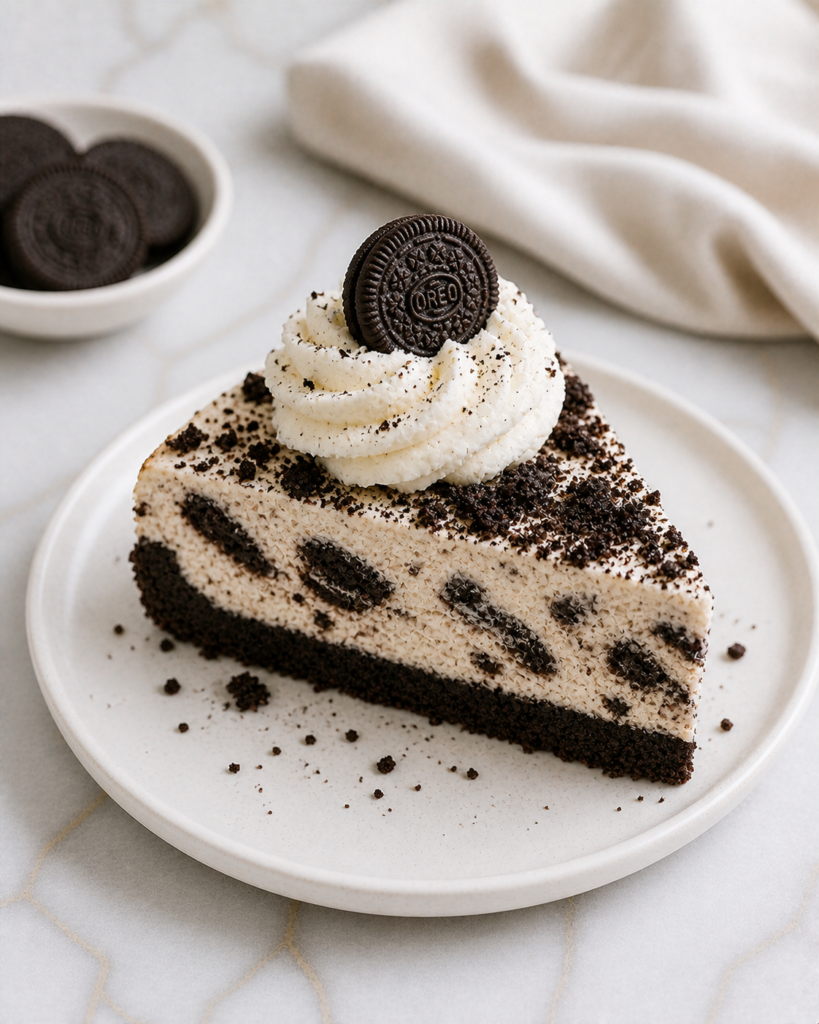
No-Bake Oreo Cheesecake is delicious served cold straight from the refrigerator. The chilled filling, crunchy crust, and cookie pieces give each slice a creamy, sweet, and satisfying texture.
For birthdays, serve it with whipped cream swirls and extra Oreo halves on top. A little chocolate drizzle also makes the cheesecake look special without needing much decorating skill.
This cheesecake pairs nicely with fresh strawberries or raspberries. The fruit adds a bright, fresh bite that balances the rich cookies-and-cream filling.
For a fun dessert table, serve small slices with brownies, vanilla cupcakes, or chocolate chip cookies. The Oreo flavor fits well with other classic treats and makes the table feel family-friendly.
You can also make each slice feel like a sundae. Add a small scoop of vanilla ice cream, chocolate sauce, and a few crushed Oreos on the side.
For a simple after-dinner dessert, serve it with coffee, tea, or cold milk. The creamy filling and chocolate cookie crust taste especially good with a plain drink beside it.
Leftovers and Storage
Store leftover No-Bake Oreo Cheesecake covered in the refrigerator for up to 5 days. Keep it in the springform pan covered with plastic wrap, or move slices to an airtight container. The crust may soften slightly over time, but the flavor will still be delicious.
For the best texture, keep the cheesecake cold until serving. If it sits out too long, the filling can soften and lose its clean shape. Return leftovers to the refrigerator as soon as everyone has been served.
You can freeze this cheesecake for up to 2 months. Wrap the whole cheesecake or individual slices tightly in plastic wrap and foil, then freeze. Thaw overnight in the refrigerator before serving, and add fresh whipped cream or extra Oreos after thawing if needed.
Nutrition and Benefits
- No oven needed: This cheesecake is helpful when you want dessert without baking. It is especially nice for warm days, busy holidays, or kitchens where the oven is already being used.
- Make-ahead friendly: The cheesecake needs time to chill, so it is easy to prepare before a party or family dinner. This gives you one less thing to finish at the last minute.
- Family-friendly flavor: Oreo cookies and cream cheese create a sweet, familiar dessert that kids and adults both enjoy. The flavor is fun, simple, and easy to serve for many occasions.
- Easy to decorate: Whipped cream, crushed Oreos, and chocolate sauce make the cheesecake look finished with very little effort. You can keep it simple or dress it up for celebrations.
- Rich and satisfying: Because the filling is creamy and the crust is chocolatey, a small slice feels like enough. This makes it easy to serve a crowd from one cheesecake.
Recipe FAQ
Can I make No-Bake Oreo Cheesecake ahead of time?
Yes, this cheesecake is best made ahead because it needs time to chill and set. You can make it the night before serving and keep it covered in the refrigerator. Add the toppings close to serving time for the freshest look.
Why is my no-bake cheesecake too soft?
The cheesecake may not have chilled long enough, or the whipped cream may not have been beaten to stiff peaks. Make sure the cream cheese is mixed smoothly and the filling chills for at least 6 hours. Overnight chilling gives the firmest texture.
Can I use Cool Whip instead of whipped cream?
Yes, you can use whipped topping instead of homemade whipped cream. Use about 3 cups of thawed whipped topping in place of the whipped heavy cream. Fold it in gently so the filling stays light.
Do I need to remove the cream from the Oreos for the crust?
No, you can use the whole Oreo cookie, including the cream filling. The cream helps bind the crumbs with the melted butter. It also gives the crust a richer cookies-and-cream flavor.
Can I make this cheesecake without a springform pan?
Yes, you can make it in a deep 9-inch pie dish or a square baking dish. The slices may not look as tall or neat, but the flavor will be the same. A springform pan is best for a classic cheesecake shape.
Can I freeze No-Bake Oreo Cheesecake?
Yes, this cheesecake freezes well. Wrap it tightly and freeze it for up to 2 months. Thaw it overnight in the refrigerator before serving so the filling becomes creamy again.
How do I get clean slices?
Use a sharp knife and wipe it clean between each cut. Chilling the cheesecake overnight also helps the filling become firm enough to slice neatly. For extra clean slices, dip the knife in warm water and dry it before cutting.
A Creamy Oreo Dessert to Share Again
No-Bake Oreo Cheesecake is cool, creamy, and easy to make when you want a dessert that feels special without baking. The chocolate cookie crust, fluffy cheesecake filling, and crunchy Oreo pieces make every slice rich, fun, and comforting.
I like this recipe for birthdays, potlucks, family dinners, and warm days when the oven can stay off. It sets beautifully with enough chill time, stores well, and brings a dependable cookies-and-cream flavor that makes it worth making again.