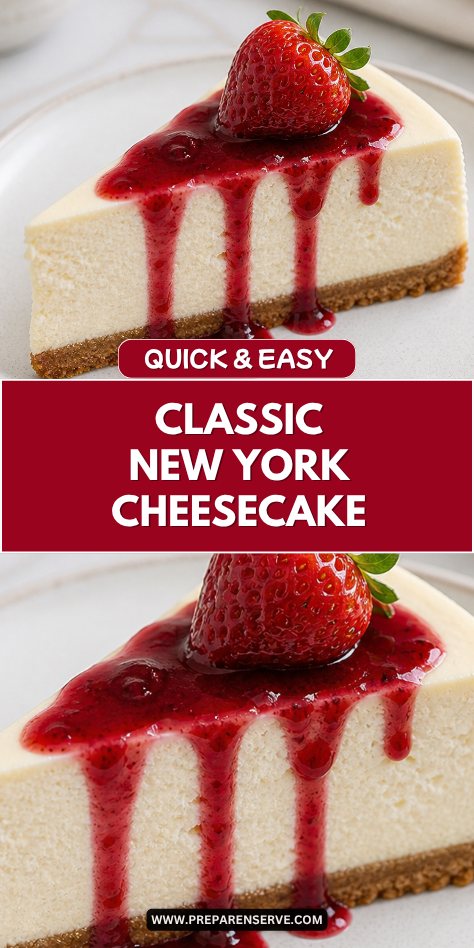
I make Classic New York Cheesecake when I want a dessert that feels rich, smooth, and special without needing fancy decorations. It has a buttery graham cracker crust, a thick creamy filling, and that simple bakery-style flavor that makes each slice feel worth slowing down for.
Why You’ll Love This Recipe
Classic New York Cheesecake is known for its rich texture and simple flavor. The cream cheese gives it a thick, creamy body, while sour cream and a little lemon juice add a soft tang that keeps it from tasting too heavy.
This recipe is great for family gatherings because it can be made ahead and chilled until serving. That means you are not trying to finish dessert at the last minute while everyone is waiting at the table.
It is also easy to dress up or keep plain. You can serve it with berries, chocolate sauce, caramel, whipped cream, or just a clean slice on its own, and it still feels like a dessert worth sharing.
Serves: 12 people
This recipe serves about 12 people with generous slices. New York cheesecake is rich and dense, so even a modest slice feels satisfying after dinner.
If you are serving a larger group, you can cut thinner slices and add toppings like fruit or whipped cream to stretch it a little further. For smaller family meals, the leftovers store well and make a lovely dessert for the next few days.
Ingredients You’ll Need
For the Graham Cracker Crust
- 2 cups graham cracker crumbs
- 1/4 cup granulated sugar
- 1/4 teaspoon fine salt
- 6 tablespoons unsalted butter, melted
For the Cheesecake Filling
- 4 packages cream cheese, 8 ounces each, softened to room temperature
- 1 1/4 cups granulated sugar
- 1 cup sour cream, room temperature
- 4 large eggs, room temperature
- 2 large egg yolks, room temperature
- 2 teaspoons vanilla extract
- 1 tablespoon fresh lemon juice
- 1 teaspoon lemon zest
- 3 tablespoons all-purpose flour
- 1/4 teaspoon fine salt
For Serving
- 1 cup fresh strawberries, optional
- 1 cup fresh blueberries, optional
- 1/2 cup whipped cream, optional
- 1/4 cup caramel sauce, optional
- 1/4 cup chocolate sauce, optional
Pro Tips
Use room temperature ingredients. Cream cheese, eggs, egg yolks, and sour cream blend much more smoothly when they are not cold. This helps prevent lumps and gives the cheesecake a silky texture.
Do not overmix after adding the eggs. Too much mixing can add extra air to the batter, which may cause the cheesecake to rise and crack as it cools. Mix just until each egg disappears into the filling.
Wrap the springform pan well. If you use a water bath, wrap the outside of the pan tightly with heavy-duty foil. This helps protect the crust from water and keeps the cheesecake baking gently.
Bake low and slow. Cheesecake needs gentle heat so the center can set without drying out the edges. The finished cheesecake should still have a slight wobble in the middle when you turn off the oven.
Cool the cheesecake gradually. Sudden temperature changes can cause cracks. Letting the cheesecake rest in the turned-off oven with the door cracked helps it cool slowly and stay smooth on top.
Chill before slicing. A New York cheesecake needs several hours in the fridge to fully set. Overnight chilling gives the cleanest slices and the best creamy texture.
Tools You’ll Need
- 9-inch springform pan
- Large roasting pan for water bath
- Heavy-duty aluminum foil
- Mixing bowls
- Electric hand mixer or stand mixer
- Rubber spatula
- Measuring cups
- Measuring spoons
- Microplane or citrus zester
- Citrus juicer or fork
- Food processor or rolling pin for graham cracker crumbs
- Flat-bottom measuring cup for pressing crust
- Kettle or saucepan for hot water
- Cooling rack
- Plastic wrap
- Sharp knife for slicing
- Offset spatula, optional
Substitutions and Variations
Use a Different Crust
Swap the graham cracker crumbs for vanilla wafer crumbs, digestive biscuit crumbs, or shortbread cookie crumbs. Keep the butter amount close to the same so the crust presses together and holds its shape.
Make It Gluten-Free
Use gluten-free graham crackers for the crust and a gluten-free all-purpose flour blend in the filling. The cheesecake will still bake up creamy and rich while being easier for gluten-free guests to enjoy.
Add a Fruit Topping
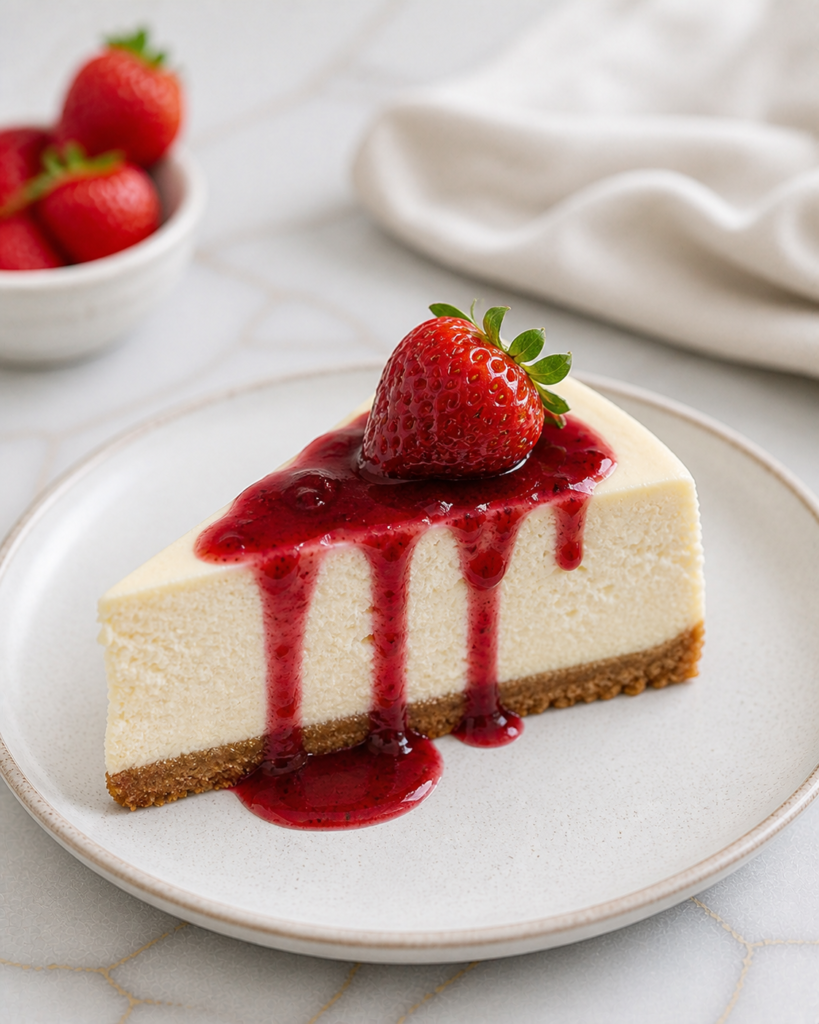
Spoon fresh berries, cherry topping, blueberry sauce, or strawberry sauce over chilled slices before serving. This adds color and a bright flavor that balances the richness of the cheesecake.
Try a Chocolate Swirl
Melt 1/2 cup semi-sweet chocolate and swirl it gently into the cheesecake batter before baking. Keep the swirl light so the classic creamy cheesecake flavor still stays at the center.
Make It Extra Creamy
Replace the sour cream with full-fat Greek yogurt for a slightly thicker texture and gentle tang. You can also add a spoonful of sour cream on top of each slice for a smooth, bakery-style finish.
Make Ahead Tips
Classic New York Cheesecake is one of the best desserts to make ahead because it needs time to chill before slicing. I like to bake it the day before serving so it has a full night in the refrigerator to set. This gives the filling a smooth, dense texture and makes each slice cleaner.
You can make the graham cracker crust a day ahead if you want to break up the work. Press it into the springform pan, bake it, cool it, then cover the pan and keep it at room temperature until you are ready to add the filling.
The full cheesecake can be baked and chilled up to 2 days ahead. Keep it covered in the refrigerator, but wait to add fruit, whipped cream, caramel, or chocolate sauce until right before serving. This keeps the top neat and prevents extra moisture from softening the surface.
Instructions
Step 1: Prepare the Pan
Preheat the oven to 325°F. Wrap the outside of a 9-inch springform pan tightly with heavy-duty aluminum foil, making sure the foil comes up the sides to help protect the crust from water.
Lightly grease the inside of the pan. Set the wrapped pan aside while you make the graham cracker crust.
Step 2: Make the Graham Cracker Crust
In a mixing bowl, stir together 2 cups graham cracker crumbs, 1/4 cup granulated sugar, 1/4 teaspoon fine salt, and 6 tablespoons melted unsalted butter. Mix until the crumbs look evenly moistened and feel like damp sand.
Press the mixture firmly into the bottom of the springform pan. Use the bottom of a measuring cup to pack it down evenly so the crust holds together after baking.
Step 3: Bake the Crust
Bake the crust at 325°F for 10 minutes. It should smell lightly toasted and look set around the edges.
Remove the pan from the oven and let the crust cool while you prepare the filling. Keep the oven set to 325°F.
Step 4: Beat the Cream Cheese
Place 4 softened 8-ounce packages of cream cheese in a large mixing bowl. Beat on medium-low speed until smooth and creamy, scraping down the sides of the bowl as needed.
Add 1 1/4 cups granulated sugar and beat again until blended. Try not to whip too much air into the mixture, because extra air can make the cheesecake rise and crack.
Step 5: Add the Sour Cream and Flavorings
Add 1 cup room temperature sour cream, 2 teaspoons vanilla extract, 1 tablespoon fresh lemon juice, and 1 teaspoon lemon zest. Mix on low speed until smooth.
Sprinkle in 3 tablespoons all-purpose flour and 1/4 teaspoon fine salt. Mix just until combined, then scrape the bowl again so the filling stays even.
Step 6: Add the Eggs
Add 4 large room temperature eggs one at a time, mixing on low speed after each addition. Add 2 large room temperature egg yolks and mix just until the batter looks smooth.
Do not overmix once the eggs are added. The filling should be creamy and thick without looking foamy.
Step 7: Fill the Pan
Pour the cheesecake filling over the cooled graham cracker crust. Smooth the top gently with a rubber spatula or offset spatula.
Tap the pan lightly on the counter once or twice to release any large air bubbles. Do not tap too hard, or the crust may loosen.
Step 8: Prepare the Water Bath
Place the springform pan inside a large roasting pan. Carefully pour hot water into the roasting pan until it reaches about 1 inch up the sides of the springform pan.
Move the pan to the oven slowly so no water splashes into the cheesecake. The water bath helps the cheesecake bake gently and evenly.
Step 9: Bake the Cheesecake
Bake at 325°F for 75 to 90 minutes. The edges should look set, and the center should still have a gentle wobble when the pan is lightly nudged.
Turn off the oven and crack the oven door open slightly. Let the cheesecake rest in the warm oven for 1 hour so it cools slowly.
Step 10: Chill and Serve
Remove the cheesecake from the water bath and take off the foil. Run a thin knife around the edge of the cheesecake, then let it cool to room temperature on a cooling rack.
Cover the cheesecake and refrigerate for at least 6 hours, or overnight for the best texture. Slice with a sharp knife, wiping the blade clean between slices, and serve with strawberries, blueberries, whipped cream, caramel sauce, or chocolate sauce if desired.
Serving Suggestions
Classic New York Cheesecake is beautiful served plain because the rich, creamy filling and buttery crust already have plenty of flavor. A simple slice lets the smooth texture and gentle tang stand on their own.
Fresh berries are one of my favorite toppings for this cheesecake. Strawberries, blueberries, raspberries, or blackberries add color and a bright flavor that balances the richness.
For a sweeter dessert plate, drizzle each slice with caramel sauce or chocolate sauce. A small amount goes a long way and makes the cheesecake feel extra special for birthdays or holidays.
Whipped cream is a soft and simple topping that works well for family gatherings. Add a small spoonful beside each slice instead of covering the whole cheesecake, so everyone can choose how much they want.
You can also serve cheesecake with coffee, tea, or a glass of cold milk. These simple drinks pair nicely with the creamy filling and make dessert feel complete.
For a holiday dessert table, add a bowl of fruit topping on the side. This keeps the cheesecake neat and lets guests pick their favorite topping.
Leftovers and Storage
Store leftover Classic New York Cheesecake covered in the refrigerator for up to 5 days. Keep it in the springform pan covered with plastic wrap, or move slices to an airtight container. For the cleanest texture, keep toppings separate until serving.
Cheesecake can also be frozen if you want to save some for later. Chill it fully first, then wrap the whole cheesecake or individual slices tightly in plastic wrap and foil. Freeze for up to 2 months.
To thaw, place the cheesecake in the refrigerator overnight. Do not thaw it at room temperature for a long time, because the texture can soften too much. Once thawed, slice and serve chilled with fresh toppings.
Nutrition and Benefits
- Rich and satisfying: New York cheesecake is dense, creamy, and filling, so a small slice feels like a complete dessert. It is a good choice when you want something special and comforting.
- Good make-ahead dessert: Because cheesecake needs chilling time, it works well for holidays and family gatherings. You can make it before the busy day and serve it cold when ready.
- Simple classic ingredients: Cream cheese, eggs, sour cream, vanilla, and graham crackers create a dependable dessert without complicated flavors. The result is smooth, familiar, and easy to enjoy.
- Easy to customize: You can serve it plain or add fruit, chocolate, caramel, or whipped cream. This makes it simple to please different tastes at the same table.
- Great for celebrations: Cheesecake holds its shape well and slices neatly when chilled. It is a lovely dessert for birthdays, dinners, holidays, and special family meals.
Recipe FAQ
Why did my cheesecake crack?
Cheesecake can crack if it is overmixed, overbaked, or cooled too quickly. Mix on low speed once the eggs are added, and stop baking while the center still has a slight wobble. Cooling it slowly in the turned-off oven also helps protect the top.
Do I have to use a water bath?
A water bath gives the cheesecake gentle, even heat and helps prevent cracks. You can bake without one, but the edges may cook faster than the center. For the smoothest New York cheesecake, the water bath is worth using.
Can I make this cheesecake ahead of time?
Yes, cheesecake is best made ahead because it needs several hours to chill. I prefer making it the day before serving. The texture becomes firmer, creamier, and easier to slice after resting overnight.
How do I know when cheesecake is done baking?
The edges should be set, but the center should still jiggle slightly when you gently nudge the pan. It should not look liquid or sloshy. The cheesecake will continue to set as it cools and chills.
Can I freeze New York cheesecake?
Yes, New York cheesecake freezes well after it is fully chilled. Wrap it tightly in plastic wrap and foil, then freeze for up to 2 months. Thaw it overnight in the refrigerator before serving.
Why is my cheesecake lumpy?
Lumps usually happen when the cream cheese is too cold. Let the cream cheese, sour cream, and eggs come to room temperature before mixing. Beat the cream cheese until smooth before adding the rest of the ingredients.
What is the best way to slice cheesecake cleanly?
Use a sharp knife and wipe it clean between each cut. For very neat slices, dip the knife in warm water and dry it before cutting. Chilled cheesecake slices much better than cheesecake that has not fully set.
A Creamy Dessert Worth Sharing
Classic New York Cheesecake is the kind of dessert that feels special, steady, and comforting every time it reaches the table. The buttery crust, smooth filling, and gentle tang make each slice rich without needing extra fuss.
I like this recipe because it can be made ahead, served plain, or dressed up with fruit and sauces. It is dependable for holidays, birthdays, and family dinners, and it is worth making again whenever a creamy homemade dessert sounds just right.