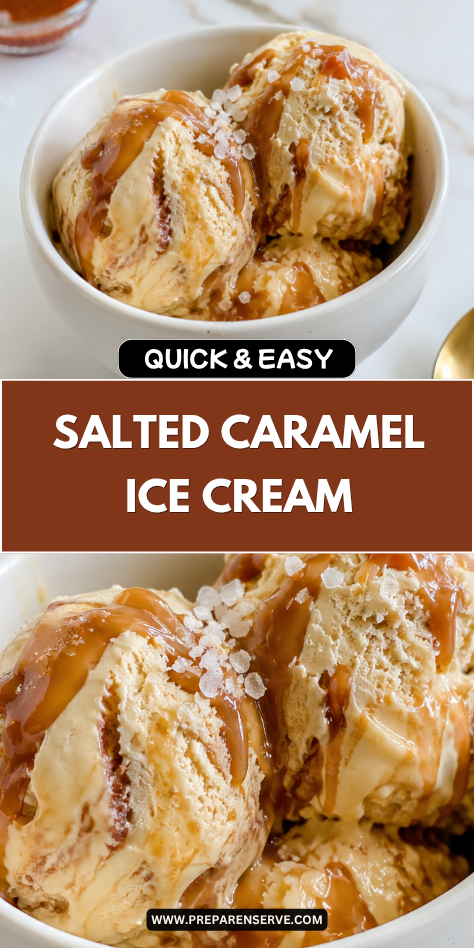
I make Salted Caramel Ice Cream when I want a frozen dessert that feels rich, smooth, and homemade in the best way. The caramel gives it a deep buttery sweetness, and the little bit of salt keeps each spoonful balanced and not too sugary.
I love this recipe because it feels special enough for a celebration but still simple enough to make for a family treat. It is creamy, cozy, and perfect for scooping into bowls, cones, brownie sundaes, or warm apple desserts.
Why You’ll Love This Recipe
Salted Caramel Ice Cream is smooth, creamy, and full of deep caramel flavor. The sugar is cooked until golden, which gives the ice cream a warm, toasty taste that feels richer than plain vanilla.
This recipe is a wonderful make-ahead dessert because it needs time to chill and freeze. Once it is ready, you have a homemade treat waiting in the freezer for family dinners, birthdays, movie nights, or weekend desserts.
It is also easy to dress up or keep simple. Serve it plain with a little flaky salt, add chocolate chips, swirl in extra caramel, or scoop it over brownies for a dessert that feels extra comforting.
Serves: 8 people
This recipe serves about 8 people with generous 1/2-cup scoops. It makes roughly 1 quart of ice cream, depending on how much air your ice cream maker churns into the mixture.
For smaller servings, this can stretch to 10 people when served with cookies, cake, or fruit. Since the flavor is rich, a small scoop can feel very satisfying.
Ingredients You’ll Need
For the salted caramel base:
- 1 cup granulated sugar
- 2 tablespoons water
- 2 tablespoons unsalted butter
- 1 1/2 cups heavy cream, divided
- 1 1/2 cups whole milk
- 5 large egg yolks
- 1/2 teaspoon kosher salt
- 1 teaspoon vanilla extract
For finishing:
- 1/2 teaspoon flaky sea salt, plus more for serving
- 1/3 cup caramel sauce, optional for swirling
- 1/2 cup mini chocolate chips or chopped toasted pecans, optional
Pro Tips
Use a light-colored saucepan if you have one. It helps you see the caramel color more clearly so you can stop cooking it when it turns deep golden instead of letting it burn.
Do not walk away while the sugar cooks. Caramel can go from perfect to burned quickly, so keep your eyes on it once it starts changing color.
Warm the cream slightly before adding it to the caramel. This helps reduce splattering and makes it easier for the caramel to blend smoothly.
Temper the egg yolks slowly with the warm caramel milk mixture. Adding the hot liquid too fast can scramble the eggs, so pour slowly while whisking.
Chill the ice cream base completely before churning. A cold base churns better and helps the ice cream freeze with a smoother texture.
Let the finished ice cream firm up in the freezer before scooping. It will be soft right after churning, so a few hours in the freezer gives it that classic scoopable texture.
Tools You’ll Need
- Medium heavy-bottomed saucepan
- Medium mixing bowl
- Whisk
- Wooden spoon or heat-safe spatula
- Measuring cups
- Measuring spoons
- Fine-mesh strainer
- Heat-safe bowl or large liquid measuring cup
- Ice cream maker
- Freezer-safe container with lid
- Plastic wrap or parchment paper
- Ice cream scoop
- Small skillet, optional for toasting pecans
Substitutions and Variations
Make It Extra Caramel
Swirl 1/3 cup thick caramel sauce into the churned ice cream before freezing. Use a butter knife or spoon to make ribbons without fully mixing it in.
Add Chocolate
Stir in mini chocolate chips, chopped dark chocolate, or chocolate-covered caramel pieces during the last minute of churning. The chocolate adds texture and pairs beautifully with the salty caramel flavor.
Add Crunch
Fold in chopped toasted pecans, almonds, or pretzels before freezing. Keep the pieces small so the ice cream stays easy to scoop and eat.
Make It Less Salty
Use 1/4 teaspoon kosher salt in the base and skip the flaky sea salt on top. This gives you a gentler caramel ice cream that is better for kids or anyone who prefers a sweeter flavor.
Make It No-Churn Style
Use thick caramel sauce, sweetened condensed milk, whipped cream, vanilla, and salt for a no-churn version. The texture will be different from custard ice cream, but it still gives you a creamy salted caramel dessert.
Make Ahead Tips
Salted Caramel Ice Cream is a great make-ahead dessert because it needs time to chill and freeze properly. You can make the custard base 1 day ahead, cover it tightly, and keep it in the refrigerator until you are ready to churn.
The caramel flavor deepens a little as the base rests, which makes the finished ice cream taste even better. Just whisk the chilled base before pouring it into the ice cream maker.
If you want to add a caramel swirl, chill the caramel sauce before layering it into the churned ice cream. A thick, cold sauce creates better ribbons and is less likely to disappear into the base.
For parties or family desserts, churn the ice cream at least 4 to 6 hours before serving. This gives it enough time to firm up into a scoopable texture in the freezer.
Instructions
Step 1: Prepare the Egg Yolks
Place the egg yolks in a medium mixing bowl and whisk until smooth. Set the bowl near the stove so it is ready when the caramel milk mixture is warm.
Having the yolks ready helps the custard process move smoothly. This is important because caramel can firm up if it cools too much before the custard is made.
Step 2: Start the Caramel
Add the granulated sugar and water to a medium heavy-bottomed saucepan. Place the pan over medium heat and let the sugar dissolve without stirring too much.
Once the mixture begins to bubble, swirl the pan gently if needed. Cook until the sugar turns a deep golden amber color and smells warm and caramel-like.
Step 3: Add Butter and Cream
Remove the pan from the heat and carefully whisk in the butter. Slowly pour in 1 cup of the heavy cream while whisking constantly.
The mixture will bubble up and steam, so pour slowly and use care. Keep whisking until the caramel becomes smooth and the butter is fully melted.
Step 4: Add Milk and Salt
Return the saucepan to low heat and whisk in the whole milk, remaining 1/2 cup heavy cream, and kosher salt. Warm the mixture until it is steaming but not boiling.
If any caramel has hardened, keep stirring gently until it melts back into the milk. The mixture should look smooth, tan, and creamy.
Step 5: Temper the Egg Yolks
Slowly ladle about 1/2 cup of the warm caramel mixture into the egg yolks while whisking constantly. Add another 1/2 cup slowly, whisking the whole time.
This warms the egg yolks gently so they do not scramble. Take your time with this step for the smoothest ice cream base.
Step 6: Cook the Custard
Pour the tempered egg mixture back into the saucepan with the remaining caramel milk. Cook over medium-low heat, stirring constantly with a wooden spoon or heat-safe spatula.
Cook until the custard thickens enough to coat the back of the spoon, usually 5 to 8 minutes. Do not let it boil, because boiling can make the custard curdle.
Step 7: Strain and Add Vanilla
Pour the custard through a fine-mesh strainer into a clean heat-safe bowl. This catches any tiny bits of cooked egg and keeps the ice cream smooth.
Stir in the vanilla extract. The vanilla softens the caramel flavor and makes the base taste round and creamy.
Step 8: Chill the Base
Cover the bowl and refrigerate the custard for at least 4 hours, or until completely cold. Overnight chilling works very well.
A fully chilled base churns into a smoother ice cream. If the base is even a little warm, it may not freeze properly in the ice cream maker.
Step 9: Churn the Ice Cream
Pour the cold custard into your ice cream maker and churn according to the manufacturer’s instructions. This usually takes 20 to 25 minutes.
The ice cream should look thick and soft, similar to soft serve. During the last minute of churning, add chocolate chips or toasted pecans if using.
Step 10: Freeze Until Firm
Spoon half of the churned ice cream into a freezer-safe container. Add a few spoonfuls of caramel sauce if using, then repeat with the remaining ice cream and more caramel sauce.
Swirl gently with a butter knife, then sprinkle with flaky sea salt. Press plastic wrap or parchment directly on the surface, cover with a lid, and freeze for 4 to 6 hours before scooping.
Serving Suggestions
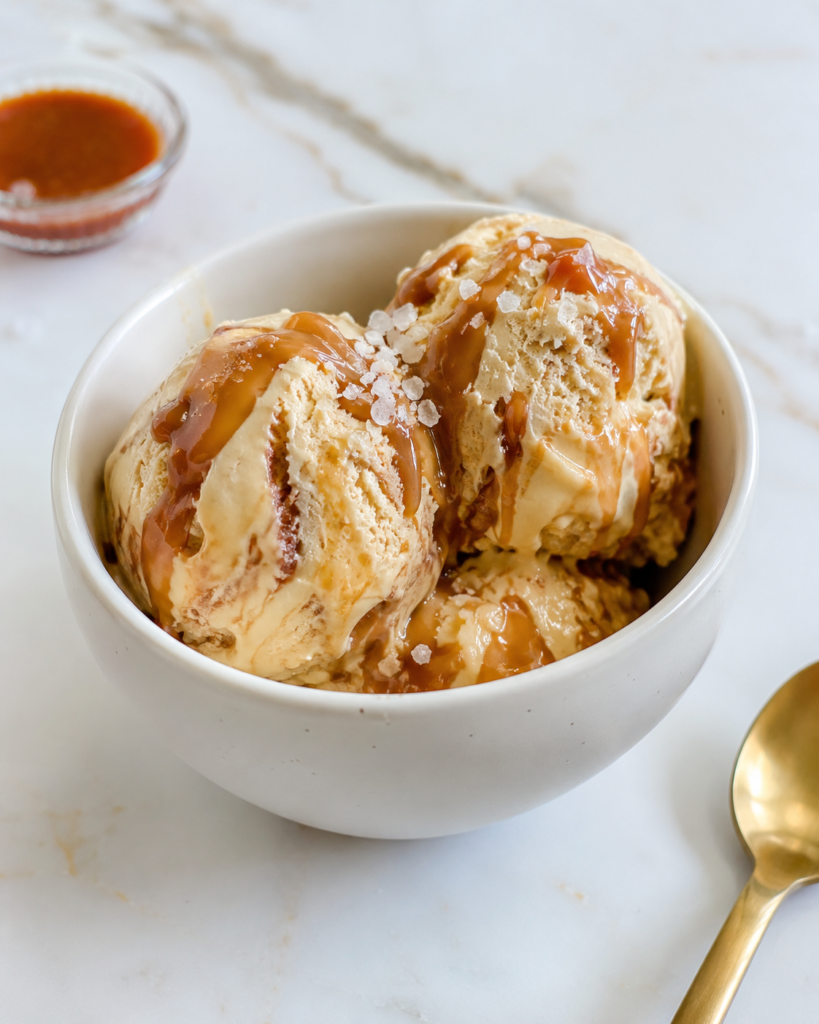
Salted Caramel Ice Cream is wonderful served in simple bowls with a tiny sprinkle of flaky salt on top. The extra salt brings out the deep caramel flavor and makes each spoonful taste balanced.
Serve it in waffle cones or sugar cones for an easy family treat. The crisp cone adds texture and makes the ice cream feel fun without needing extra toppings.
This ice cream is also delicious over warm brownies, blondies, apple crisp, or chocolate cake. The cold, creamy caramel melts slightly into the warm dessert and makes it feel extra cozy.
For a sundae, add whipped cream, caramel drizzle, chopped pecans, and a few chocolate chips. Keep the toppings simple so the salted caramel flavor still shines.
You can also serve small scoops with sliced bananas or baked apples. The fruit adds natural sweetness and pairs beautifully with the buttery caramel.
For parties, scoop the ice cream ahead onto a chilled tray and freeze the scoops until firm. This makes serving faster and keeps everyone from waiting while the ice cream softens.
Leftovers and Storage
Store Salted Caramel Ice Cream in a freezer-safe airtight container. Press plastic wrap or parchment paper directly onto the surface before adding the lid to help prevent ice crystals.
The ice cream is best enjoyed within 2 weeks for the freshest flavor and smoothest texture. It can last longer, but homemade ice cream may become icier over time because it does not have the same stabilizers as many store-bought kinds.
Let the container sit at room temperature for 5 to 10 minutes before scooping if it is very firm. Homemade custard ice cream can freeze harder than commercial ice cream.
Avoid leaving the ice cream out for too long and refreezing it repeatedly. Melting and refreezing can make the texture icy and less creamy.
If you added caramel swirls, they may stay softer than the ice cream base. Scoop gently so you get ribbons of caramel in each serving.
Nutrition and Benefits
- Caramel gives deep flavor. Cooking sugar until golden creates a rich, toasty taste that makes this ice cream special. It adds warmth and depth beyond plain sweetness.
- Egg yolks create a creamy custard. Yolks help thicken the base and give the ice cream a smooth texture. They make the finished dessert feel rich and classic.
- Milk and cream balance the texture. Heavy cream adds richness, while whole milk keeps the base from feeling too heavy. Together, they create a scoopable homemade ice cream.
- Salt balances the sweetness. A little kosher salt in the base and flaky salt on top keep the caramel from tasting overly sweet. It also helps the buttery notes stand out.
- Homemade ice cream is flexible. You can add caramel swirls, chocolate chips, nuts, pretzels, or keep it plain. This makes it easy to adjust for family desserts and special occasions.
Recipe FAQ
Can I make Salted Caramel Ice Cream without an ice cream maker?
Yes, but the texture will be different. You can pour the chilled custard into a freezer-safe container and freeze it, stirring every 30 minutes for the first 2 to 3 hours. This helps break up ice crystals. It will not be as smooth as churned ice cream, but it will still taste rich and caramel-like.
Why did my caramel turn bitter?
Caramel turns bitter when the sugar cooks too long or burns. Remove it from the heat when it reaches a deep golden amber color. A light caramel will taste sweeter, while a darker caramel tastes more intense. Watch closely once the sugar begins changing color.
Why did my custard curdle?
Custard can curdle if it gets too hot or boils. Cook it over medium-low heat and stir constantly. Temper the egg yolks slowly before adding them back to the pan. Straining the custard helps remove small bits, but a fully curdled base may not churn smoothly.
Can I use store-bought caramel sauce?
Yes, store-bought caramel sauce works well as a swirl. Use a thick sauce so it creates ribbons instead of blending completely into the ice cream. Chill it before swirling for the best texture. The base still gets its main flavor from homemade caramel.
How salty should salted caramel ice cream be?
It should taste balanced, not sharply salty. The salt should make the caramel taste deeper and less sugary. Start with the amount in the recipe, then add flaky salt only when serving if you want more. It is easier to add salt than remove it.
Can I add mix-ins?
Yes, chocolate chips, toasted pecans, almonds, pretzels, or caramel pieces are all good options. Add small mix-ins during the last minute of churning. Larger pieces can become too hard when frozen. Keep the amount moderate so the ice cream stays creamy.
Why is my homemade ice cream hard to scoop?
Homemade ice cream often freezes firmer because it has fewer stabilizers than store-bought ice cream. Let it sit at room temperature for 5 to 10 minutes before scooping. A little caramel swirl can also keep parts of it softer. Store it tightly covered to prevent icy texture.
A Creamy Caramel Treat for Slow Scoops
Salted Caramel Ice Cream is smooth, rich, and full of warm buttery flavor that feels comforting in every spoonful.
The deep caramel, creamy custard base, and light salt finish make it taste special without needing many toppings.
It is worth making again because it stores well, serves beautifully, and feels right for family desserts, summer nights, or celebrations.
With its silky texture and balanced sweet-salty flavor, this homemade ice cream is a freezer treat everyone can look forward to.