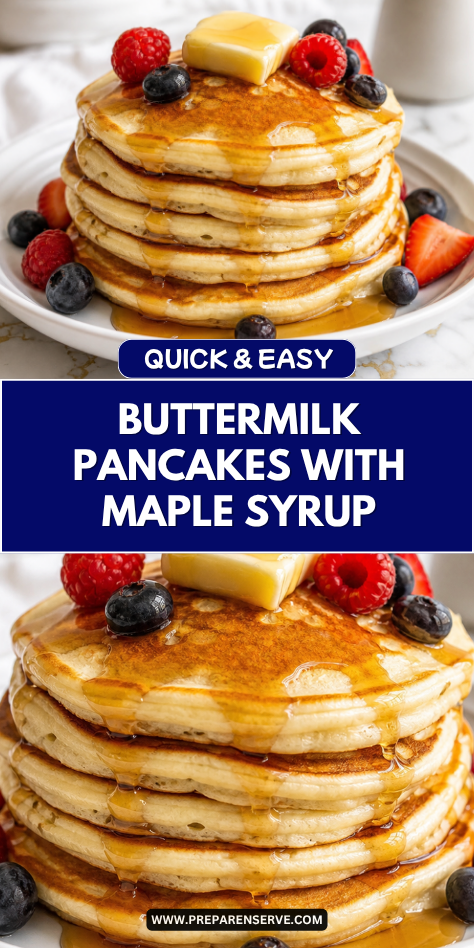
I make these fluffy buttermilk pancakes on mornings when I want breakfast to feel calm, warm, and a little special without making the kitchen too busy. The batter comes together with simple pantry ingredients, and the pancakes cook up soft, golden, and tender in just a few minutes.
I love serving them with maple syrup because it adds just the right sweetness without hiding the buttery flavor of the pancakes. They are the kind of breakfast my family gathers around quickly, whether it is a slow weekend morning, a birthday breakfast, or a simple breakfast-for-dinner night.
Why You’ll Love This Recipe
These fluffy buttermilk pancakes are soft in the middle, lightly crisp at the edges, and full of that cozy homemade flavor people remember from a good family breakfast. The buttermilk gives them a gentle tang and helps create a tender texture that feels rich without being heavy.
They are easy enough for a weekday if you plan ahead, but they also feel special enough for weekends. You do not need fancy tools or hard-to-find ingredients, and the batter is forgiving as long as you do not overmix it.
This recipe is also very family-friendly because everyone can make their plate their own. Some may want extra maple syrup, some may add berries, and some may keep it simple with butter, but the pancakes stay warm, fluffy, and comforting every time.
Serves: 4 people
This recipe makes enough pancakes for about 4 people, depending on appetite and pancake size. It usually makes 10 to 12 medium pancakes, which is a nice amount for a family breakfast with fruit, eggs, or bacon on the side.
If you are feeding a bigger group, the recipe doubles well without much extra work. You can also make smaller pancakes for kids or larger pancakes for a heartier brunch plate.
Ingredients You’ll Need
- 2 cups all-purpose flour
- 2 tablespoons granulated sugar
- 2 teaspoons baking powder
- 1 teaspoon baking soda
- 1/2 teaspoon fine salt
- 2 large eggs
- 2 cups buttermilk, well shaken
- 1/4 cup unsalted butter, melted and slightly cooled
- 1 teaspoon vanilla extract
- 2 to 3 tablespoons milk, only if needed to thin the batter
- 1 to 2 tablespoons unsalted butter or neutral oil, for greasing the pan
- 1/2 cup pure maple syrup, for serving
- Extra butter, for serving
Pro Tips
Do not overmix the batter. Stir the wet and dry ingredients together just until you no longer see big streaks of flour. A few small lumps are normal and help keep the pancakes soft instead of tough.
Let the batter rest for a few minutes. A 5 to 10 minute rest gives the flour time to hydrate and helps the baking powder and baking soda do their job. This small step makes the pancakes fluffier and easier to cook evenly.
Use medium heat, not high heat. Pancakes need time to cook through before the outside gets too dark. If the pan is too hot, the edges may brown fast while the center stays wet.
Wait for bubbles before flipping. The pancakes are usually ready to turn when bubbles form on top and the edges look slightly set. Flip them gently and cook the second side until golden.
Keep cooked pancakes warm the easy way. Place finished pancakes on a baking sheet in a 200°F oven while you cook the rest. This keeps breakfast warm without drying them out too much.
Warm the maple syrup before serving. Slightly warmed maple syrup spreads more easily over the pancakes and makes the whole plate feel cozier. You can warm it in a small saucepan or microwave-safe cup.
Tools You’ll Need
- Large mixing bowl
- Medium mixing bowl
- Whisk
- Measuring cups
- Measuring spoons
- Rubber spatula or wooden spoon
- Liquid measuring cup
- Griddle or large nonstick skillet
- Ladle or 1/4-cup measuring cup
- Thin spatula for flipping
- Small saucepan or microwave-safe cup for warming maple syrup
- Baking sheet, optional for keeping pancakes warm
- Cooling rack, optional if holding pancakes briefly
Substitutions and Variations
Use a Buttermilk Swap
If you do not have buttermilk, mix 2 cups of milk with 2 tablespoons of lemon juice or white vinegar. Let it sit for 5 minutes before using so it can thicken slightly and add the same gentle tang.
Make It Dairy-Free
Use your favorite plain unsweetened dairy-free milk with lemon juice instead of buttermilk, and use melted dairy-free butter. The pancakes will still be tender, though the flavor may be a little lighter.
Add Fruit to the Batter
Fold in 1 cup of blueberries, sliced strawberries, or diced bananas after the batter is mixed. This adds natural sweetness and makes the pancakes feel fresh without changing the base recipe.
Try a Warm Spice Twist
Add 1 teaspoon of cinnamon or 1/2 teaspoon of pumpkin pie spice to the dry ingredients. It gives the pancakes a cozy flavor that works especially well with maple syrup and butter.
Make Them Heartier
Replace 1/2 cup of the all-purpose flour with whole wheat flour for a slightly nuttier taste. You can also add 2 tablespoons of ground flaxseed for a little extra texture and staying power.
Make Ahead Tips
Fluffy buttermilk pancakes are best when cooked fresh, but you can still do a little prep ahead to make the morning easier. I like to measure the dry ingredients the night before and keep them covered in a bowl or sealed container on the counter. This makes breakfast feel much faster because the flour, sugar, baking powder, baking soda, and salt are already ready to go.
You can also whisk the wet ingredients together, except for the melted butter, and keep them covered in the fridge overnight. Add the cooled melted butter right before mixing the batter so it blends in smoothly. Once the wet and dry ingredients are combined, cook the pancakes soon after for the best rise and fluffiest texture.
Cooked pancakes can also be made ahead and stored for busy mornings. Let them cool completely, then layer them with parchment paper and store them in the fridge or freezer. They reheat well and are a helpful breakfast option for school days, lunch boxes, or quick family meals.
Instructions
Step 1: Mix the Dry Ingredients
In a large mixing bowl, whisk together 2 cups all-purpose flour, 2 tablespoons granulated sugar, 2 teaspoons baking powder, 1 teaspoon baking soda, and 1/2 teaspoon fine salt. Whisking helps spread the leavening evenly so every pancake rises well.
Make sure there are no large clumps in the flour mixture before adding the wet ingredients. A smooth dry mixture helps the batter come together with less stirring later.
Step 2: Combine the Wet Ingredients
In a medium mixing bowl, whisk together 2 large eggs, 2 cups well-shaken buttermilk, 1/4 cup melted and slightly cooled unsalted butter, and 1 teaspoon vanilla extract. The butter should be cooled enough that it does not scramble the eggs or clump too much when it touches the cold buttermilk.
Whisk until the mixture looks smooth and creamy. A few tiny butter flecks are fine and will melt as the pancakes cook.
Step 3: Make the Batter
Pour the wet ingredients into the dry ingredients and gently stir with a rubber spatula or wooden spoon. Mix just until the flour is mostly blended in and no big dry pockets remain.
The batter should look thick and slightly lumpy, not thin or perfectly smooth. If it feels too thick to scoop, stir in 2 to 3 tablespoons of milk, one tablespoon at a time, until it loosens slightly.
Step 4: Rest the Batter
Let the pancake batter rest at room temperature for 5 to 10 minutes. This gives the flour time to absorb the liquid and helps the pancakes cook up tender and fluffy.
During this rest, the batter may puff a little and thicken slightly. Do not stir it too much after resting, because that can knock out some of the air.
Step 5: Heat the Pan
Place a griddle or large nonstick skillet over medium heat. Add a small amount of butter or neutral oil and spread it lightly across the surface.
The pan is ready when a drop of water sizzles gently and disappears after a moment. If the butter browns too quickly or smokes, lower the heat before adding the batter.
Step 6: Cook the Pancakes
Scoop about 1/4 cup of batter for each pancake onto the hot pan. Leave enough space between pancakes so they can spread a little and flip easily.
Cook for 2 to 3 minutes, or until bubbles form on the surface and the edges look set. The bottoms should be golden brown, not dark or pale.
Step 7: Flip and Finish Cooking
Slide a thin spatula under each pancake and flip gently in one smooth motion. Cook the second side for 1 to 2 minutes, until golden and cooked through.
Avoid pressing down on the pancakes with the spatula. Pressing can flatten them and push out the soft, fluffy texture you worked to build.
Step 8: Keep Warm and Serve
Move cooked pancakes to a baking sheet and keep them warm in a 200°F oven while you finish the rest of the batter. You can also stack them loosely on a plate if serving right away.
Warm 1/2 cup pure maple syrup in a small saucepan or microwave-safe cup. Serve the pancakes with extra butter and warm maple syrup poured over the top.
Serving Suggestions
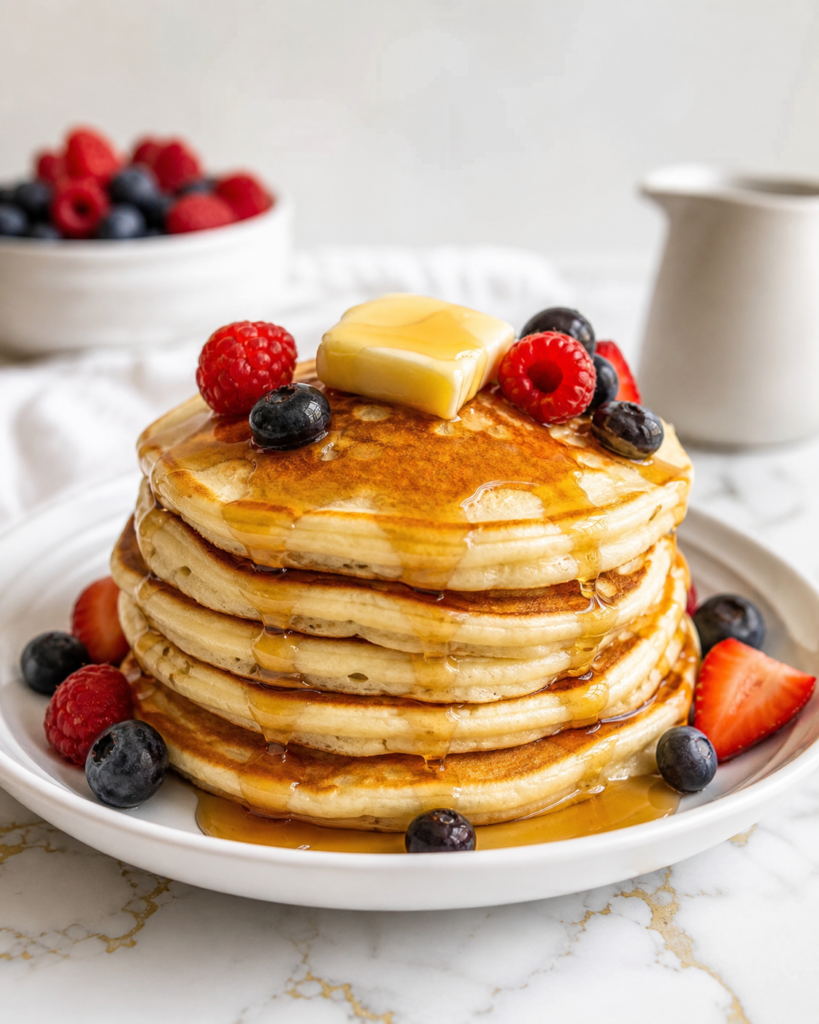
Serve these pancakes with warm maple syrup and a small pat of butter on top. The butter melts into the fluffy layers and makes each bite rich, soft, and comforting.
Fresh fruit is one of my favorite sides for this breakfast. Strawberries, blueberries, bananas, or orange slices help balance the sweetness and add color to the plate.
For a heartier meal, serve the pancakes with scrambled eggs, turkey bacon, breakfast sausage, or Greek yogurt. This is helpful when you want breakfast to keep everyone full a little longer.
These pancakes also work well for a simple brunch table. Set out maple syrup, fruit, whipped cream, chocolate chips, and chopped nuts so everyone can build their own plate.
For kids, make smaller pancakes using 2 tablespoons of batter at a time. Mini pancakes are easy to hold, quick to cool, and fun to dip in a little cup of maple syrup.
You can also serve leftover pancakes as a snack with peanut butter, almond butter, or a thin spread of jam. They taste good warm or at room temperature, which makes them easy for lunch boxes.
Leftovers and Storage
Let leftover pancakes cool completely before storing them. If they are stored while still hot, steam can build up and make them soggy. Once cooled, place them in an airtight container or zip-top bag and refrigerate for up to 4 days.
To freeze, layer pancakes between small pieces of parchment paper so they do not stick together. Place them in a freezer-safe bag, press out extra air, and freeze for up to 2 months. This makes it easy to pull out only what you need.
Reheat refrigerated pancakes in the microwave for 20 to 30 seconds, or warm them in a toaster or toaster oven for lightly crisp edges. Frozen pancakes can go straight into the toaster or be microwaved in short bursts. Add maple syrup after reheating so the pancakes stay soft but not soggy.
Nutrition and Benefits
- Good source of energy: These pancakes include flour, eggs, and buttermilk, which make them filling enough for breakfast or brunch. They provide steady comfort food energy, especially when served with fruit or protein on the side.
- Family-friendly ingredients: The recipe uses simple staples that many home cooks already keep on hand. There are no complicated steps, which makes it approachable for beginners and easy to make with kids nearby.
- Buttermilk adds tenderness: Buttermilk helps create a soft texture and a gentle tangy flavor. It also works with the baking soda to help the pancakes rise and become fluffy.
- Easy to balance: You can serve these pancakes with fresh fruit, eggs, yogurt, or nuts to make the meal more rounded. This keeps the breakfast sweet and cozy without feeling too heavy.
- Freezer-friendly for busy days: Cooked pancakes freeze and reheat well, which helps save time on school mornings. Having a batch ready makes homemade breakfast feel possible even during a busy week.
Recipe FAQ
Can I make these pancakes without buttermilk?
Yes, you can make a simple buttermilk substitute with milk and lemon juice or white vinegar. Use 2 cups of milk and stir in 2 tablespoons of lemon juice or vinegar. Let it sit for about 5 minutes before adding it to the recipe.
Why are my pancakes not fluffy?
The most common reason is overmixing the batter. Stir only until the ingredients come together, and leave a few small lumps. Old baking powder or baking soda can also keep pancakes from rising well.
Can I make the batter the night before?
It is better to mix the dry ingredients and wet ingredients separately the night before. Once the batter is fully mixed, the leavening starts working right away. For the fluffiest pancakes, combine everything shortly before cooking.
What heat should I use for pancakes?
Medium heat works best for most pans and griddles. If the pancakes brown too fast before the centers cook, lower the heat slightly. If they stay pale and spread too much, raise the heat just a little.
Can I add blueberries or chocolate chips?
Yes, both work well in this pancake batter. For the best results, sprinkle blueberries or chocolate chips onto each pancake after you pour the batter into the pan. This helps them spread evenly and keeps the batter from turning too heavy.
How do I keep pancakes warm for serving?
Place cooked pancakes on a baking sheet in a 200°F oven while you finish the batch. Keep them in a single layer or loosely stacked so they do not steam too much. This keeps them warm and soft until everyone is ready to eat.
Can I freeze these pancakes?
Yes, these pancakes freeze very well once they are fully cooled. Layer them with parchment paper and store them in a freezer-safe bag for up to 2 months. Reheat them in the toaster, toaster oven, or microwave for a quick breakfast.
A Warm Pancake Breakfast to Make Again
Fluffy buttermilk pancakes with maple syrup are the kind of breakfast that feels simple, steady, and comforting every time.
They use basic ingredients, cook quickly, and bring a soft homemade texture that feels special without extra work.
This is a recipe families can enjoy on slow weekends, busy mornings, or breakfast-for-dinner nights.
With warm syrup, tender pancakes, and dependable results, it is a cozy meal worth making again and again.