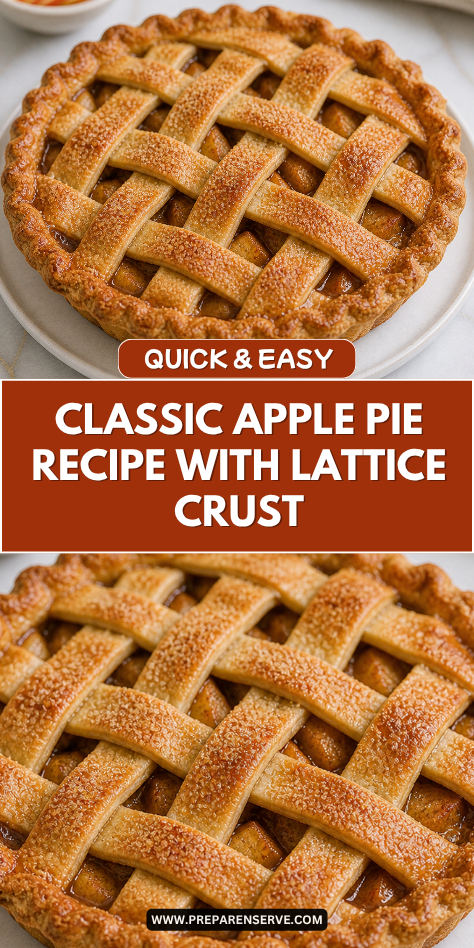
I make Classic Apple Pie with Lattice Crust when I want a dessert that feels warm, familiar, and full of homemade comfort. The apples bake until tender, the cinnamon filling turns sweet and cozy, and the golden lattice crust makes the pie feel special without being too fussy.
I like this pie for holidays, Sunday dinners, fall baking days, and family gatherings where a simple dessert can bring everyone to the table. It smells wonderful in the oven, slices beautifully once cooled, and tastes just as good with a scoop of vanilla ice cream as it does on its own.
Why You’ll Love This Recipe
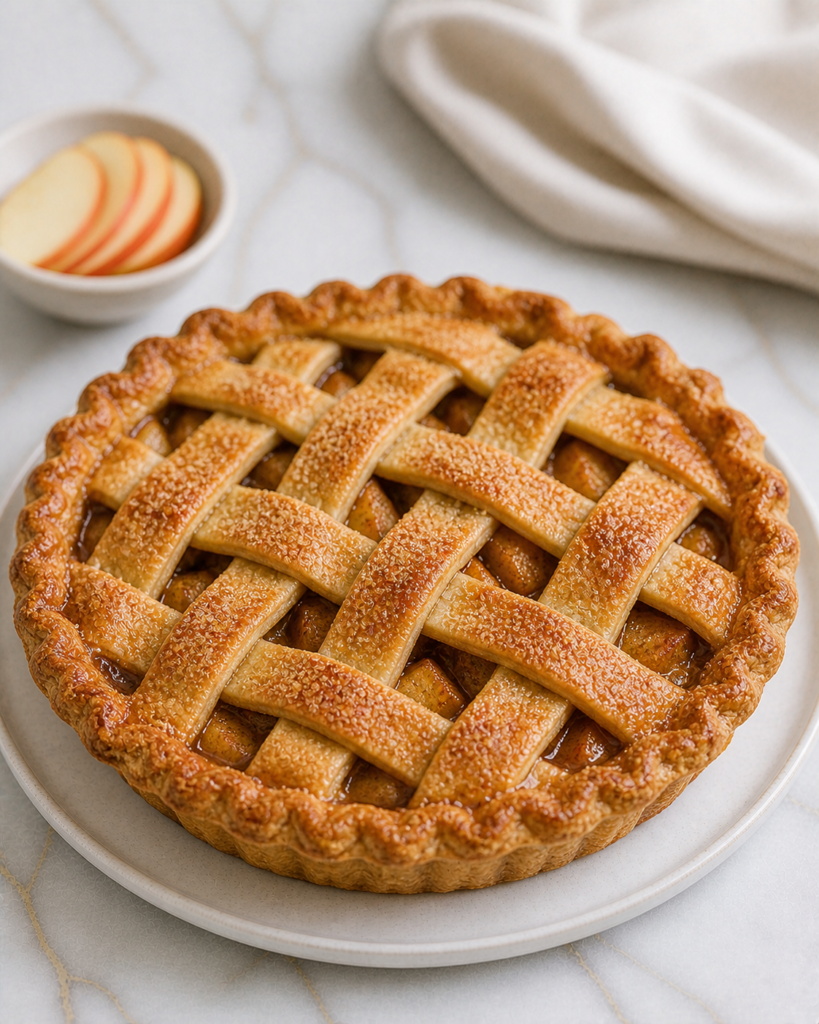
Classic Apple Pie with Lattice Crust has a flaky buttery crust, a soft cinnamon apple filling, and a pretty woven top that feels timeless. The apples cook down into a tender filling while still keeping enough texture so the pie does not taste mushy.
This recipe is a great choice for both everyday bakers and special occasions. The steps are simple when taken one at a time, and the lattice crust makes the finished pie look bakery-style with only a little extra care.
It is also a family-friendly dessert because the flavors are gentle, familiar, and easy to love. Serve it warm, room temperature, or chilled, and it still feels comforting every time.
Serves: 8 people
This recipe serves about 8 people with generous slices. Apple pie is rich enough to feel satisfying, especially when served with whipped cream, vanilla ice cream, or a small drizzle of caramel sauce.
If you are serving it after a large holiday meal, you can cut smaller slices and stretch the pie to 10 servings. For a cozy family dessert, the leftovers keep well and make a sweet treat the next day.
Ingredients You’ll Need
For the Pie Crust
- 2 1/2 cups all-purpose flour
- 1 teaspoon granulated sugar
- 1 teaspoon fine salt
- 1 cup unsalted butter, cold and cut into small cubes
- 6 to 8 tablespoons ice water
For the Apple Filling
- 6 cups peeled and sliced apples, about 6 to 7 medium apples
- 3/4 cup granulated sugar
- 1/4 cup packed light brown sugar
- 2 tablespoons all-purpose flour
- 1 tablespoon fresh lemon juice
- 1 teaspoon lemon zest
- 1 1/2 teaspoons ground cinnamon
- 1/4 teaspoon ground nutmeg
- 1/4 teaspoon fine salt
- 2 tablespoons unsalted butter, cut into small pieces
For Finishing
- 1 large egg
- 1 tablespoon milk
- 1 tablespoon coarse sugar, optional for sprinkling
Pro Tips
Use a mix of apples. A blend of tart and sweet apples gives the pie better flavor and texture. Granny Smith, Honeycrisp, Braeburn, Pink Lady, and Golden Delicious all work well together.
Keep the butter cold for the crust. Cold butter creates little pockets in the dough that turn flaky as the crust bakes. If the dough starts feeling soft or sticky, chill it before rolling.
Slice the apples evenly. Even slices cook at the same speed and make the pie easier to cut. Aim for slices about 1/4-inch thick so they soften without turning mushy.
Do not skip the lemon juice. Lemon juice brightens the apple filling and helps balance the sweetness. It also keeps the apples from browning too quickly while you prepare the crust.
Chill the assembled pie before baking. A short chill helps the crust hold its shape, especially the lattice top. It also helps reduce shrinking in the oven.
Let the pie cool before slicing. Apple pie needs time to set after baking. If you cut it too soon, the filling can run out before it has a chance to thicken.
Tools You’ll Need
- 9-inch pie dish
- Large mixing bowl
- Medium mixing bowl
- Pastry cutter or food processor
- Rolling pin
- Measuring cups
- Measuring spoons
- Sharp knife
- Cutting board
- Vegetable peeler
- Citrus zester
- Citrus juicer or fork
- Pastry brush
- Baking sheet
- Parchment paper
- Aluminum foil or pie shield
- Cooling rack
Substitutions and Variations
Use Store-Bought Pie Crust
Use two refrigerated pie crusts if you need a faster option. The pie will still taste homemade once filled with fresh apples, warm spices, and a golden lattice top.
Make It Dairy-Free
Use plant-based butter in the crust and filling. Choose a baking-style dairy-free butter that stays firm when cold so the crust still turns flaky.
Change the Spice Blend
Add ground ginger, allspice, cardamom, or apple pie spice in place of part of the cinnamon and nutmeg. Keep the amount small so the apple flavor still stays at the center.
Add More Texture
Stir in 1/2 cup chopped walnuts, pecans, dried cranberries, or raisins with the apple filling. These add a little chew or crunch while keeping the pie classic and cozy.
Make It Extra Special
Drizzle caramel sauce over each slice or add a scoop of vanilla ice cream before serving. This makes the pie feel richer and more dessert-like without changing the basic recipe.
Make Ahead Tips
Classic Apple Pie with Lattice Crust is a helpful dessert to make ahead because the crust and filling can both be prepared in stages. You can make the pie dough up to 2 days ahead, wrap each disc tightly, and keep it in the refrigerator. Let the dough sit at room temperature for a few minutes before rolling if it feels too firm.
The apples can also be peeled and sliced a few hours ahead. Toss them with the lemon juice, lemon zest, sugars, flour, spices, and salt, then cover and refrigerate until you are ready to assemble the pie. Stir the filling before using so the juices and spices are evenly mixed.
You can fully assemble the pie and refrigerate it for a few hours before baking. This is especially helpful for holidays when oven timing matters. For the best crust texture, bake the pie the same day it is assembled, then let it cool fully before slicing.
Instructions
Step 1: Make the Pie Dough
In a large mixing bowl, whisk together 2 1/2 cups all-purpose flour, 1 teaspoon granulated sugar, and 1 teaspoon fine salt. Add 1 cup cold cubed unsalted butter and cut it into the flour with a pastry cutter or your fingertips until the mixture looks like coarse crumbs with pea-size pieces of butter.
Add 6 tablespoons ice water, one tablespoon at a time, mixing gently after each addition. Add up to 2 more tablespoons only if the dough feels too dry to hold together when pressed.
Step 2: Chill the Dough
Divide the dough into two equal pieces and shape each piece into a flat disc. Wrap both discs tightly in plastic wrap and refrigerate for at least 1 hour.
Chilling helps the butter firm up again and makes the dough easier to roll. It also helps the crust bake up flaky instead of tough.
Step 3: Prepare the Apple Filling
In a large mixing bowl, combine 6 cups peeled and sliced apples, 3/4 cup granulated sugar, 1/4 cup packed light brown sugar, 2 tablespoons all-purpose flour, 1 tablespoon fresh lemon juice, 1 teaspoon lemon zest, 1 1/2 teaspoons ground cinnamon, 1/4 teaspoon ground nutmeg, and 1/4 teaspoon fine salt.
Toss until the apples are evenly coated. Let the filling sit for 10 to 15 minutes while you roll out the crust so the apples begin to release their juices.
Step 4: Roll the Bottom Crust
Lightly flour your counter and roll one dough disc into a circle about 12 inches wide. Gently place it into a 9-inch pie dish, letting the extra dough hang over the edges.
Press the dough softly into the bottom and sides of the dish without stretching it. Stretching can make the crust shrink as it bakes.
Step 5: Fill the Pie
Spoon the apple filling into the bottom crust, including the juices from the bowl. Spread the apples evenly and mound them slightly in the center.
Dot the top of the filling with 2 tablespoons unsalted butter cut into small pieces. This melts into the apples as the pie bakes and adds a richer flavor.
Step 6: Make the Lattice Strips
Roll the second dough disc into a 12-inch circle. Use a sharp knife or pastry cutter to slice it into strips about 1/2 to 3/4 inch wide.
Lay half of the strips across the pie in one direction. Fold back every other strip, place a new strip across the opposite direction, then unfold the strips and repeat to create a woven lattice.
Step 7: Seal and Crimp the Edges
Trim any long pieces of dough around the edge, leaving about 1 inch of overhang. Fold the overhang under itself and press gently to seal the lattice strips to the bottom crust.
Crimp the edge with your fingers or press it with a fork. Place the assembled pie in the refrigerator for 20 to 30 minutes while the oven preheats.
Step 8: Add the Egg Wash
Preheat the oven to 400°F. In a small bowl, whisk together 1 large egg and 1 tablespoon milk.
Brush the egg wash lightly over the lattice crust and edges. Sprinkle with 1 tablespoon coarse sugar if using for a sweet, sparkly finish.
Step 9: Bake the Pie
Place the pie on a parchment-lined baking sheet to catch any bubbling juices. Bake at 400°F for 20 minutes, then reduce the oven temperature to 375°F and bake for 35 to 45 minutes more.
The pie is done when the crust is deep golden brown and the filling is bubbling through the lattice. If the edges brown too quickly, cover them with foil or a pie shield.
Step 10: Cool and Serve
Move the pie to a cooling rack and let it cool for at least 3 hours before slicing. This gives the filling time to thicken so the slices hold together better.
Serve the pie warm, room temperature, or chilled. Add vanilla ice cream, whipped cream, or caramel sauce if you want an extra cozy finish.
Serving Suggestions
Classic Apple Pie with Lattice Crust is wonderful served slightly warm with a scoop of vanilla ice cream. The cold ice cream melts into the cinnamon apple filling and makes each bite creamy and comforting.
Whipped cream is another simple topping that keeps the pie light. A small spoonful on each slice adds softness without covering the flavor of the apples and buttery crust.
For a fall dessert table, serve apple pie with hot coffee, tea, or warm apple cider. These drinks match the cinnamon and nutmeg and make the dessert feel even cozier.
A drizzle of caramel sauce makes each slice feel extra special. Use just a little so the apple filling stays balanced and does not become too sweet.
You can also serve this pie chilled the next day. The filling sets more firmly, which makes neat slices for lunch boxes, snack plates, or simple family desserts.
For holiday meals, place the pie on the table with a small bowl of whipped cream and a pint of ice cream. This lets everyone choose how they want to enjoy their slice.
Leftovers and Storage
Let the apple pie cool completely before storing it. Cover the pie loosely with foil or plastic wrap and keep it at room temperature for up to 1 day. After that, move it to the refrigerator so the filling stays fresh.
Refrigerated apple pie will keep for up to 4 days. You can enjoy it cold, or warm slices in a 300°F oven for 10 to 15 minutes. Reheating in the oven helps the crust taste better than microwaving, which can make it soft.
To freeze, wrap the fully baked and cooled pie tightly in plastic wrap and foil. Freeze for up to 2 months, then thaw overnight in the refrigerator. Warm it in the oven before serving to bring back some of the fresh-baked texture.
Nutrition and Benefits
- Made with real fruit: Apples are the heart of this dessert and bring natural sweetness, texture, and flavor. Using fresh apples gives the pie a homemade taste that feels classic and comforting.
- Warm spices add flavor: Cinnamon and nutmeg make the filling taste cozy without needing extra complicated ingredients. These spices help the pie feel familiar and perfect for family gatherings.
- Homemade crust adds comfort: A buttery crust gives the pie its flaky texture and traditional flavor. Making it from scratch also lets you control the salt, sugar, and thickness.
- Easy to serve for gatherings: One pie can be sliced into 8 to 10 servings, which makes it helpful for holidays, Sunday dinners, and potlucks. It can also be made ahead and served later.
- Flexible toppings: Apple pie works with ice cream, whipped cream, caramel, or no topping at all. This makes it easy for each person to enjoy it their favorite way.
Recipe FAQ
What apples are best for apple pie?
A mix of tart and sweet apples gives the best flavor and texture. Granny Smith, Honeycrisp, Braeburn, Pink Lady, and Golden Delicious are all good choices. Using more than one kind keeps the filling from tasting flat.
Why is my apple pie filling runny?
The pie may not have baked long enough, or it may have been sliced too soon. The filling should be bubbling before the pie comes out of the oven. Letting it cool for at least 3 hours helps the juices thicken.
Can I use store-bought pie crust?
Yes, store-bought pie crust works well when you need a shortcut. Use two crusts so you have one for the bottom and one for the lattice top. The fresh apple filling will still make the pie taste homemade.
Do I have to peel the apples?
Peeling is best for a softer, more classic filling. Apple skins can become chewy after baking and may separate from the slices. If you like a rustic pie, you can leave some peel on.
Can I make the pie ahead of time?
Yes, you can bake the pie 1 day ahead and store it loosely covered. Let it cool fully before covering so steam does not soften the crust. Reheat it in the oven if you want to serve it warm.
How do I keep the crust from getting too brown?
Cover the edges with foil or a pie shield once they are golden. This lets the filling continue baking without burning the crust. Check the pie during the last 20 minutes to decide if it needs covering.
Can I freeze apple pie?
Yes, baked apple pie freezes well after it has cooled completely. Wrap it tightly in plastic wrap and foil, then freeze for up to 2 months. Thaw overnight in the refrigerator and warm in the oven before serving.
A Golden Apple Pie for Cozy Family Tables
Classic Apple Pie with Lattice Crust is a warm, familiar dessert that feels right for holidays, Sunday dinners, and simple family baking days. The tender apples, cinnamon filling, and flaky golden crust come together in a way that feels comforting and dependable.
I like this pie because it looks special but still tastes like home. It can be made ahead, served warm or chilled, and enjoyed with simple toppings, making it worth baking again whenever a cozy dessert belongs on the table.