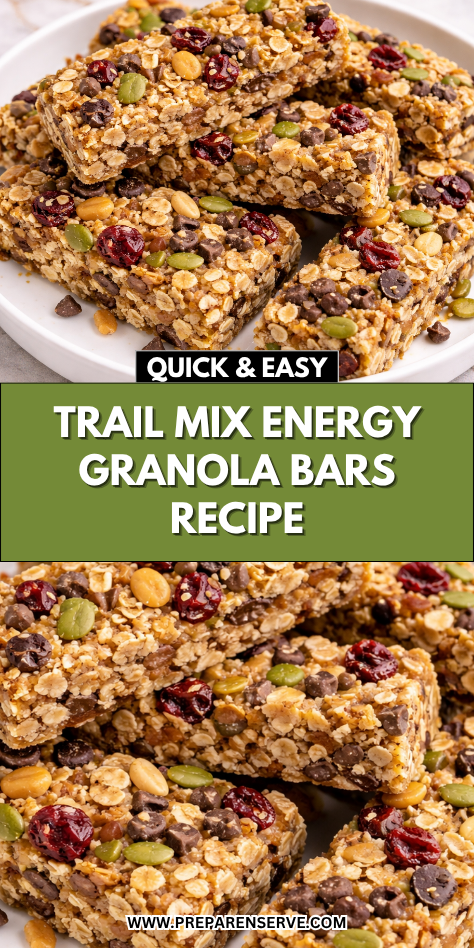
There’s something so comforting about having a homemade snack ready to grab when life gets busy. These trail mix energy granola bars have become a staple in my kitchen, especially on those mornings when everyone is rushing out the door. I started making them as a way to avoid store-bought bars filled with extra sugar, and now my family actually prefers these over anything packaged.
What I love most is how customizable and forgiving this recipe is. You can toss in your favorite nuts, dried fruits, or even a handful of chocolate chips, and it always turns out delicious. These bars are chewy, slightly crunchy, and just sweet enough to feel like a treat while still being wholesome and satisfying.
Why You’ll Love This Recipe
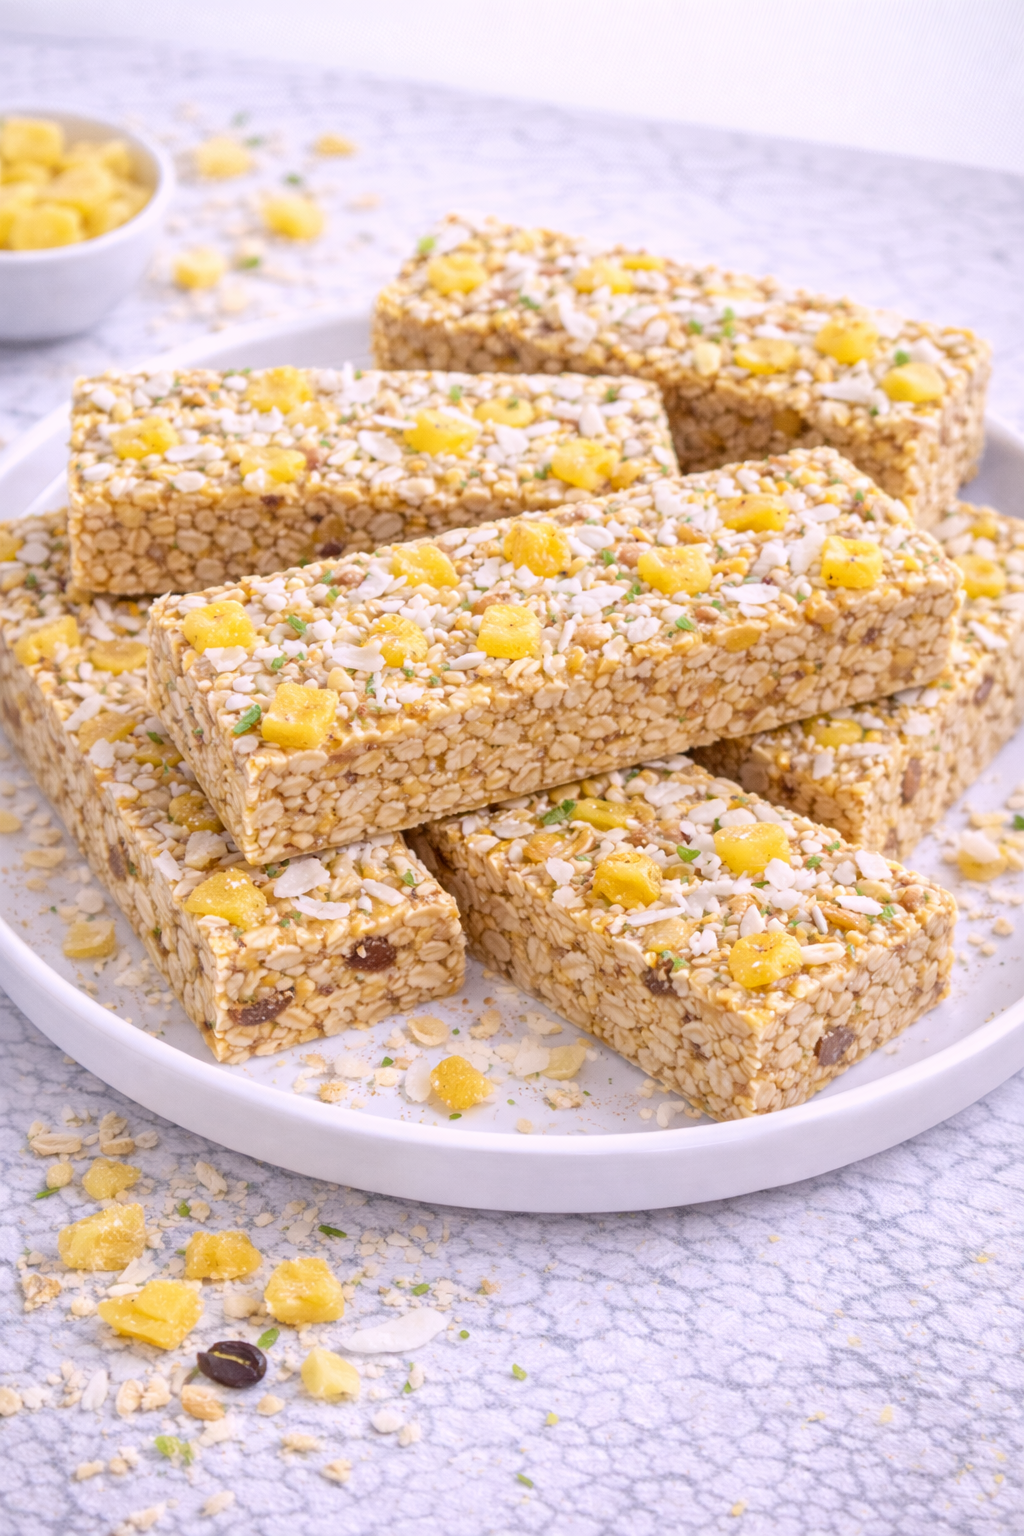
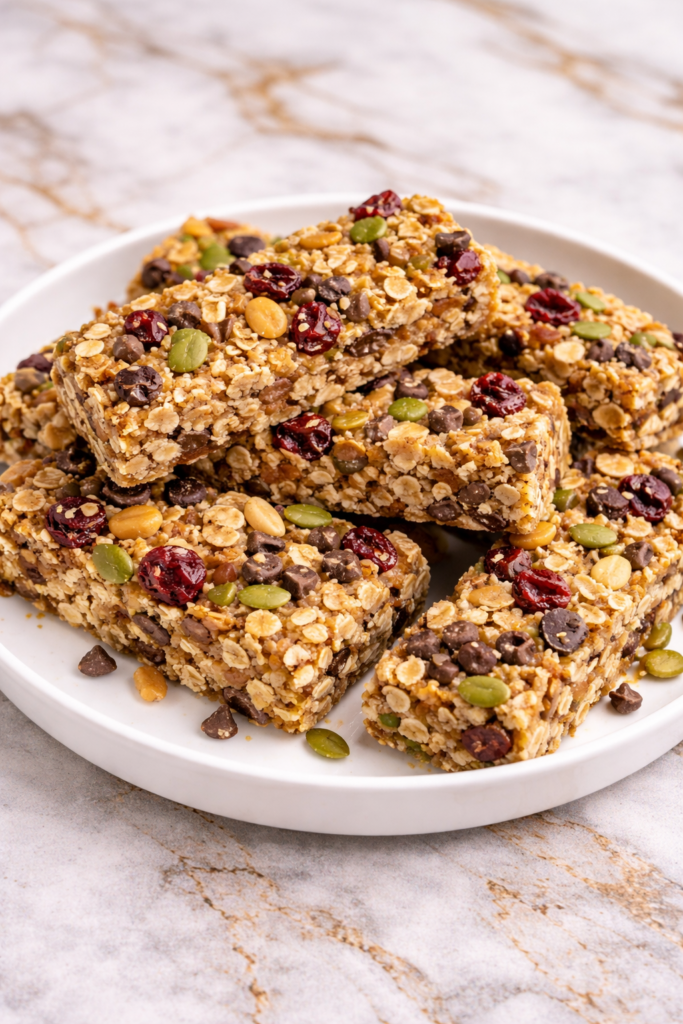
These trail mix energy granola bars strike the perfect balance between taste and nutrition. They’re naturally sweetened, packed with texture, and full of ingredients that give you lasting energy throughout the day. Every bite has a mix of chewy oats, crunchy nuts, and little bursts of sweetness from dried fruit.
They’re also incredibly easy to make, which is a huge win for busy families. You don’t need any complicated steps or special equipment, and the recipe comes together quickly with pantry staples. Whether you’re prepping snacks for school lunches or a weekend hike, these bars fit right in.
Another reason these bars stand out is how versatile they are. You can easily adjust the ingredients based on what your family loves or what you already have on hand. That flexibility makes this recipe one you’ll come back to again and again.
Serves: 10 people
This recipe makes about 10 generous bars, depending on how you slice them. If you need smaller portions for kids or snacks on the go, you can easily cut them into bite-sized squares instead.
They also double well if you’re preparing for a busy week or want to store extras. Having a batch ready in the fridge means you’ll always have a quick, satisfying option within reach.
Ingredients You’ll Need
- 2 cups old-fashioned rolled oats
- 1/2 cup chopped almonds
- 1/2 cup chopped walnuts
- 1/3 cup sunflower seeds
- 1/3 cup pumpkin seeds
- 1/2 cup dried cranberries
- 1/2 cup raisins
- 1/3 cup mini chocolate chips
- 1/2 cup honey
- 1/3 cup creamy peanut butter
- 1/4 cup brown sugar
- 1/4 cup unsalted butter
- 1 teaspoon vanilla extract
- 1/2 teaspoon salt
Pro Tips
Use old-fashioned rolled oats instead of quick oats for the best texture. They give the bars that hearty chew that holds everything together nicely.
Warm your wet ingredients just enough to combine them smoothly. Overheating can make the mixture too thin and affect how well the bars set.
Press the mixture firmly into the pan using the back of a spoon or a piece of parchment paper. This step is key to keeping the bars from crumbling when you slice them.
Let the bars cool completely before cutting. It might be tempting to dig in early, but patience helps them firm up and hold their shape.
If making with kids, let them choose a few mix-ins. It makes the process more fun and ensures everyone enjoys the final result.
Store the bars in the fridge if your kitchen is warm. This helps them stay firm and fresh longer.
Tools You’ll Need
- Large mixing bowl
- Medium saucepan
- Wooden spoon or silicone spatula
- 9×9-inch baking pan
- Parchment paper
- Measuring cups and spoons
- Sharp knife
Substitutions and Variations
If you have nut allergies in the family, you can easily swap the almonds and walnuts for extra seeds or use toasted coconut flakes. Sunflower seed butter also works well in place of peanut butter and keeps the bars just as creamy and delicious.
For a different flavor profile, try using dried apricots, chopped dates, or even dried cherries instead of raisins or cranberries. Each option brings a slightly different sweetness and texture that can make the bars feel new every time.
You can also switch out the chocolate chips for white chocolate or dark chocolate chunks depending on your preference. For a less sweet version, simply leave them out altogether and add a sprinkle of cinnamon for warmth.
If you want to boost the protein, consider adding a scoop of your favorite protein powder. Just reduce the oats slightly to keep the consistency balanced.
For a fun twist, drizzle melted chocolate over the top once the bars have cooled. It adds a little extra indulgence without much extra effort.
Make Ahead Tips
These trail mix energy granola bars are perfect for making ahead, especially if your week tends to get busy. You can prepare a full batch and store it in the refrigerator for up to one week without losing freshness or texture. This makes them a reliable option for school lunches, quick breakfasts, or afternoon snacks.
If you want to plan even further ahead, these bars freeze beautifully. Wrap each bar individually in parchment paper, then place them in a freezer-safe container or bag. When you’re ready to enjoy one, simply let it thaw at room temperature for about 20–30 minutes.
Another helpful tip is to mix the dry ingredients in advance and store them in an airtight container. When you’re ready to make the bars, all you need to do is prepare the wet mixture and combine everything. This small step can save time and make the process feel even easier on busy days.
Instructions
Step 1: Prepare the Pan
Line a 9×9-inch baking pan with parchment paper, leaving a bit of overhang on the sides. This makes it much easier to lift the bars out later for slicing. Lightly press the parchment into the corners so the mixture spreads evenly.
Step 2: Mix the Dry Ingredients
In a large mixing bowl, combine the rolled oats, chopped almonds, walnuts, sunflower seeds, pumpkin seeds, dried cranberries, raisins, and mini chocolate chips. Stir everything together until evenly distributed. This ensures every bar has a balanced mix of flavors and textures.
Step 3: Heat the Wet Ingredients
In a medium saucepan over low heat, combine the honey, peanut butter, brown sugar, and butter. Stir continuously until everything is melted and smooth. Remove from heat and stir in the vanilla extract and salt.
Step 4: Combine Everything
Pour the warm wet mixture over the dry ingredients. Use a wooden spoon or silicone spatula to mix until all the ingredients are fully coated. Take your time here to make sure there are no dry pockets.
Step 5: Press into the Pan
Transfer the mixture into the prepared baking pan. Press it down firmly using the back of a spoon or a piece of parchment paper. The more compact the mixture, the better the bars will hold together.
Step 6: Chill and Set
Place the pan in the refrigerator for at least 2 hours, or until the bars are firm. This step is essential for achieving clean slices and a sturdy texture. Avoid rushing this step, as it makes a big difference.
Step 7: Slice and Serve
Once fully set, lift the bars out of the pan using the parchment overhang. Place on a cutting board and slice into bars or squares. Serve immediately or store for later.
Serving Suggestions
These bars are wonderful on their own as a quick grab-and-go snack during busy mornings. They pair nicely with a glass of milk or a smoothie, making them a more filling option for breakfast.
You can also include them in lunchboxes for kids or pack them along for road trips and outdoor adventures. Their sturdy texture makes them easy to transport without falling apart.
For a slightly more indulgent treat, serve them with a drizzle of melted chocolate or alongside a bowl of yogurt. This adds a fun twist while still keeping things balanced and wholesome.
If you’re hosting a casual gathering, cut the bars into smaller squares and arrange them on a platter. They make a simple yet satisfying addition to any snack spread.
Leftovers and Storage
Store leftover trail mix energy granola bars in an airtight container in the refrigerator to keep them fresh and firm. They will stay delicious for up to one week, making them a great option for meal prepping. Keeping them chilled also helps maintain their structure, especially in warmer kitchens.
If you prefer a softer texture, you can let the bars sit at room temperature for a few minutes before eating. This slightly softens the peanut butter and honey mixture, giving the bars a more tender bite.
For longer storage, freezing is an excellent option. Wrap each bar individually to prevent sticking, then place them in a freezer-safe bag or container. They can be frozen for up to three months without losing flavor.
When ready to eat, allow the bars to thaw naturally at room temperature. This helps preserve their texture and ensures they taste just as good as when freshly made.
Nutrition and Benefits
- These bars are packed with whole grains from the oats, providing steady energy and supporting digestion. They are a great alternative to processed snacks that often lack fiber.
- The mix of nuts and seeds adds healthy fats and protein, helping keep you full longer. This makes them especially helpful for growing kids and active families.
- Dried fruits contribute natural sweetness along with vitamins and minerals. They also add a chewy texture that balances the crunch of the nuts and seeds.
- Using honey as a sweetener offers a more natural option compared to refined sugars. It also helps bind the ingredients together while adding a gentle sweetness.
- Homemade granola bars give you full control over ingredients, allowing you to avoid preservatives and customize to your family’s needs.
Recipe FAQ
Can I make these bars without peanut butter?
Yes, you can easily substitute peanut butter with sunflower seed butter or almond butter. Both options work well and provide a similar creamy texture. This is especially helpful for those with peanut allergies.
Why are my bars falling apart?
If your bars are crumbly, they may not have been pressed firmly enough into the pan. Compacting the mixture is key to helping them hold together. Also, make sure they have chilled long enough before slicing.
Can I use quick oats instead of rolled oats?
Quick oats can be used, but the texture will be softer and less chewy. Rolled oats provide a heartier structure that works best for this recipe. If using quick oats, consider reducing the amount slightly.
How do I make these bars less sweet?
You can reduce the amount of brown sugar or omit the chocolate chips. Adding extra nuts or seeds can also balance the sweetness. This allows you to tailor the bars to your taste preference.
Can I add protein powder?
Yes, you can add a scoop of protein powder to boost nutrition. Be sure to slightly reduce the oats or add a bit more peanut butter to maintain the right consistency. This helps keep the bars from becoming too dry.
Do these bars need to be baked?
No, this is a no-bake recipe, which makes it quick and convenient. The bars set in the refrigerator instead of the oven. This also helps preserve the texture of the ingredients.
How long do they last at room temperature?
They can last for a day or two at room temperature if stored in an airtight container. However, they are best kept in the refrigerator for longer freshness. Warmer temperatures may cause them to soften too much.
A Snack You’ll Reach for Again and Again
These trail mix energy granola bars are the kind of recipe that quickly becomes part of your weekly routine. They are simple to make, easy to customize, and always satisfying when you need a quick bite.
With their balance of wholesome ingredients and delicious flavor, they offer a snack you can feel good about serving your family. Keep a batch on hand, and you’ll always have something ready when hunger strikes.