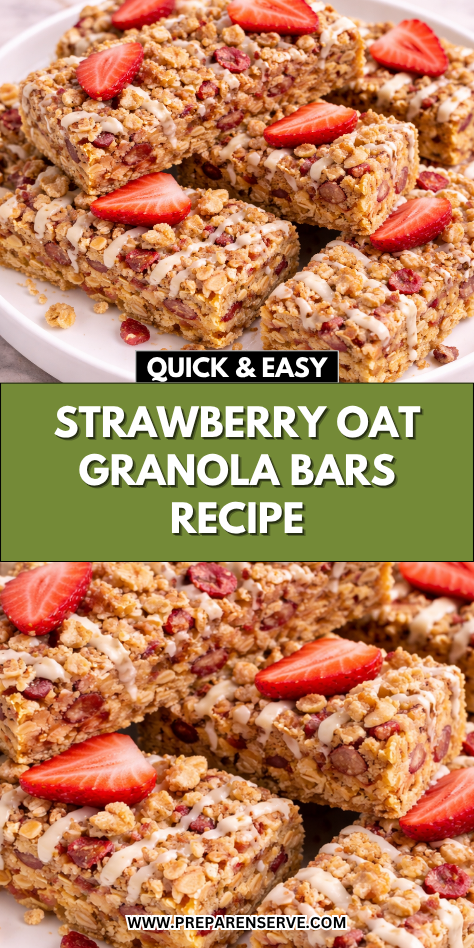
There’s something about strawberries that instantly brings a sense of comfort and joy into the kitchen. I started making these strawberry oat granola bars during a busy spring season when I wanted something sweet, wholesome, and easy to grab between activities. The combination of soft oats and bursts of strawberry flavor quickly made these a favorite in our home.
What makes these bars extra special is how they feel like a treat while still being nourishing. The natural sweetness of strawberries paired with hearty oats creates a balance that both kids and adults love. Whether tucked into a lunchbox or enjoyed with an afternoon cup of tea, these bars always seem to disappear faster than expected.
Why You’ll Love This Recipe
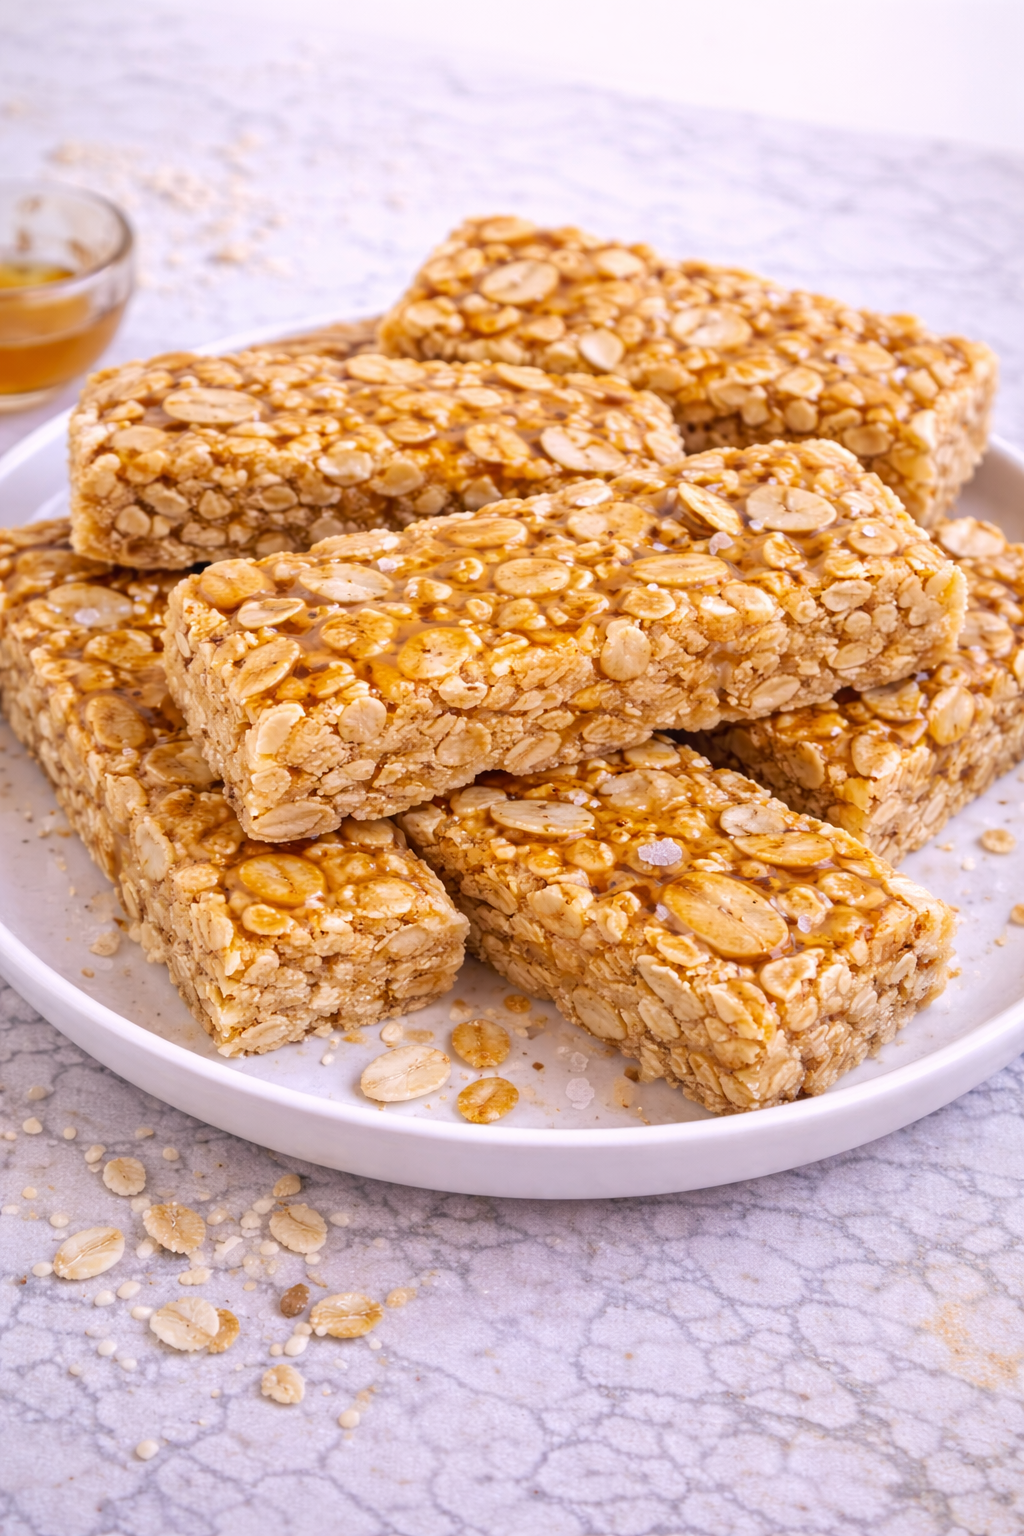
These strawberry oat granola bars are soft, chewy, and packed with comforting flavor. The oats provide a hearty base, while the strawberries add a naturally sweet and slightly tangy twist. Every bite feels satisfying without being overly heavy.
They are also incredibly simple to prepare, making them perfect for busy families. You don’t need any complicated steps or hard-to-find ingredients, which means you can whip up a batch whenever the craving hits. This ease makes them a go-to recipe for both beginner and experienced home cooks.
Another reason to love this recipe is its versatility. You can enjoy these bars as a quick breakfast, an after-school snack, or even a light dessert. They hold up well throughout the day, making them ideal for on-the-go moments.
Serves: 10 people
This recipe makes about 10 medium-sized bars, depending on how you slice them. You can easily cut them into smaller squares for little hands or portion them into larger bars for a more filling snack.
If you’re preparing for a busy week, consider doubling the batch. These bars store well and are a convenient option to have ready whenever hunger strikes.
Ingredients You’ll Need
- 2 cups old-fashioned rolled oats
- 1/2 cup chopped almonds
- 1/3 cup sunflower seeds
- 1/2 cup dried strawberries, chopped
- 1/3 cup strawberry preserves
- 1/2 cup honey
- 1/3 cup creamy peanut butter
- 1/4 cup brown sugar
- 1/4 cup unsalted butter
- 1 teaspoon vanilla extract
- 1/2 teaspoon salt
- 1/3 cup white chocolate chips
Pro Tips
Use high-quality dried strawberries for the best flavor. Softer, slightly chewy pieces blend better into the bars and provide a more enjoyable texture.
Warm the wet ingredients gently over low heat. This helps everything combine smoothly without making the mixture too runny.
Press the mixture firmly into the pan to help the bars hold together. Using parchment paper or the back of a spoon makes this step easier and more effective.
Let the bars chill completely before cutting. This helps them set properly and prevents crumbling when slicing.
If making with kids, let them help mix or sprinkle in the chocolate chips. It makes the process more fun and encourages them to enjoy the final result.
For extra strawberry flavor, swirl a little extra strawberry preserves on top before chilling. It adds both flavor and a pretty finish.
Tools You’ll Need
- Large mixing bowl
- Medium saucepan
- Wooden spoon or silicone spatula
- 9×9-inch baking pan
- Parchment paper
- Measuring cups and spoons
- Sharp knife
Substitutions and Variations
If you need a nut-free version, simply omit the almonds and replace them with extra seeds or oats. Sunflower seed butter can also be used instead of peanut butter for a similar creamy texture.
For a different flavor twist, try using raspberry or mixed berry preserves in place of strawberry. This keeps the same structure while offering a slightly new taste that still pairs beautifully with oats.
You can swap white chocolate chips for dark chocolate or milk chocolate depending on your preference. Each option brings a different level of sweetness and richness to the bars.
If you want to boost the nutrition, consider adding a tablespoon or two of chia seeds or flaxseeds. These small additions blend in easily and add extra fiber.
For a softer, more dessert-like version, drizzle melted white chocolate over the top once the bars have set. This adds a touch of indulgence without much extra effort.
Make Ahead Tips
These strawberry oat granola bars are a great option for planning ahead, especially during busy weeks. You can make a full batch and store it in the refrigerator, keeping them fresh and ready whenever you need a quick snack. Having them pre-cut also makes mornings and lunch packing much easier.
If you want to prepare even further in advance, these bars freeze very well. Wrap each bar individually in parchment paper and store them in a freezer-safe container to maintain their texture and flavor. When you’re ready to enjoy one, simply let it sit at room temperature for about 20–30 minutes.
Another helpful approach is to measure and mix the dry ingredients ahead of time. Store them in an airtight container until you’re ready to complete the recipe. This cuts down on prep time and makes the process feel much more manageable on busy days.
Instructions
Step 1: Prepare the Pan
Line a 9×9-inch baking pan with parchment paper, leaving extra overhang on the sides. This makes it easier to lift the bars out once they have set. Press the parchment into the corners so the mixture spreads evenly.
Step 2: Combine the Dry Ingredients
In a large mixing bowl, combine the rolled oats, chopped almonds, sunflower seeds, and dried strawberries. Stir until everything is evenly distributed throughout the bowl. This ensures each bar has a consistent texture and flavor.
Step 3: Heat the Wet Ingredients
In a medium saucepan over low heat, combine the honey, peanut butter, brown sugar, and butter. Stir continuously until the mixture becomes smooth and fully melted. Remove from heat and stir in the vanilla extract, salt, and strawberry preserves.
Step 4: Mix Everything Together
Pour the warm wet mixture over the dry ingredients. Stir thoroughly using a wooden spoon or silicone spatula until all ingredients are well coated. Make sure there are no dry pockets remaining.
Step 5: Add Chocolate Chips
Allow the mixture to cool slightly before adding the white chocolate chips. Stir gently to distribute them evenly without melting them completely. This step helps maintain their texture and sweetness.
Step 6: Press into the Pan
Transfer the mixture into the prepared baking pan. Press it down firmly and evenly using the back of a spoon or parchment paper. Compacting the mixture well helps the bars hold their shape.
Step 7: Chill Until Set
Place the pan in the refrigerator for at least 2 hours. This allows the bars to firm up properly and makes slicing easier. Avoid cutting them too early, as they may crumble.
Step 8: Slice and Serve
Once fully set, lift the bars out of the pan using the parchment overhang. Place them on a cutting board and slice into bars or squares. Serve immediately or store for later use.
Serving Suggestions
These strawberry oat granola bars are perfect as a quick breakfast when you need something simple but satisfying. Pair them with a glass of milk or a yogurt cup for a more complete start to the day. The combination feels balanced and keeps everyone fueled.
They also make an excellent addition to lunchboxes for both kids and adults. Their soft texture and sweet strawberry flavor make them especially appealing for younger eaters. You can cut them into smaller portions for easy snacking.
For an afternoon treat, serve these bars alongside tea or coffee. The gentle sweetness pairs nicely with warm drinks and creates a cozy break in the day. It’s a simple way to enjoy a homemade snack.
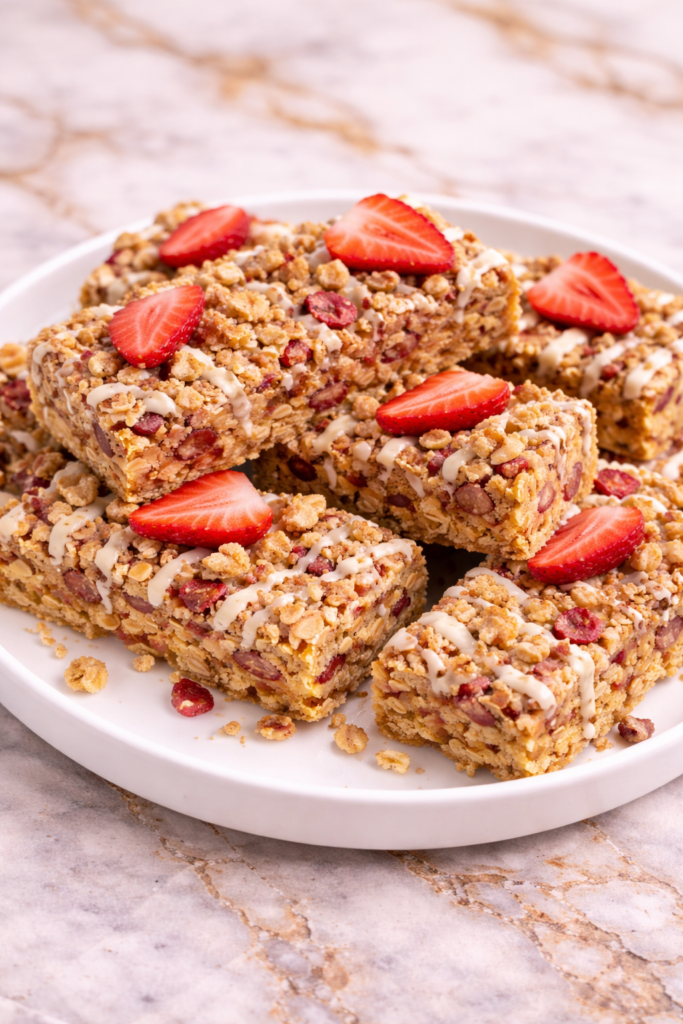
If you’re hosting guests, arrange the bars on a platter with fresh strawberries. This adds a fresh and inviting touch that makes them feel a little more special. They also work well as part of a casual brunch spread.
Leftovers and Storage
Store leftover strawberry oat granola bars in an airtight container in the refrigerator. They will stay fresh for up to one week while maintaining their texture and flavor. Keeping them chilled also helps them remain firm and easy to handle.
If you prefer a softer bite, you can let the bars sit at room temperature for a few minutes before eating. This allows the ingredients to relax slightly, creating a more tender texture. It’s a small step that can make a noticeable difference.
For longer storage, freezing is a reliable option. Wrap each bar individually to prevent sticking, then place them in a freezer-safe bag or container. They can be stored for up to three months without losing their quality.
When ready to eat, allow the bars to thaw naturally at room temperature. This ensures the best texture and flavor once they are ready to enjoy. Avoid microwaving, as it can alter the consistency.
Nutrition and Benefits
- These bars are made with whole oats, which provide fiber and help support steady energy throughout the day. They are a wholesome alternative to highly processed snacks.
- Strawberries add natural sweetness along with vitamins and antioxidants. This makes the bars both flavorful and nourishing.
- Nuts and seeds contribute healthy fats and protein, helping keep you full longer. This is especially helpful for active families and growing kids.
- Using honey as a sweetener offers a more natural option compared to refined sugars. It also helps bind the ingredients together effectively.
- Homemade bars allow you to control ingredients and adjust them to your family’s needs. This makes it easier to create a snack you can feel good about serving.
Recipe FAQ
Can I use fresh strawberries instead of dried?
Fresh strawberries contain more moisture, which can affect the texture of the bars. If you want to use them, it’s best to cook them down into a thicker mixture first. This helps prevent the bars from becoming too soft or falling apart.
What can I use instead of peanut butter?
You can substitute peanut butter with almond butter or sunflower seed butter. Both options provide a similar consistency and help bind the ingredients together. This makes the recipe suitable for different dietary needs.
Why didn’t my bars hold together?
If the bars are crumbly, they may not have been pressed firmly enough into the pan. Another reason could be not chilling them long enough before slicing. Ensuring both steps are done properly will improve the texture.
Can I make these bars less sweet?
Yes, you can reduce the brown sugar or slightly decrease the honey. You can also skip the white chocolate chips if you prefer a less sweet version. Adding more oats or nuts can help balance the flavor.
Are these bars baked or no-bake?
These are no-bake granola bars, which makes them quick and convenient. They set in the refrigerator rather than the oven. This helps preserve the texture of the ingredients.
Can I add protein powder?
Yes, you can mix in a scoop of protein powder for an extra boost. Just be sure to slightly reduce the oats or increase the wet ingredients to maintain the right consistency. This prevents the bars from becoming too dry.
How long can they sit at room temperature?
They can sit at room temperature for about one to two days if stored properly. However, refrigeration is recommended for longer freshness and better texture. Warm environments may cause them to soften too much.
A Sweet and Simple Strawberry Favorite
These strawberry oat granola bars bring together comfort, convenience, and flavor in every bite. They are easy to prepare, flexible to customize, and perfect for busy days when you need something quick and satisfying.
With their soft texture and naturally sweet strawberry taste, they quickly become a favorite for both kids and adults. Keeping a batch ready means you’ll always have a homemade snack that feels both special and practical.