I’ve fallen head over heels for sheet pan caramel apples, and I’m betting you will too. They’re the perfect solution when you’re craving that classic fall treat but don’t want the hassle of traditional dipping and balancing. With just a few ingredients and some simple steps, you can create these crowd-pleasers that look impressive while being incredibly forgiving for beginners. Want to know my secret for getting that perfect caramel coating without a sticky kitchen disaster?
Why You’ll Love these Sheet Pan Caramel Apples
Simplicity is what makes these sheet pan caramel apples an absolute game-changer for fall treats. I promise you’ll adore how they transform traditional caramel apples into a fuss-free dessert.
No more awkward spinning or uneven coating—just perfectly coated apples every time.
The sheet pan method gives you room to work without creating a sticky kitchen disaster. Plus, it’s incredibly versatile.
Want to please picky eaters? Everyone can customize their own toppings. Perfect for parties or family night.
The best part? They store beautifully for a week. Fall flavors whenever the craving strikes.
What Ingredients are in Sheet Pan Caramel Apples?
You only need a handful of simple ingredients to create these gorgeous fall treats that look fancy but come together with minimal effort.
- 6-8 medium apples
- 2 cups caramel bits or unwrapped caramels
- 2 tablespoons heavy cream
- Assorted toppings (nuts, chocolate chips, sprinkles)
- Popsicle sticks
- Parchment paper (for lining the sheet pan)
When selecting apples, consider using varieties like Granny Smith for their tartness that balances the sweet caramel, or Honeycrisp for a sweeter, juicier experience—both hold up well to the weight of the caramel and toppings.
How to Make these Sheet Pan Caramel Apples
Line a sheet pan with parchment paper to prevent the caramel from sticking. This simple prep step saves so much hassle later when you’re trying to remove those sticky treats. For professional results, consider using a premium brownie set that includes a high-quality sheet pan with even heat distribution.
Step 2: Insert Popsicle Sticks
Push popsicle sticks firmly into the core of each of your 6-8 medium apples. Make sure they’re secure enough to support the weight of the apple plus all that delicious caramel you’ll be adding.
Step 3: Melt the Caramel
Combine 2 cups of caramel bits (or unwrapped caramels) with 2 tablespoons of heavy cream in a microwave-safe bowl.
Heat in 30-second intervals, stirring between each one, until completely smooth and gorgeously glossy.
Step 4: Dip the Apples
Holding the stick, dip each apple into the melted caramel mixture, twirling it around to guarantee even coating.
Let any excess caramel drip back into the bowl—though who am I kidding, is there really such a thing as “excess caramel”?
Step 5: Place on Sheet Pan
Carefully transfer your caramel-coated apples to the parchment-lined sheet pan, giving each one enough space so they don’t stick together.
The sheet pan method makes this so much easier than traditional individual wrapping.
Step 6: Add Your Toppings
While the caramel is still warm and sticky, sprinkle your choice of toppings—whether that’s chopped nuts, mini chocolate chips, colorful sprinkles, or whatever your heart desires.
This is where you can really make these apples your own.
Step 7: Chill Until Set
Refrigerate the sheet pan with your decorated apples for about 15 minutes, or until the caramel sets.
The waiting is honestly the hardest part, but patience yields perfect results.
Step 8: Store Properly
Keep your finished caramel apples refrigerated for up to one week, but remember to bring them to room temperature before serving for the best texture and flavor experience.
What to Serve with Sheet Pan Caramel Apples
These delightful treats work perfectly as an afternoon snack or dessert centerpiece.
For a complete fall dessert spread, serve alongside warm apple cider (spiked or regular) or a creamy chai latte that complements the sweet caramel notes. If you’re hosting a party, consider adding a small bowl of extra caramel sauce for dipping—because who doesn’t want more caramel?
For balance, pair with some sharp white cheddar cheese slices to cut through the sweetness, or set out a tray of salted almonds for a savory contrast.
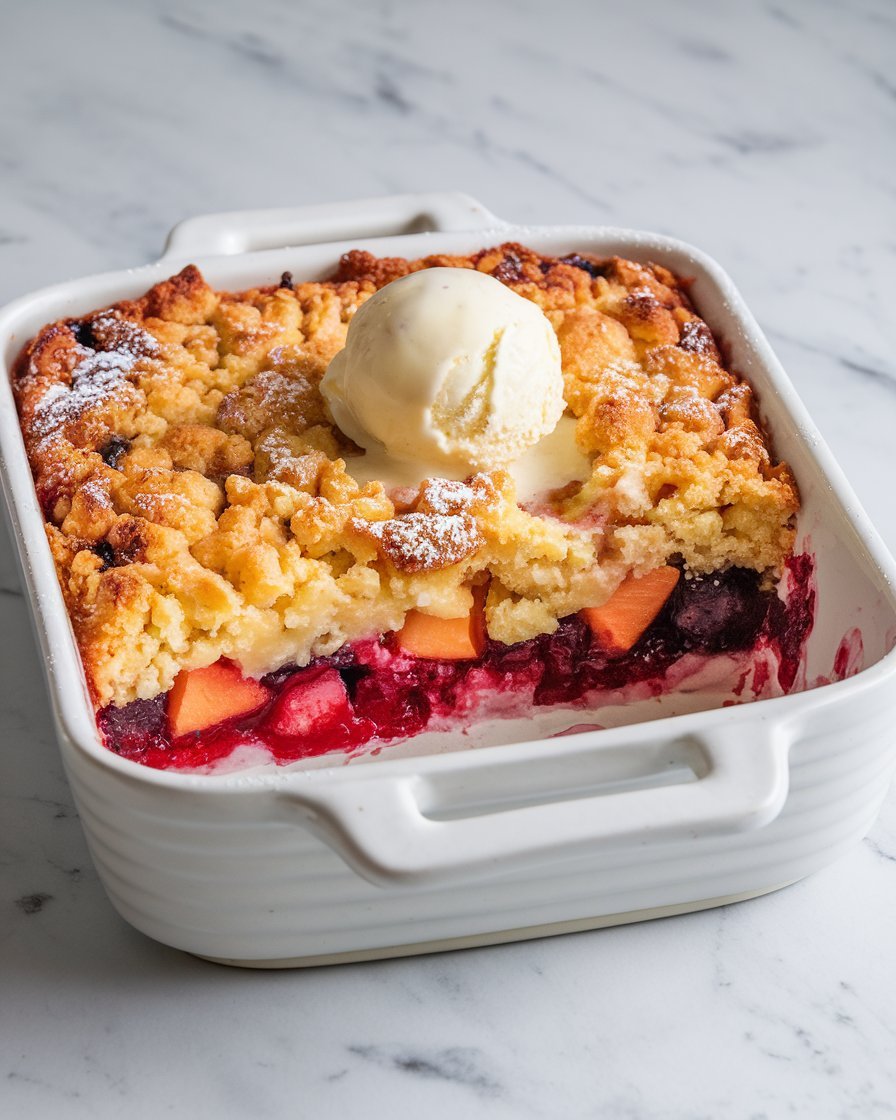
And if you’re really feeling indulgent, a scoop of vanilla ice cream alongside a sliced caramel apple creates an improvised caramel apple sundae that’ll have everyone reaching for seconds.
Sheet Pan Caramel Apples Substitutions and Variations
- Apple Varieties: Try Granny Smith for tartness or Honeycrisp for sweetness. Smaller apples work great for kids or portion control!
- Dairy-Free Option: Replace heavy cream with full-fat coconut milk or non-dairy creamer, and use dairy-free caramels.
- Lower Sugar: Use sugar-free caramel bits or make homemade caramel with sugar alternatives like monk fruit sweetener.
- Fun Coatings: Crush cookies, pretzels, or potato chips for sweet-salty magic. Colored candy melts make festive holiday themes.
- Adult Version: Add a splash of bourbon or rum to the caramel mixture for sophisticated depth.
- No Sticks? Use forks instead, or slice apples and drizzle with caramel for “deconstructed” caramel apples.
- Chocolate Lovers: Drizzle with white, dark, or milk chocolate after the caramel sets for a double-dipped treat.
Leftovers and Storage for these Sheet Pan Caramel Apples
These gorgeous caramel apples keep beautifully in the refrigerator for up to one week when stored properly.
Simply place them in an airtight container with parchment paper between layers to prevent sticking. The caramel might get a bit firm in the fridge, which is exactly what you want.
When you’re ready to enjoy a leftover apple, let it sit at room temperature for about 15-20 minutes before serving. This brings back that perfect caramel texture—not too hard, not too soft.
For the freshest experience, I recommend eating them within 3-4 days, as apples can start to release moisture over time.
If you notice the caramel sliding off or becoming too soft, pop them back in the refrigerator for a quick chill before serving.
Final Thoughts
There’s something magical about the classic combination of crisp apples and sweet caramel that speaks to the heart of autumn traditions.
These sheet pan caramel apples transform what can be a sticky, complicated process into a manageable delight that delivers all the nostalgic flavor without the fuss. They’re perfect for Halloween parties, fall festivals, or those cool October afternoons when you want to create something special with the kids.
The beauty of this recipe lies in its versatility—each family member can customize their apple with favorite toppings, creating a personalized treat.
As the seasons change and leaves begin to fall, these caramel apples remind us that the simplest traditions often create the sweetest memories.