Look, I’m not saying these Red Velvet Chocolate Chip Cookies will solve all your problems, but they might make you forget about them for a solid ten minutes. They’re ridiculously pretty, taste like red velvet cake decided to have a love affair with a chocolate chip cookie, and honestly, they’re way easier to pull off than you’d think. The kind of treat that makes people wonder if you secretly moonlight as a bakery owner, you know?

Why You’ll Love these Red Velvet Chocolate Chip Cookies
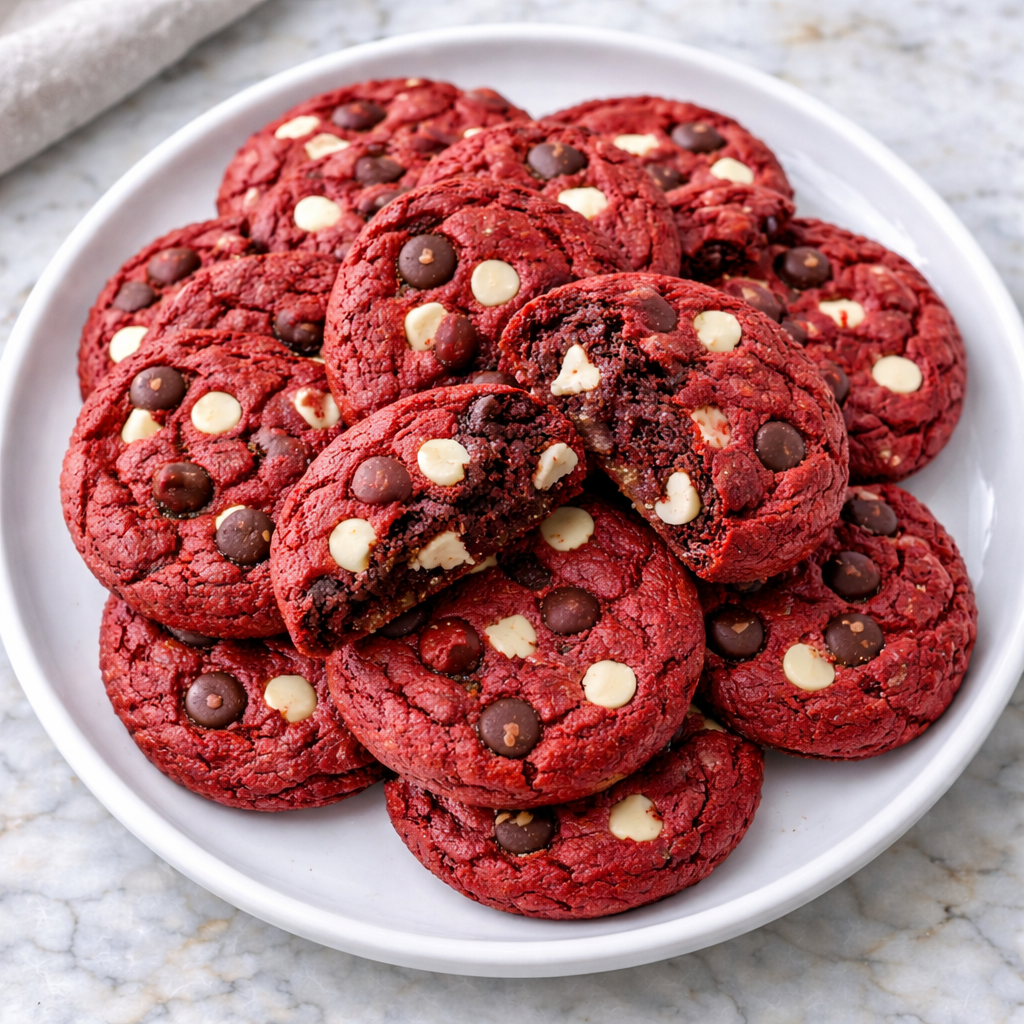
When you combine the tangy, slightly mysterious flavor of red velvet with pools of melted chocolate chips, you get a cookie that’s basically a cheat code for compliments.
These cookies look fancy enough for a Valentine’s party but require zero special skills, which I love because who’s time to be a pastry chef?
The texture hits different too, with crispy edges giving way to soft, fudgy centers.
That pop of red makes them Instagram-ready without any effort. Plus, they taste like someone turned a slice of red velvet cake into cookie form, and honestly, isn’t that what we all want?
They’re simple to throw together, incredibly forgiving if you mess up, and disappear faster than you can say “save me one.”
What Ingredients are in Red Velvet Chocolate Chip Cookies?
You don’t need anything fancy or hard to find for these cookies, which is honestly half the reason I’m so obsessed with them.
Dry Ingredients:
- 1 2/3 cups all-purpose flour
- 1/4 cup unsweetened cocoa powder
- 1 teaspoon baking soda
- 1/4 teaspoon salt
Wet Ingredients:
- 1/2 cup unsalted butter, softened
- 3/4 cup brown sugar
- 1/4 cup granulated sugar
- 1 large egg
- 1 tablespoon milk
- 2 teaspoons vanilla extract
- 2.5 teaspoons red food coloring
Mix-ins:
– 1 cup chocolate chips
The butter needs to be properly softened, not melted or rock-hard from the fridge, because that’s what gives you the right texture, and as for the red food coloring, gel works better than liquid if you want that really vibrant color without adding too much moisture.
How to Make these Red Velvet Chocolate Chip Cookies
Start by whisking together 1 2/3 cups all-purpose flour, 1/4 cup unsweetened cocoa powder, 1 teaspoon baking soda, and 1/4 teaspoon salt in a medium bowl.
This is the boring part, I know, but getting everything evenly combined now means you won’t end up with weird pockets of cocoa or salt later.
Step 2: Cream the Butter and Sugars
In a large bowl, beat 1/2 cup softened butter with 3/4 cup brown sugar and 1/4 cup granulated sugar until it’s light and fluffy, which usually takes about 2-3 minutes.
This is where the magic starts happening, because properly creamed butter creates those little air pockets that make cookies tender instead of dense.
If you’re making these cookies regularly, investing in a stand mixer can save your arm from all that beating and make the creaming process much more consistent.
Step 3: Add the Wet Ingredients
Beat in 1 large egg, 1 tablespoon milk, 2 teaspoons vanilla extract, and 2.5 teaspoons red food coloring until everything is well combined and you’ve got that gorgeous red color.
The mixture might look a little strange at this point, but trust me, we’re building something beautiful here.
Step 4: Combine Wet and Dry Ingredients
Gradually mix the dry ingredients into the wet ingredients until just combined, being careful not to overmix because nobody wants tough cookies.
The dough should come together nicely and have that deep reddish-brown color that screams red velvet.
Step 5: Fold in the Chocolate Chips
Stir in 1 cup of chocolate chips until they’re evenly distributed throughout the dough.
I like to save a few extra chips to press on top of the cookies later, because let’s be honest, presentation matters when you’re trying to impress people.
Step 6: Chill the Dough
Cover the dough and refrigerate it for at least 1 hour, which I know feels like forever when you just want cookies right now, but this step prevents spreading and gives you thicker, chewier cookies.
You can chill it overnight if you’re the type who plans ahead, which, let’s be real, most of us aren’t.
Step 7: Shape and Bake
Scoop about 1.5 tablespoons of dough for each cookie, roll them into balls, and place them on a parchment-lined baking sheet.
Bake at 350°F for 10-13 minutes, just until the edges are set but the centers still look slightly underdone, because they’ll keep cooking on the pan after you take them out.
Step 8: The Finishing Touches
While the cookies are still warm, you can press a few extra chocolate chips on top to make them look bakery-perfect, and if any cookies spread too much or look wonky, gently flatten them with a spatula.
Let them cool on the baking sheet for a few minutes before transferring to a wire rack, otherwise they might fall apart on you.
What to Serve with Red Velvet Chocolate Chip Cookies
These cookies are basically perfect for any time you need something sweet, whether that’s an afternoon snack, a dessert after dinner, or honestly breakfast if you’re having one of those days.
They’re ridiculously good with a tall glass of cold milk, which is the classic pairing for a reason, or maybe some hot coffee if you’re feeling fancy.
A scoop of vanilla ice cream turns them into a proper dessert, and you can even make little ice cream sandwiches if you’re trying to win over a crowd.
They also pair surprisingly well with fresh berries on the side, because the tartness cuts through all that chocolate-and-butter richness.
Some people swear by dunking them in hot chocolate, which feels a bit extra but also kind of genius.
Red Velvet Chocolate Chip Cookies Substitutions and Variations
Ingredient Swaps:
- Swap half the butter for cream cheese if you want that classic red velvet tang, which honestly makes them taste even more authentic.
- Use white chocolate chips instead of regular for a sweeter, less intense version.
- All brown sugar works if you’re out of granulated, though they’ll spread a bit more.
Dietary Adjustments:
- For gluten-free, use a 1:1 baking flour blend, and nobody will be able to tell the difference.
- Dairy-free works great with vegan butter and your favorite plant milk.
- Cut the sugar by a third if you’re watching sweetness, though I’d keep the chocolate chips because what’s the point otherwise.
Creative Twists:
- Toss in white chocolate chips plus cream cheese chips for full red velvet cake vibes.
- Add a handful of chopped pecans or walnuts for crunch.
- Swirl in some cream cheese frosting between two cookies for sandwich-style decadence.
- Try peppermint extract instead of vanilla around the holidays.
Leftovers and Storage for these Red Velvet Chocolate Chip Cookies
Room Temperature Storage:
These cookies stay perfectly chewy at room temperature in an airtight container for about 5 days, which is honestly theoretical because they never last that long in my house.
Toss in a piece of bread to keep them from drying out, one of those weird baking tricks that actually works.
Freezing for Later:
Freeze baked cookies in a freezer bag for up to 3 months, or freeze the dough balls on a tray before transferring to a bag.
You can bake frozen dough straight from the freezer, just add 2-3 minutes to the baking time.
Refreshing Tips:
Microwave cookies for 10-15 seconds to get that fresh-baked warmth back, or pop them in a 300°F oven for 5 minutes if you want them slightly crispy on the edges again.
Final Thoughts
There’s something about the combination of chocolate and that signature red velvet flavor that just works, you know?
These cookies manage to be fancy enough for Valentine’s Day or a holiday cookie swap but simple enough that you don’t need to clear your whole afternoon to make them.
The cocoa gives them depth without being overwhelming, and those chocolate chips pressed into the top make them look like you tried way harder than you actually did.
They’re perfect for when you want to bake something a little different from your standard chocolate chip but don’t want to mess with cream cheese frosting or complicated techniques.
Make a batch, watch them disappear faster than you thought possible, and feel entirely justified in hiding a few for yourself.
Frequently Asked Questions
Can I Make These Cookies Without Food Coloring?
Yes, you can make these cookies without food coloring! They’ll taste just as delicious but won’t have that signature red velvet appearance. They’ll look more like traditional chocolate cookies, which is perfectly fine.
Why Do My Red Velvet Cookies Spread Too Much While Baking?
Your cookies likely spread too much because the dough wasn’t chilled long enough, your butter was too soft, or your oven temperature is too low. I’d recommend chilling the dough for the full hour and checking your oven’s accuracy.
Can I Freeze the Cookie Dough for Later Use?
Yes, you can freeze the dough! I recommend scooping it into balls first, then freezing them on a baking sheet. Once solid, transfer to a freezer bag. They’ll keep for three months and bake straight from frozen.
What’s the Difference Between Red Velvet Cookies and Chocolate Cookies?
Red velvet cookies have less cocoa powder than chocolate cookies, giving them a milder chocolate flavor. They’re also tangy from buttermilk or vinegar (though this recipe uses milk), and they’re known for their distinctive red color.
Can I Use Gel Food Coloring Instead of Liquid?
Yes, you can use gel food coloring! I’d recommend starting with about 1/2 teaspoon since gel is more concentrated than liquid. Add more gradually until you achieve your desired red shade.