I’ve always believed that classics deserve a little reinvention, and my red velvet cake recipe proves it! With secret swaps like applesauce instead of oil and natural beet juice replacing artificial colors, you’re getting all the moist, chocolatey goodness without the guilt. The hint of espresso powder and surprise mini chocolate chips? That’s what makes everyone ask for my recipe. Why settle for tradition when a few simple twists can transform this beloved dessert into something even more craveable? Wait until you see what else I’ve changed…
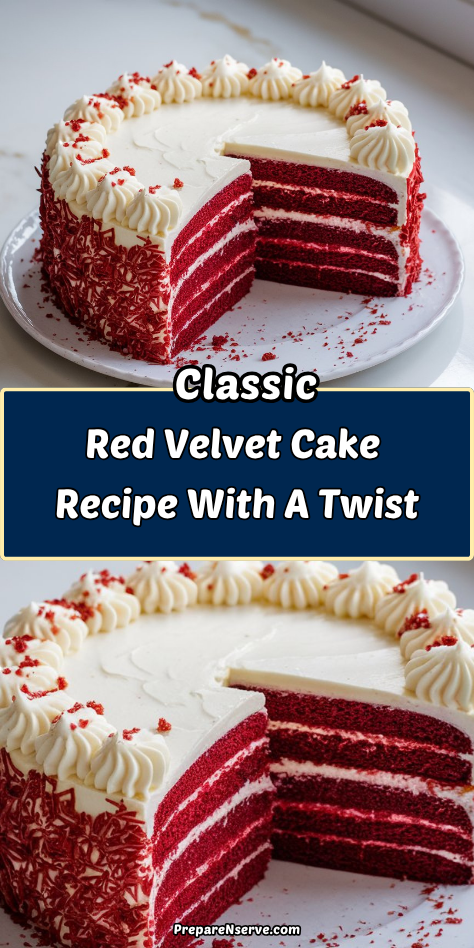
Why You’ll Love this Classic Red Velvet Cake With A Twist
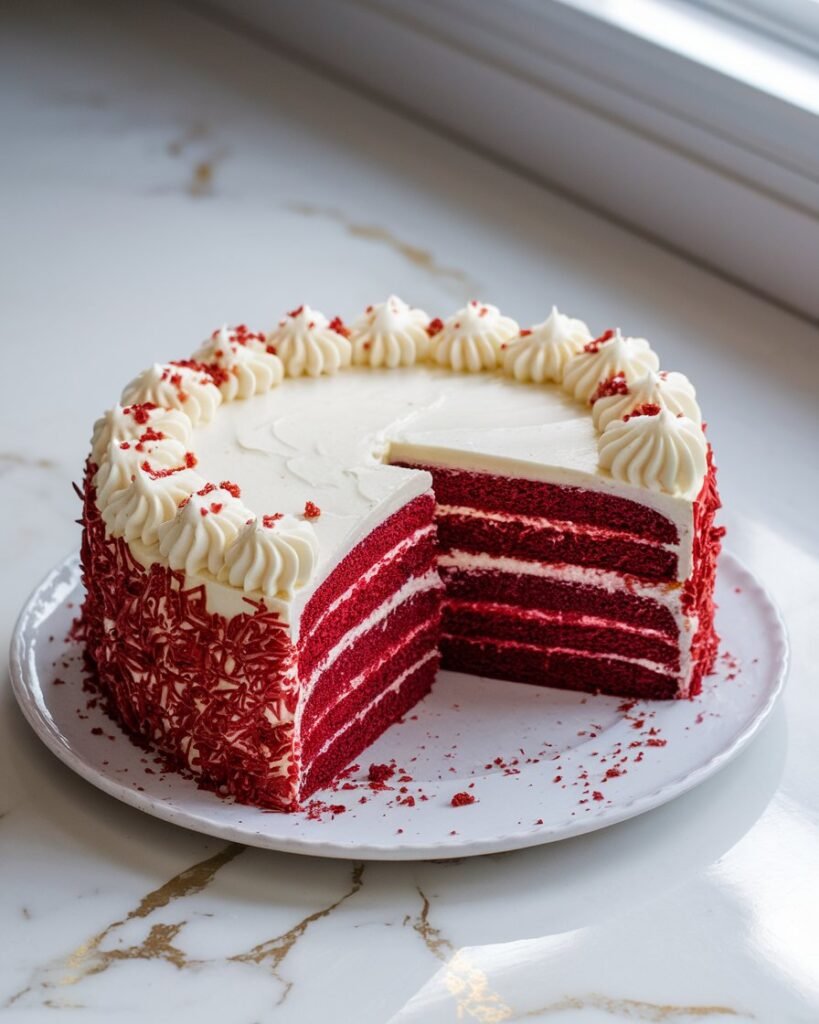
While many desserts come and go, red velvet cake remains a timeless favorite that never disappoints. I’m convinced you’ll fall in love with this recipe that balances traditional elements with unexpected twists.
The secret? A perfect blend of cocoa and vanilla, plus that gorgeous ruby color that makes everyone ask for seconds.
What makes this version special is the extra cornstarch, creating an incredibly tender crumb that melts in your mouth.
And trust me, the hint of vinegar isn’t weird—it’s what gives red velvet its distinctive tang while activating the baking soda for the perfect rise.
Ready to impress your guests?
What Ingredients are in Classic Red Velvet Cake With A Twist?
The magic of red velvet cake lies in its perfect balance of flavors and that stunning crimson color that makes everyone’s eyes widen when you slice into it. This isn’t just any chocolate cake with red food coloring—it’s a delicate dance between cocoa, vanilla, and that signature slight tanginess that makes red velvet uniquely craveable. I’m always amazed at how simple pantry staples can transform into something so elegant and memorable.
Ingredients:
- 2¼ cups all-purpose flour
- 3 tablespoons cornstarch (our special twist for extra tenderness!)
- 3 tablespoons unsweetened cocoa powder
- ½ teaspoon baking soda
- 1 teaspoon baking powder
- ½ teaspoon salt
- 6 tablespoons unsalted butter, at room temperature
- ¾ cup vegetable oil
- 1¾ cups granulated sugar
- 3 large eggs, at room temperature
- 1 tablespoon vanilla extract
- 1½ teaspoons white vinegar
- 3½ tablespoons red food coloring
- ¾ cup buttermilk, at room temperature
A few notes about these ingredients that might save your cake: room temperature isn’t just a suggestion—it’s essential for proper emulsification. Cold eggs or buttermilk can cause your batter to separate or look curdled. And don’t substitute natural food coloring without adjusting quantities; traditional red velvet gets its dramatic hue from a generous amount of red dye. For those concerned about food coloring, there are natural alternatives available, but you might sacrifice some of that show-stopping color that makes red velvet so iconic. The cornstarch might seem unusual, but trust me, it’s the secret to that melt-in-your-mouth texture you’ll dream about later.
Make Ahead Tips for this Classic Red Velvet Cake With A Twist
Planning ahead for special occasions can save so much last-minute stress, and this red velvet cake is perfect for preparing in advance—giving those beautiful flavors time to develop even more depth.
- Cake layers can be baked up to 3 days early – Once completely cooled, wrap each layer individually in plastic wrap, then in aluminum foil. Store at room temperature if using within 24 hours, or refrigerate for up to 3 days. The double-wrapping prevents that dreaded refrigerator smell from seeping into your cake and keeps it moist.
- Freeze unfrosted cake layers for up to 2 months – After cooling completely, wrap each layer in plastic wrap, then foil, and place in freezer bags. Thaw overnight in the refrigerator before unwrapping to prevent condensation from making the cake soggy. Room temperature cake layers are much easier to frost without crumbs getting everywhere, trust me.
- Prep your dry ingredients a week ahead – Whisk together the flour, cornstarch, cocoa powder, baking soda, baking powder, and salt, then store in an airtight container. This little time-saver means you’ll have one less step on baking day, and sometimes those few extra minutes make all the difference when you’re juggling multiple cooking tasks.
- Buttermilk substitute can be made 24 hours in advance – If you don’t have buttermilk on hand, mix ¾ cup of milk with 2¼ teaspoons of lemon juice or white vinegar and let it sit for 5-10 minutes. This mixture can be stored in the refrigerator overnight, just bring it back to room temperature before using—cold ingredients are the enemy of a smooth, well-emulsified batter.
How to Make this Classic Red Velvet Cake With A Twist
Creating this gorgeous red velvet cake is surprisingly straightforward, even for those of us who mightn’t consider ourselves baking wizards. Start by preheating your oven to 350°F and preparing your cake pans—a little grease and flour goes a long way toward preventing that heartbreaking moment when your cake refuses to release from the pan.
In a medium bowl, whisk together 2¼ cups of flour, 3 tablespoons of cornstarch, 3 tablespoons of unsweetened cocoa powder, ½ teaspoon of baking soda, 1 teaspoon of baking powder, and ½ teaspoon of salt. This dry mixture is what gives red velvet its signature texture that’s neither too light nor too dense.
Next comes the creamy base of your cake. In a large bowl, beat 6 tablespoons of room temperature unsalted butter with ¾ cup of vegetable oil and 1¾ cups of granulated sugar until the mixture looks smooth and velvety. One by one, add in 3 large eggs (patience here pays off), followed by 1 tablespoon of vanilla extract.
In a separate bowl, combine ¾ cup of buttermilk with 1½ teaspoons of white vinegar and 3½ tablespoons of red food coloring—this is where the magic happens, transforming an ordinary cake into that eye-catching red velvet we all know and love. The vinegar reacts with the buttermilk and baking soda, not only enhancing the red color but also creating tiny air bubbles that make your cake gloriously tender.
Finally, bring it all together by alternating additions of the flour mixture and buttermilk mixture to your butter-sugar base, mixing gently after each addition. We’re not making bread here—overmixing will activate the gluten and leave you with a tough cake, which is nobody’s definition of velvet, right?
Pour the finished batter into your prepared pans and bake for 25-30 minutes, until a toothpick inserted in the center comes out clean. Remember, patience is a virtue when cooling cakes—resist the urge to frost too soon or you’ll end up with a melty mess.
Once completely cooled, slather with cream cheese buttercream for that classic combination that makes red velvet cake the showstopper it was born to be. For consistent, professional-looking results, our premium cookie set can be repurposed for perfectly portioned cake batter and even frosting application.
Classic Red Velvet Cake With A Twist Substitutions and Variations
While we’ve explored the traditional method for this stunning dessert, let’s shake things up a bit with creative twists on our classic red velvet cake.
Want a healthier version? Try substituting applesauce for oil, or use beet juice instead of artificial coloring for a natural red hue.
Feeling adventurous? Add a tablespoon of espresso powder to deepen the chocolate notes, or fold in mini chocolate chips for surprise texture.
For dietary needs, swap in gluten-free flour blend (just add ¼ teaspoon xanthan gum), or make it vegan with flax eggs and plant-based buttermilk.
Each variation maintains that iconic red velvet charm, with a personalized touch.
What to Serve with Classic Red Velvet Cake With A Twist
Red velvet cake deserves perfect companions to truly shine at your table.
I always recommend serving it with a scoop of vanilla bean ice cream—the contrast between warm and cold textures creates magic in your mouth. A dollop of fresh whipped cream works beautifully too, especially when you add a hint of bourbon for grown-up gatherings.
For beverages, try coffee with caramel notes, a glass of cold milk, or even champagne for celebrations.
Can you imagine a more decadent pairing? Fresh berries on the side add a tart counterpoint that cuts through the richness.
Leftovers and Storage for this Classic Red Velvet Cake With A Twist
Should you find yourself with leftover slices of this gorgeous red velvet cake, proper storage becomes your next mission.
I recommend refrigerating any frosted portions in an airtight container for up to 5 days. The cream cheese frosting makes refrigeration a must, though I always let slices come to room temperature before eating—trust me, the flavors open up beautifully this way.
For longer storage, wrap unfrosted cake layers tightly in plastic wrap and freeze for up to 2 months.
When you’re ready to enjoy, thaw overnight in the fridge. Isn’t it nice knowing your cake creation can be savored well beyond your initial celebration?
Final Thoughts
After spending time with this red velvet cake recipe, I’m convinced it’s one of those desserts that creates memories around the table.
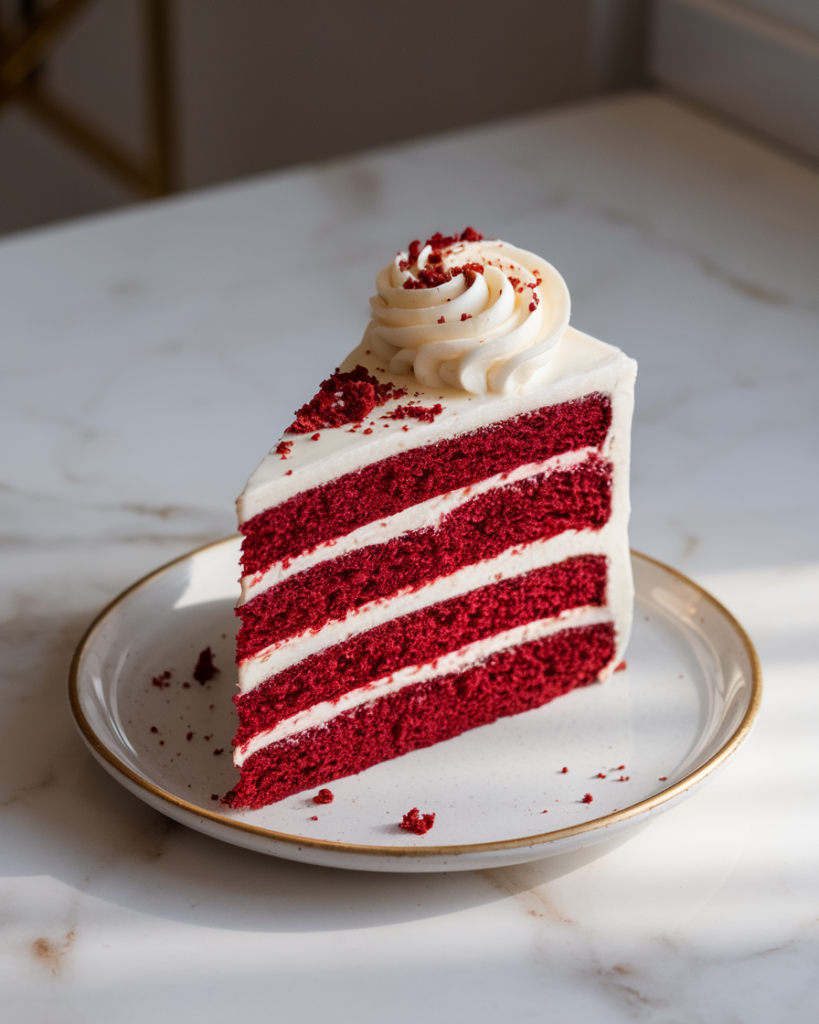
There’s something magical about the deep crimson color against that creamy frosting, don’t you think?
What I love most about this cake is its versatility. You can dress it up for holidays or keep it simple for family dinners.
The slight tang from the buttermilk and vinegar balances the sweetness perfectly.
If you enjoy baking from scratch, you might also appreciate making soft and gooey cinnamon rolls using room temperature ingredients for the best results.