Juicy pan-seared chicken breast is one of those recipes I come back to when I want something dependable that still feels satisfying. I started making it regularly when I realized how easy it is to overcook chicken and how disappointing dry results can be. Learning how to pan-sear it properly completely changed the way I approached weeknight dinners.
I remember the first time I finally nailed the technique and sliced into a chicken breast that was actually juicy inside. It felt like such a small win, but it made dinner instantly better. Since then, this method has become a go-to whenever I need a reliable main dish.
What I love most about juicy pan-seared chicken breast is how simple it is once you understand the basics. With the right heat and a little patience, it turns out tender and flavorful every time. It’s proof that straightforward cooking can still feel like an accomplishment.
Why You’ll Love This Recipe
This juicy pan-seared chicken breast recipe delivers tender, flavorful chicken with a beautifully golden exterior. The pan-searing locks in moisture while building flavor on the outside. Every bite feels satisfying without being heavy.
Another reason this recipe stands out is how quick it is. With just a few ingredients and one pan, dinner comes together efficiently. That makes it perfect for busy weeknights or simple meals.
Families love this recipe because it’s familiar and versatile. The seasoning is simple, making it easy to pair with many sides. This juicy pan-seared chicken breast recipe fits into everyday meals without feeling boring.
Serves: 2 people
This recipe is designed to serve two people with one chicken breast per person. The portions are filling without being excessive. It can easily be doubled for larger meals.
Ingredients You’ll Need
- 2 boneless, skinless chicken breasts
- 1 tablespoon olive oil
- 1/2 teaspoon salt
- 1/4 teaspoon black pepper
- 1/4 teaspoon garlic powder
Pro Tips
Pound the chicken breasts to an even thickness before cooking. This helps them cook evenly and prevents dry edges. Even thickness is key to juicy results.
Let the chicken sit at room temperature for a few minutes before cooking. Cold chicken cooks unevenly. This small step improves texture.
Use a hot pan before adding the chicken. Proper heat creates a good sear and prevents sticking. A hot pan is essential for flavor.
Avoid moving the chicken too early. Letting it sear undisturbed helps develop a golden crust. Patience makes a difference.
Rest the chicken after cooking. This allows juices to redistribute inside the meat. Cutting too soon can cause dryness.
Season simply if serving kids. Mild flavors are widely appealing. Additional seasoning can be added at the table.
Tools You’ll Need
- Heavy skillet or frying pan
- Tongs
- Cutting board
- Knife
- Meat mallet or rolling pin
- Paper towels
Substitutions and Variations
Avocado oil can replace olive oil for higher heat cooking. It has a neutral flavor and works well. Either option produces good results.
Boneless chicken thighs can be used instead of breasts. They are naturally juicier and forgiving. Cooking time may vary slightly.
Different seasonings can be added based on preference. Paprika, Italian seasoning, or dried herbs work well. Keep additions simple to avoid overpowering the chicken.
Butter can be added at the end for extra richness. A small amount goes a long way. This adds flavor without heaviness.
If avoiding garlic powder, leave it out or replace it with another mild spice. The recipe still works well. Simplicity keeps it versatile.
Make Ahead Tips
Juicy pan-seared chicken breast works best when cooked fresh, but a little preparation ahead of time can make the process smoother. You can trim and pound the chicken breasts to an even thickness up to one day in advance. Store them covered in the refrigerator until ready to cook.
Seasoning the chicken ahead of time can also be helpful. Lightly season with salt and pepper and refrigerate for up to 12 hours. This allows the seasoning to absorb gently into the meat.
If you plan to cook later in the day, remove the chicken from the refrigerator about 15 minutes before cooking. Letting it sit briefly at room temperature helps it cook more evenly. This small step supports juicier results.
Cooked chicken breasts can also be made ahead for meal prep. Allow them to cool completely before storing. Reheat gently to avoid drying them out.
Instructions
Step 1: Prepare the Chicken
Place the chicken breasts on a cutting board. Cover them with plastic wrap or parchment paper. Use a meat mallet or rolling pin to pound them to an even thickness.
Pat the chicken dry with paper towels. Removing surface moisture helps achieve a better sear. Even thickness ensures even cooking.
Step 2: Season the Chicken
Sprinkle both sides of the chicken breasts with salt, black pepper, and garlic powder. Rub the seasoning in gently so it adheres evenly. Keep the seasoning simple and balanced.
Allow the seasoned chicken to rest briefly while you heat the pan. This helps the surface dry slightly. Dry surfaces brown better.
Step 3: Heat the Pan
Place a heavy skillet over medium-high heat. Add the olive oil and allow it to heat until shimmering. The pan should be hot but not smoking.
Proper heat is essential for pan-searing. A hot pan creates a golden crust and prevents sticking. Do not add the chicken too early.
Step 4: Sear the First Side
Carefully place the chicken breasts into the hot pan. Lay them away from you to avoid splashing oil. Do not overcrowd the pan.
Let the chicken cook undisturbed for 5 to 6 minutes. Avoid moving or flipping too soon. This allows a deep, golden crust to form.
Step 5: Flip and Finish Cooking
Flip the chicken breasts using tongs. Reduce the heat slightly to medium. Cook for another 5 to 7 minutes on the second side.
The chicken is done when it reaches an internal temperature of 165°F. The juices should run clear. The exterior should be golden and firm.
Step 6: Rest the Chicken
Remove the chicken from the pan and place it on a plate. Let it rest for at least 5 minutes before slicing. Resting allows juices to redistribute.
Do not skip this step. Cutting too soon can release juices and dry out the meat. Resting is key to juiciness.
Step 7: Slice or Serve Whole
Slice the chicken against the grain if desired. This creates tender, easy-to-eat pieces. You can also serve the breasts whole.
Choose how to serve based on your meal. Sliced chicken works well for salads and bowls. Whole pieces are great for plated dinners.
Serving Suggestions
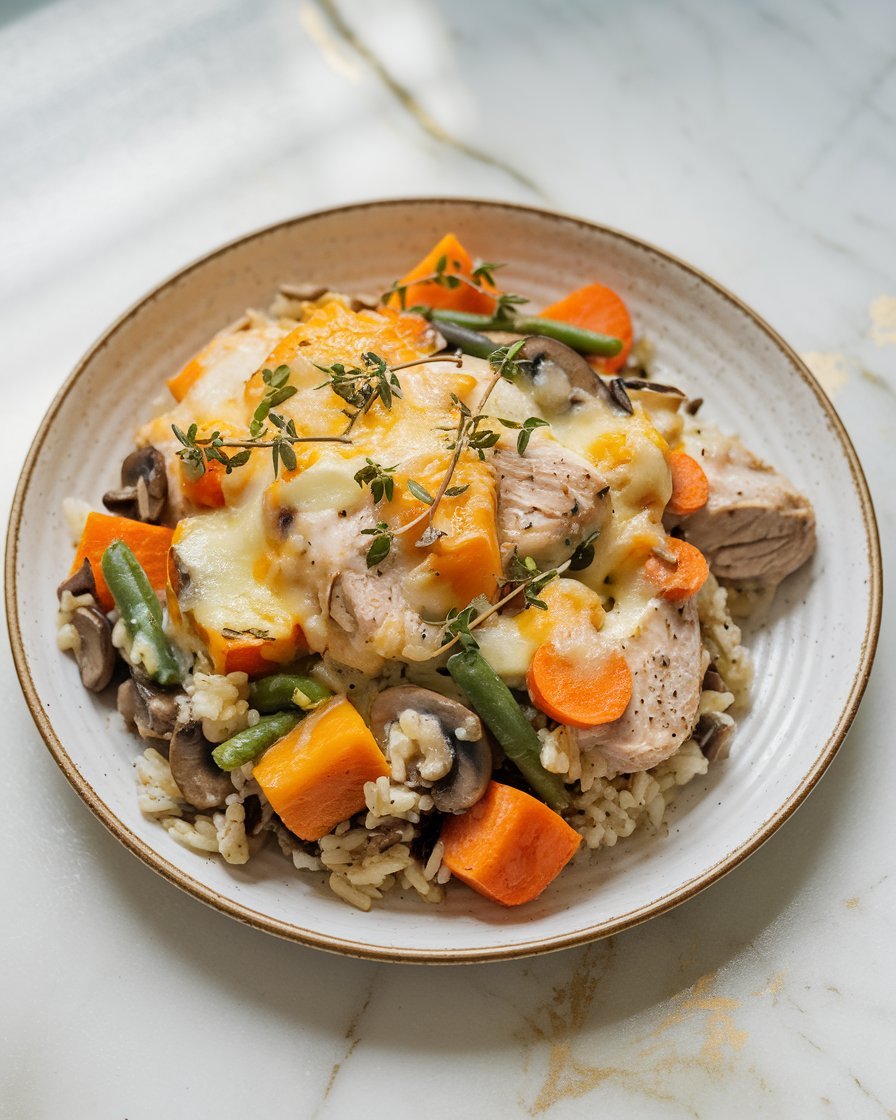
Juicy pan-seared chicken breast pairs well with a wide variety of sides. Serve it with roasted vegetables for a balanced, simple dinner. The flavors stay clean and comforting.
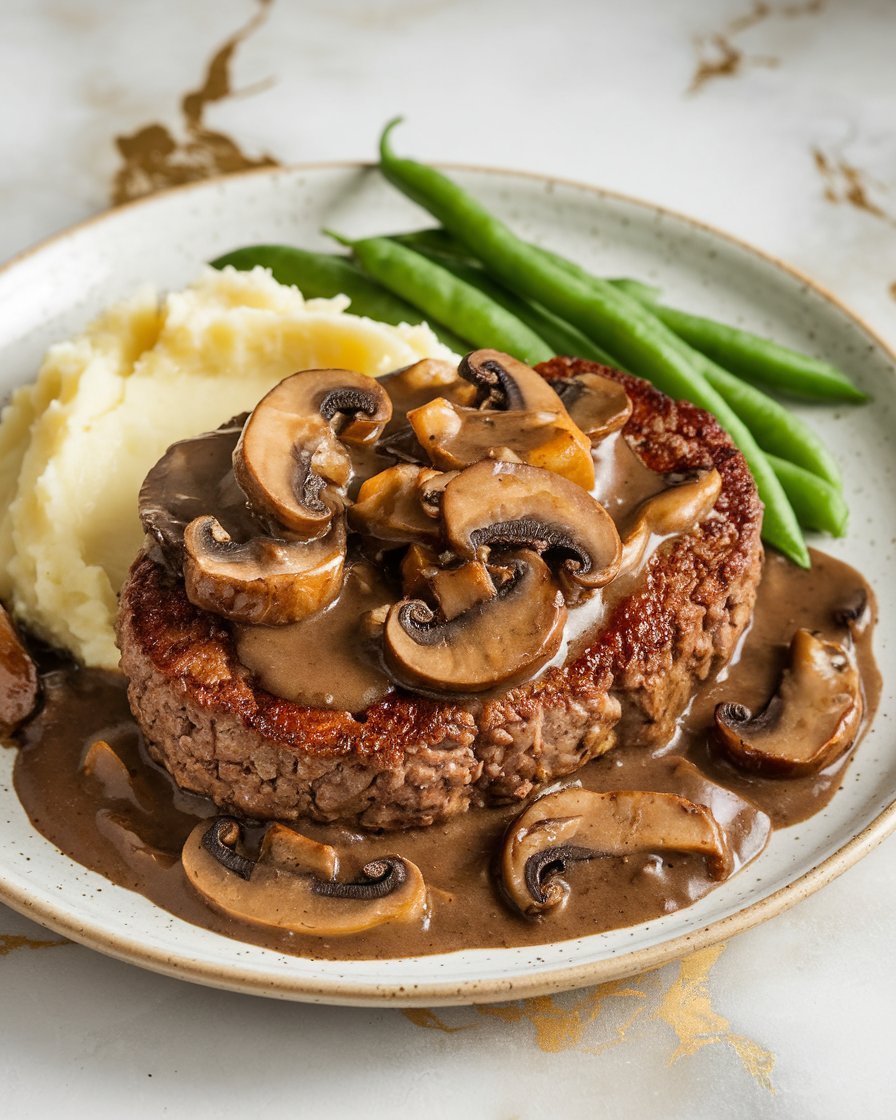
Mashed potatoes or rice make excellent companions. They soak up any juices from the chicken. This creates a satisfying, complete meal.
Slice the chicken and serve it over a fresh salad. The warm chicken adds protein and richness. This works especially well for lunch.
Pan-seared chicken also fits well into wraps or sandwiches. Thin slices stay tender and flavorful. Add simple toppings to keep it balanced.
For a lighter option, serve the chicken with steamed vegetables. The simplicity highlights the juicy texture. This keeps the meal fresh and easy.
Leftovers and Storage
Juicy pan-seared chicken breast stores well when handled carefully, making it a practical option for leftovers and meal prep. Allow the chicken to cool completely before storing to prevent condensation. Moisture buildup can affect texture if stored while still warm.
Place leftover chicken in an airtight container and refrigerate promptly. It will stay fresh for up to three days when properly sealed. Keeping the container tightly closed helps preserve juiciness.
For reheating, use gentle heat to avoid drying out the meat. Warm the chicken in a covered skillet over low heat or microwave in short intervals. Adding a small splash of water or broth can help maintain moisture.
Freezing is also an option if needed. Wrap individual portions tightly and store in a freezer-safe container for up to two months. Thaw overnight in the refrigerator before reheating gently.
Nutrition and Benefits
Juicy pan-seared chicken breast is a lean and protein-rich option that fits well into balanced meals. Chicken breast provides high-quality protein, which supports muscle maintenance and helps keep meals filling. It’s a dependable choice for everyday cooking.
Because this recipe uses minimal oil and simple seasoning, it keeps added fats and sodium controlled. The focus stays on technique rather than heavy sauces. This makes it easy to pair with a variety of sides.
Cooking chicken at home allows full control over ingredients and portions. You can adjust seasoning to suit dietary needs or preferences. That flexibility makes this recipe easy to enjoy regularly.
When served with vegetables, grains, or salads, pan-seared chicken breast becomes part of a well-rounded meal. Its mild flavor complements many foods without overpowering them. This balance adds to its versatility.
Recipe FAQ
Why does my chicken turn out dry?
Dry chicken is usually caused by overcooking or uneven thickness. Pounding the chicken evenly and monitoring cooking time helps prevent this. Resting the chicken after cooking is also essential.
Can I use frozen chicken breasts?
Yes, but they must be fully thawed before cooking. Thaw in the refrigerator overnight for best results. Cooking frozen chicken directly can lead to uneven cooking.
How do I know when the chicken is done?
The safest way is to check that the internal temperature reaches 165°F. The juices should run clear, and the chicken should feel firm. Avoid guessing to prevent overcooking.
Can I season the chicken differently?
Yes, this recipe is very adaptable. You can add herbs, spices, or spice blends you enjoy. Keep additions simple so the chicken remains versatile.
Is it better to cook on high heat the whole time?
Starting with medium-high heat helps create a sear, but lowering the heat after flipping prevents burning. Adjusting heat helps the chicken cook through evenly.
Can I make this recipe for meal prep?
Yes, pan-seared chicken breast works well for meal prep. Store portions properly and reheat gently. It stays flavorful for several days.
What pan works best for this recipe?
A heavy skillet, such as stainless steel or cast iron, works best. These pans retain heat well and help create a good sear. Nonstick pans can work but may not brown as deeply.
A Simple Technique That Makes Chicken Worth Repeating
Juicy pan-seared chicken breast proves that great results don’t require complicated recipes. With just a few ingredients and the right technique, you can turn a basic protein into something consistently satisfying. The focus on even cooking and proper heat makes all the difference.
This recipe fits naturally into busy routines because it’s quick, flexible, and reliable. It works for family dinners, meal prep, or simple lunches without feeling repetitive. The clean flavor makes it easy to pair with almost anything.
Whether you’re cooking for yourself or sharing a meal with others, this method delivers confidence in the kitchen. Juicy pan-seared chicken breast is the kind of recipe that quietly becomes a staple, one you return to whenever you want something dependable and good.