I’ve been on a quest for pie crust perfection, and let me tell you, this recipe is truly foolproof. Ever struggled with tough, crumbly crusts that fall apart? Those days are over.
The secret lies in the balance of ingredients—that egg and vinegar combo creates magic that’s both tender and flaky.
Even if you’ve had pie disasters before (haven’t we all?), this method simplifies the process without sacrificing quality.
Want to know what makes this crust work when others fail?
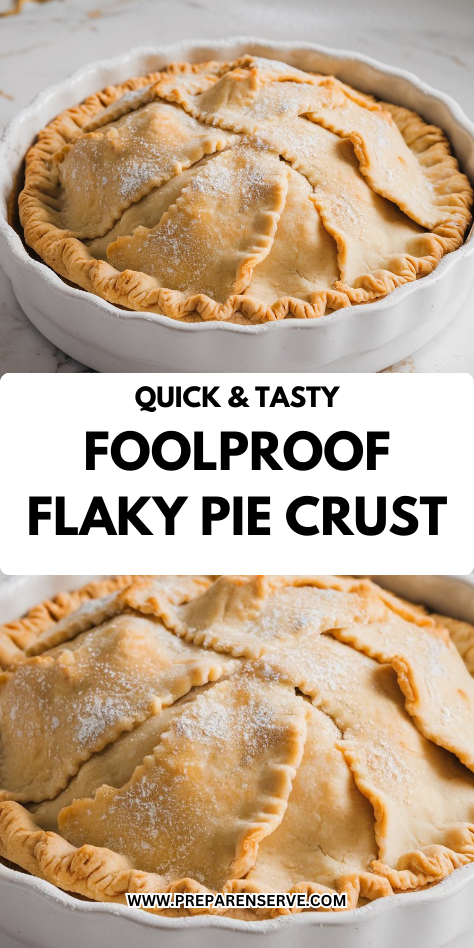
Why You’ll Love this Foolproof Flaky Pie Crust
After years of testing countless pie crust recipes, I can confidently say this is the one you’ll reach for time and again.
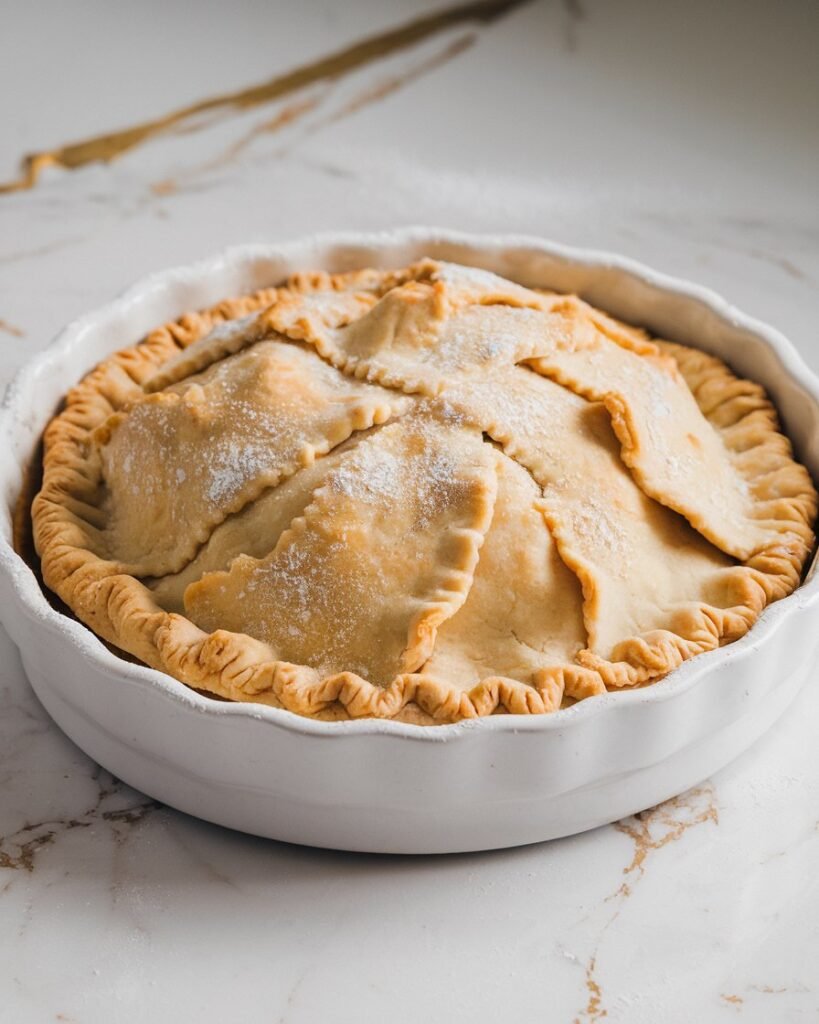
What makes it special? The perfect balance of tender and flaky, with just enough structure to hold your favorite fillings.
This crust never fails, hence the name. The secret? Cold ingredients and minimal handling. Plus, the addition of vinegar and egg creates a dough that’s easier to work with than traditional recipes.
Can you imagine impressing your guests with a pie that looks and tastes homemade from scratch? Trust me, this recipe makes it possible.
What Ingredients are in Foolproof Flaky Pie Crust?
This never-fail pie crust recipe uses just a handful of simple ingredients you probably already have in your pantry.
- 3 cups all-purpose flour
- 1½ teaspoons salt
- 1 cup shortening
- 1 egg
- 5 tablespoons cold water
- 1 tablespoon vinegar
The temperature of your ingredients matters tremendously—keeping everything cold helps prevent the shortening from melting before baking, which is what creates those beautiful, flaky layers we all dream about in a perfect pie crust.
How to Make this Foolproof Flaky Pie Crust
In a large bowl, combine 3 cups of all-purpose flour and 1½ teaspoons of salt.
Give them a quick whisk or stir to distribute the salt evenly throughout the flour—this guarantees consistent flavor in every bite of your finished crust. Using tools from a premium cookware set will make this process easier and more efficient.
Step 2: Cut in the shortening
Add 1 cup of shortening to your flour mixture. Using a pastry blender, two knives, or even your fingertips (though they’ll warm the fat), cut the shortening into the flour until the mixture resembles coarse crumbs. The pieces should vary in size from pea-sized to small lima beans.
Step 3: Prepare the liquid ingredients
In a small bowl, beat together 1 egg, 5 tablespoons of cold water, and 1 tablespoon of vinegar.
The vinegar helps prevent gluten development, which keeps your crust tender rather than tough—it’s a little secret that makes a world of difference.
Step 4: Combine wet and dry ingredients
Pour the egg mixture into your flour and shortening mixture. Using a fork or wooden spoon, stir gently until just combined.
The dough might look a bit shaggy, but that’s perfectly fine—overworking leads to a tough crust, and nobody wants that.
Step 5: Divide and shape the dough
Divide your dough into two equal portions and shape each into a disc about 1-inch thick.
Wrapping each disc tightly in plastic wrap not only prevents them from drying out but also helps the edges stay smooth.
Step 6: Chill the dough
Place your wrapped dough discs in the refrigerator for at least 30 minutes before rolling.
This vital resting period allows the gluten to relax and the fats to firm up again, which will give you that gloriously flaky texture when baked.
Step 7: Roll out your perfect crust
On a lightly floured surface, roll each disc from the center outward into a circle about 12 inches in diameter and ⅛-inch thick.
Keep rotating the dough as you roll to maintain an even circle shape and prevent sticking to your work surface.
Step 8: Transfer and fill
Gently fold your rolled dough in half, then in quarters, to easily transfer it to your pie plate without tearing.
Center the point in your plate, unfold, and press gently into the corners without stretching the dough, which can cause shrinking during baking.
What to Serve with Foolproof Flaky Pie Crust
This versatile pie crust works beautifully with both sweet and savory fillings.
For dessert pies, consider serving with a scoop of vanilla bean ice cream or freshly whipped cream (the real stuff, not from a can).
A drizzle of warm caramel sauce or a sprinkle of cinnamon sugar takes fruit pies to the next level.
On the savory side, this crust makes an incredible quiche or pot pie that pairs perfectly with a simple green salad dressed in vinaigrette.
For brunch, serve a slice of savory pie alongside fresh fruit and a mimosa. And don’t forget coffee or tea—their slight bitterness balances the richness of the buttery crust in such a satisfying way.
Foolproof Flaky Pie Crust Substitutions and Variations
- Texture Twist: For extra flakiness, fold the dough like a letter once or twice before chilling.
- Finishing Touch: Brush crust with egg wash for shine, sprinkle with coarse sugar for sweetness, or add flaky salt for savory pies.
Leftovers and Storage for this Foolproof Flaky Pie Crust
This pie crust dough is a meal-prep superstar. You can refrigerate unused dough discs for up to 3 days, tightly wrapped in plastic to prevent drying out.
For longer storage, freeze those little treasures for up to 3 months! Just wrap each disc in plastic, then aluminum foil, and place in a freezer bag.
To use frozen dough, thaw overnight in the refrigerator—never at room temperature, which can make your crust greasy rather than flaky.
Already baked an empty shell? Store at room temperature for 2 days or refrigerate for up to 5 days.
To refresh, pop in a 350°F oven for 5 minutes to crisp it back up.
Final Thoughts
This Never Fail Pie Crust lives up to its confident name, delivering that perfect balance of flakiness and structure that makes homemade pies truly special.
There’s something deeply satisfying about mixing those simple ingredients—flour, shortening, egg, and that surprising splash of vinegar—into a dough that transforms ordinary fillings into memorable desserts.
It’s my go-to recipe for holiday gatherings when expectations run high, but equally perfect for those Sunday afternoon baking sessions when you want something reliable yet impressive.
Whether you’re a seasoned baker or just starting out, this recipe offers that rare combination of foolproof technique and spectacular results—the kind that makes passing your plate for seconds simply inevitable.