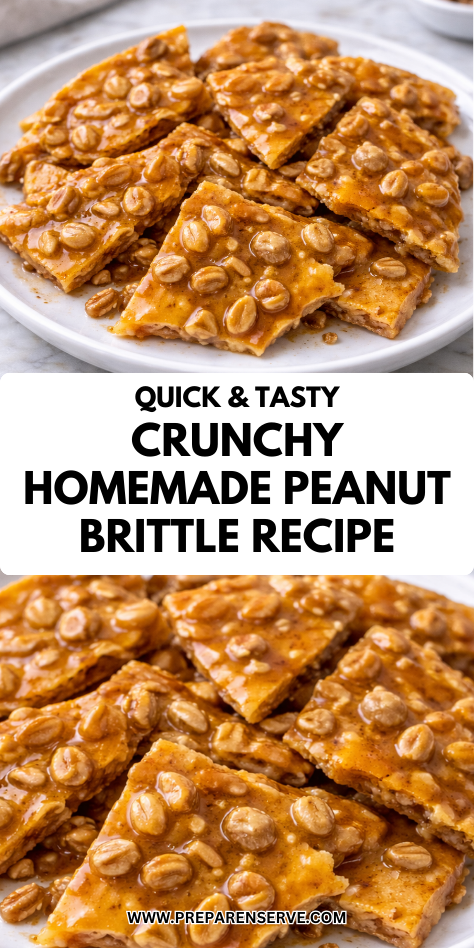
I’ve been obsessed with homemade candy lately, and this crunchy peanut brittle might just be my new favorite.
There’s something magical about that perfect snap when you bite into the golden caramelized sugar studded with roasted peanuts. The best part? You can make this sweet treat in your microwave, no candy thermometer required.
Trust me, once you discover how simple it is to create this addictive confection, you’ll wonder why you ever bought the store-bought version.
Why You’ll Love this Crunchy Homemade Peanut Brittle
Once you taste this homemade peanut brittle, you’ll wonder why you ever bought the store-bought version. The satisfying crack when you bite into it, followed by that perfect blend of caramelized sugar and roasted peanuts, is simply unbeatable.
I’m particularly fond of how customizable this recipe is. Don’t like peanuts? Swap in cashews or almonds. Want a hint of spice? Add a pinch of cayenne.
The microwave method makes this treat incredibly accessible—no candy thermometer needed, no standing over a hot stove. Just a few minutes of your time and you’ve got a delicious candy that’s perfect for gifting or sneaky midnight snacking.
What Ingredients are in Crunchy Homemade Peanut Brittle?
This simple peanut brittle recipe requires just a handful of basic ingredients that transform into a magical, crunchy candy with minimal effort.
- 1 cup sugar
- 1/2 cup light corn syrup
- 1 cup roasted peanuts
- 1 tablespoon butter
- 1 teaspoon vanilla
- 1 teaspoon baking soda
When shopping for these ingredients, quality matters—especially for the peanuts, which provide that distinctive flavor we all love in a good brittle, so consider splurging on freshly roasted ones if you can find them.
How to Make this Crunchy Homemade Peanut Brittle
Step 1:
Before you start cooking, measure out all ingredients and have them ready to go. Grease a baking sheet and set it aside. Trust me, once the cooking starts, things move quickly, and there’s no time for measuring or hunting for ingredients.
Step 2: Heat Sugar and Corn Syrup
Combine 1 cup sugar and 1/2 cup light corn syrup in a microwave-safe bowl. Heat this mixture for 4 minutes on high power, watching as the sugars melt into a bubbling potion of sweetness.
Step 3: Add Peanuts and Continue Cooking
Stir 1 cup roasted peanuts into your hot sugar mixture. Pop it back into the microwave for another 3-4 minutes until it reaches a light golden color.
The fragrance of toasting peanuts will start to fill your kitchen—possibly the most comforting smell in candy-making.
Step 4: Incorporate Butter and Vanilla
Add 1 tablespoon butter and 1 teaspoon vanilla to the hot mixture, stirring well to combine. The butter adds richness while the vanilla brings depth to the flavor profile that makes homemade brittle so much better than store-bought.
Step 5: Microwave to Perfect Color
Return the mixture to the microwave for another 1-2 minutes, cooking until it achieves a gorgeous golden brown color.
This is where patience pays off—too light and the brittle will be soft, too dark and it’ll taste burnt.
Step 6: Add Baking Soda and Create the Magic
Quickly stir in 1 teaspoon baking soda, watching in wonder as the mixture foams and expands.
This reaction creates the airy, crunchy texture that makes peanut brittle so irresistible.
Step 7: Pour and Spread
Immediately pour the foaming mixture onto your prepared baking sheet. Working quickly, spread it into a thin layer.
The thinner you spread it, the crunchier your brittle will be.
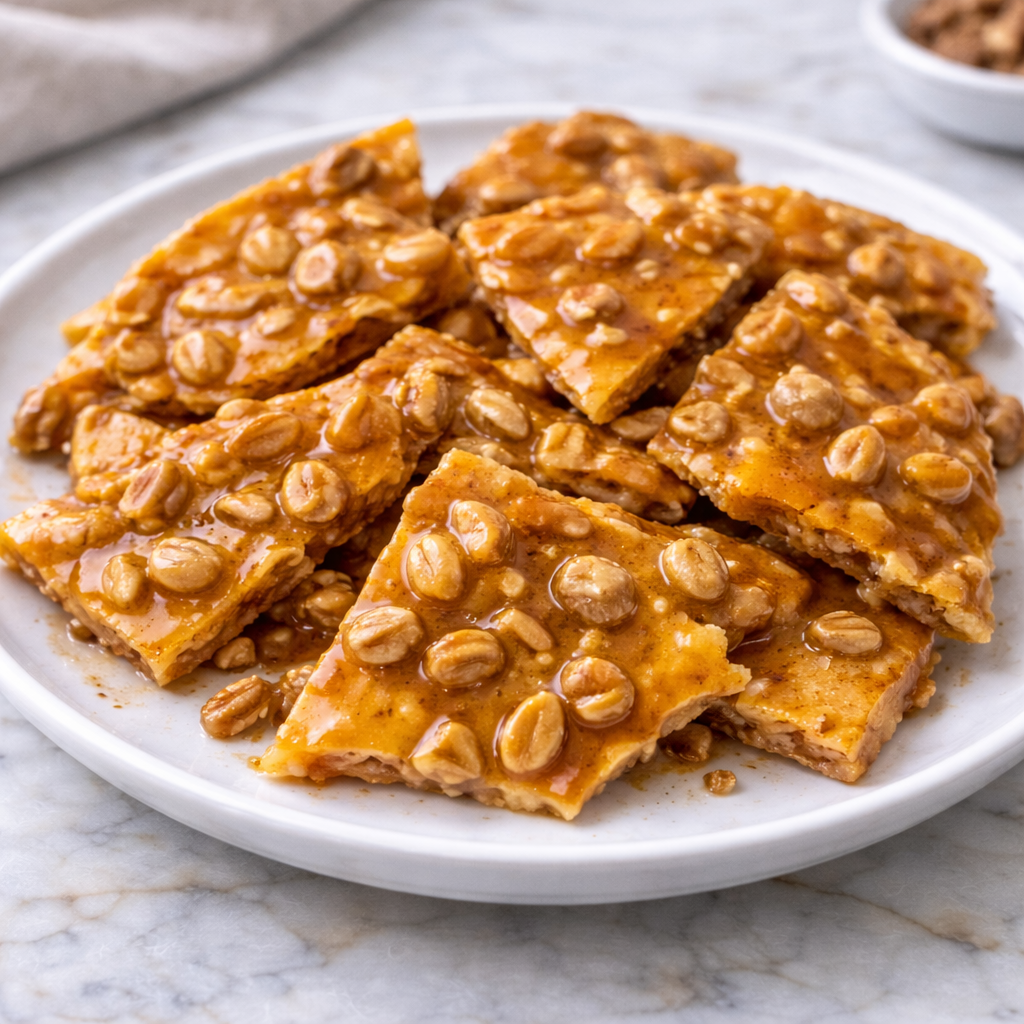
Step 8: Cool and Break
Allow the brittle to cool completely at room temperature, which usually takes about an hour.
Once cooled, break it into irregular pieces—I find this is a perfect opportunity to taste-test the smaller bits, for quality control purposes, of course.
When serving at gatherings, consider using a premium snack serving set to elevate the presentation of your homemade peanut brittle.
What to Serve with Crunchy Homemade Peanut Brittle
Peanut brittle makes for an irresistible treat on its own, but pairing it with complementary flavors takes the experience to new heights. A scoop of vanilla ice cream creates magic as the cold creaminess contrasts with the brittle’s crunch.
For coffee lovers, a hot cappuccino or espresso balances the sweetness perfectly—the bitter notes cutting through the candy’s richness.
Try serving brittle alongside fresh apple slices for a revitalizing counterpoint, or incorporate pieces into a cheese board next to aged cheddar and brie for a sweet-savory sensation.
At holiday gatherings, I love setting out brittle with hot chocolate topped with whipped cream. This versatile snack works brilliantly for afternoon pick-me-ups or as a casual dessert when company drops by unexpectedly.
Crunchy Homemade Peanut Brittle Substitutions and Variations
- Nut Options: Swap peanuts for almonds, pecans, cashews, or a mixed nut blend for a gourmet twist.
- Dietary Needs: Replace butter with coconut oil for dairy-free version.
The recipe is naturally gluten-free.
- Lower Sugar: Try reducing sugar by 1/4 cup and using a sugar-free syrup alternative (though texture may differ).
- Flavor Boosters: Add 1/2 teaspoon cinnamon, a pinch of cayenne for heat, or 1/4 teaspoon sea salt for a sweet-salty balance.
- Chocolate Lovers: Drizzle cooled brittle with melted dark, milk, or white chocolate.
- Holiday Versions: Fold in crushed candy canes for Christmas, or mix in pumpkin seeds and warming spices for fall.
- Texture Play: Sprinkle with flaky sea salt before cooling for a professional finish.
Leftovers and Storage for this Crunchy Homemade Peanut Brittle
This peanut brittle keeps remarkably well when stored properly. Here’s how to maintain that perfect crunch:
- Store in an airtight container at room temperature, with parchment paper between layers to prevent sticking. It will stay fresh for up to 3 weeks.
- For longer storage, freeze in a sealed container for up to 3 months. No need to thaw completely—brittle tastes delicious with a slight chill!
- To keep brittle from becoming sticky in humid weather, add a silica gel packet to your storage container (just don’t eat it!).
- If brittle softens slightly, refresh it by placing pieces on a baking sheet in a 200°F oven for 5 minutes, then cooling completely.
- Unlike many desserts, peanut brittle actually maintains its delightful texture and flavor profile over time, making it perfect for making ahead for gifts or gatherings.
Final Thoughts
This homemade peanut brittle represents comfort candy at its finest—simple ingredients transforming into something magical with just a bit of heat and patience.
The combination of caramelized sugar, roasted peanuts, and that perfect shattering crunch creates a treat that feels both nostalgic and impressive.
It’s particularly wonderful during holiday season when homemade gifts carry extra meaning, but honestly, a batch tucked away in your kitchen provides sweet moments year-round.
Whether you’re a candy-making novice or seasoned pro, there’s something deeply satisfying about watching that baking soda work its foaming magic, knowing the delicious results will soon follow.