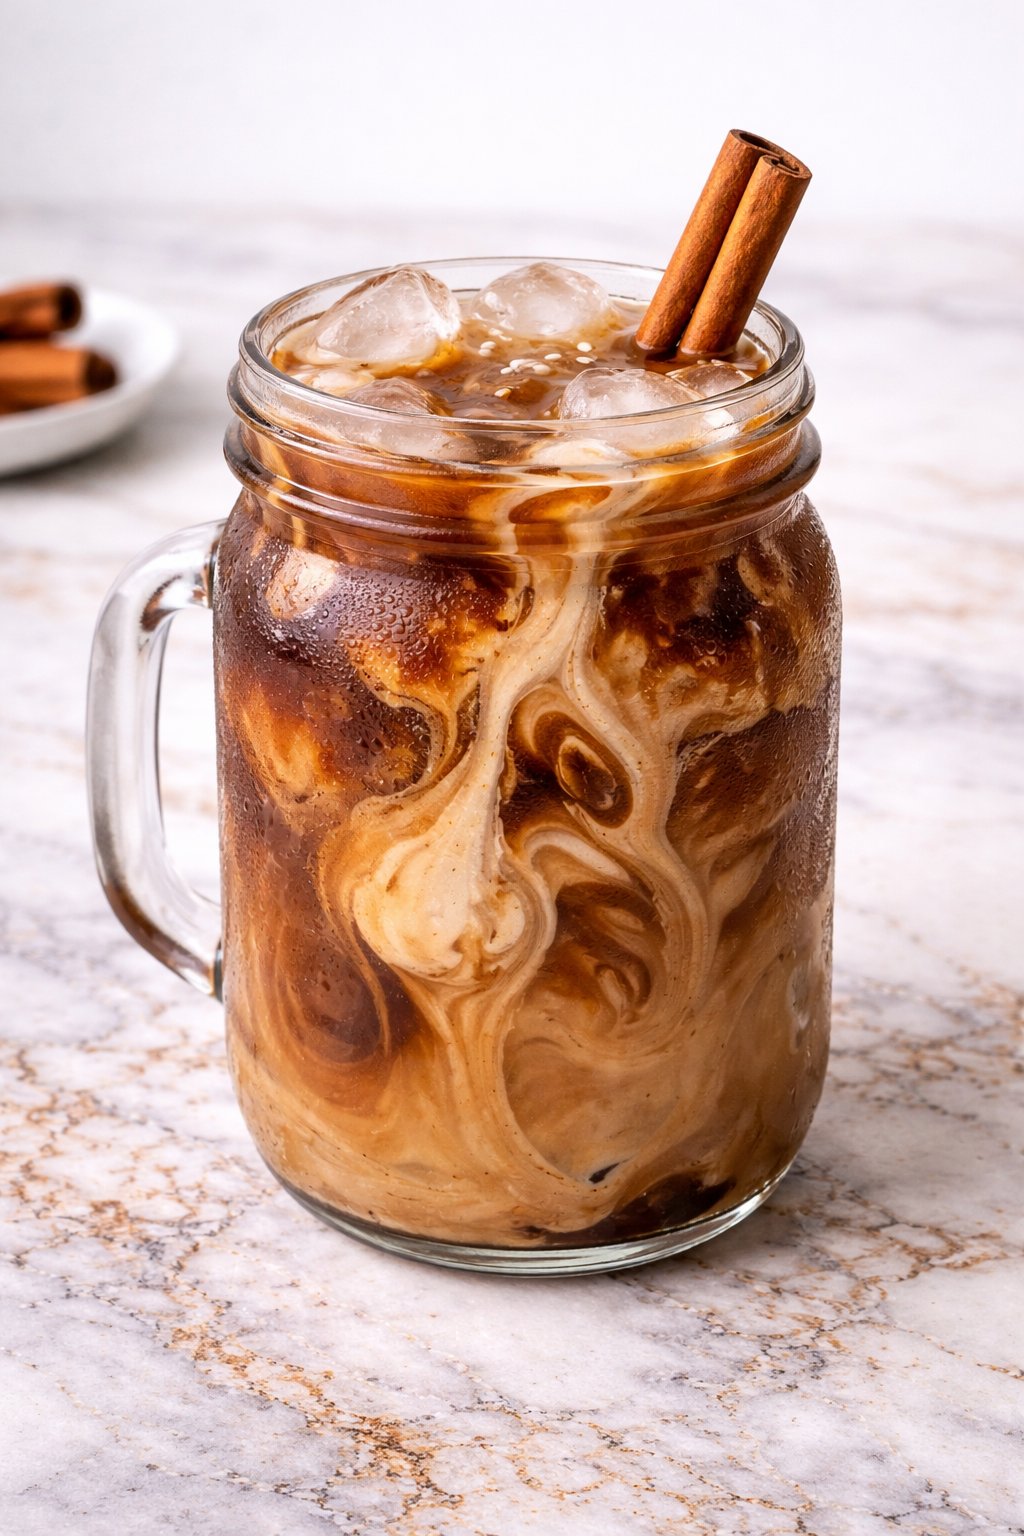
A creamy homemade milkshake is one of those treats that instantly brings comfort and familiarity. It’s simple, smooth, and indulgent without needing fancy ingredients or special equipment.
In my home, milkshakes have always been about slowing down for a moment and enjoying something cold, sweet, and satisfying together.
What makes a homemade milkshake special is how easy it is to tailor to exactly what you’re craving. You control the texture, the sweetness, and the flavor, which means every glass feels just right. This recipe is the one I return to whenever I want something classic, reliable, and quietly joyful.
Why You’ll Love This Recipe
This Creamy Homemade Milkshake Recipe is rich, smooth, and perfectly balanced. The texture is thick without being heavy, and each sip feels cold, comforting, and indulgent. It delivers that classic milkshake experience without tasting overly sweet.
The recipe is incredibly simple and beginner-friendly. With just a few ingredients and a blender, you can have a milkshake ready in minutes. There’s no cooking, chilling, or complicated prep required.
Families love this recipe because it’s endlessly customizable. Kids enjoy choosing flavors and toppings, while adults appreciate how easy it is to adjust sweetness and richness. It’s a recipe that works just as well for a casual treat as it does for a special moment.
Serves: 2 people
This recipe makes two generous milkshake servings. The portions are perfect for sharing without leftovers. It can easily be doubled if you’re serving more people.
Ingredients You’ll Need
Milkshake Base
- 3 cups vanilla ice cream
- 1 cup cold milk
Optional Flavor Add-Ins
- Chocolate syrup
- Strawberry syrup or fresh strawberries
- Peanut butter
- Vanilla extract
Optional Toppings
- Whipped cream
- Chocolate shavings
- Sprinkles
- Maraschino cherries
Pro Tips
Use high-quality ice cream for the best flavor and texture. Since ice cream is the main ingredient, its quality really matters. Creamier ice cream creates a smoother milkshake.
Start with less milk and add more as needed. This helps control thickness. You can always thin a milkshake, but it’s harder to thicken it once blended.
Let the ice cream soften slightly before blending. This makes blending easier and prevents overworking the blender. Softened ice cream also creates a smoother texture.
Blend just until smooth. Overblending can melt the ice cream too much and thin the milkshake. A quick blend keeps it thick and creamy.
Serve immediately after blending. Milkshakes taste best when fresh and cold. Waiting too long can affect texture.
Tools You’ll Need
- Blender
- Measuring cups
- Spoon or spatula
- Tall glasses for serving
Substitutions and Variations
You can use chocolate or strawberry ice cream instead of vanilla for a stronger base flavor. Each creates a different classic milkshake style. Adjust add-ins accordingly.
For a dairy-free option, use plant-based ice cream and non-dairy milk. Almond, oat, or coconut milk all work well. Choose unsweetened milk for better control of sweetness.
If you prefer a lighter milkshake, use less ice cream and more milk. This creates a thinner, drinkable consistency. It’s great if you prefer sipping over spooning.
To boost flavor without extra sweetness, add a splash of vanilla extract or a pinch of salt. Small additions can enhance overall taste. Balance is key.
You can turn this into a malted milkshake by adding malted milk powder. Use a small amount to start. It adds a nostalgic flavor many people love.
Make Ahead Tips
Creamy homemade milkshakes are best enjoyed immediately, but a little planning can still help when timing matters. You can pre-scoop the ice cream onto a lined tray and freeze the scoops ahead of time. This makes blending faster and helps control texture.
Milkshake add-ins like chocolate syrup, peanut butter, or fruit can be measured and stored in the refrigerator ahead of time. Having everything ready makes the blending process quick and smooth. This is especially helpful when making milkshakes for more than one person.
If you need to hold a milkshake briefly, you can place it in the freezer for up to 15 minutes. Stir gently before serving to restore texture. Longer freezing times can make it too firm.
Instructions
Step 1: Prepare the Ingredients
Remove the ice cream from the freezer and let it sit for a few minutes to soften slightly. This makes blending easier and helps create a smooth texture. Measure out the milk and any flavor add-ins you plan to use.
Softened ice cream blends more evenly. This prevents overworking the blender. Taking a few minutes here improves the final result.
Step 2: Add Ice Cream to the Blender
Place the softened ice cream into the blender first. Adding the thickest ingredient at the bottom helps the blades catch properly. This creates a smoother blend.
Use a spatula to scrape all the ice cream into the blender. Accurate measurements help keep the milkshake balanced. Too much ice cream can make blending difficult.
Step 3: Add the Milk
Pour the cold milk over the ice cream. Start with a smaller amount if you prefer a thicker milkshake. You can always add more later.
Milk helps loosen the ice cream and start the blending process. Cold milk keeps the milkshake chilled. Adjusting liquid controls consistency.
Step 4: Add Flavorings
Add any optional flavorings like chocolate syrup, peanut butter, or vanilla extract. Keep additions measured so the flavor stays balanced. Small amounts go a long way.
This step allows for customization. You can tailor each milkshake to preference. Mixing flavors creates variety without extra effort.
Step 5: Blend Until Smooth
Secure the blender lid and blend on low speed at first. Gradually increase to medium until smooth and creamy. This usually takes 20 to 30 seconds.
Stop blending once the milkshake is smooth. Overblending can melt the ice cream too much. A quick blend keeps it thick.
Step 6: Check Consistency
Stop the blender and check the milkshake texture. If it’s too thick, add a small splash of milk and blend briefly. If too thin, add a scoop of ice cream.
Adjusting slowly helps maintain control. The ideal texture is thick but pourable. Make small changes as needed.
Step 7: Serve Immediately
Pour the milkshake into tall glasses right away. Top with whipped cream or other toppings if desired. Serve while cold and creamy.
Freshly blended milkshakes have the best texture. Waiting too long can affect thickness. Enjoy immediately for best results.
Serving Suggestions
Serve creamy homemade milkshakes immediately for the best experience. The cold, thick texture is most enjoyable right after blending. Chilled glasses add an extra touch.
Milkshakes pair well with simple desserts or salty snacks. Fries, cookies, or brownies create a classic contrast. Sweet and salty together feel nostalgic and fun.
For gatherings, set up a milkshake bar with different syrups and toppings. Let everyone customize their own. This makes serving interactive and enjoyable.
Milkshakes also work as a special treat after dinner. Serve in smaller glasses for portion control. A little goes a long way when it’s rich and creamy.
Leftovers and Storage
Creamy homemade milkshakes are truly at their best when enjoyed right after blending, but short-term storage is possible if needed. If you have leftover milkshake, transfer it to an airtight container and place it in the freezer rather than the refrigerator. The freezer helps preserve texture better than refrigeration.
When ready to enjoy again, let the milkshake sit at room temperature for a few minutes. Stir or re-blend briefly to bring back a smooth, drinkable consistency. The texture may not be exactly the same as freshly made, but the flavor will still be enjoyable.
For best results, avoid storing milkshakes with toppings already added. Whipped cream and garnishes do not hold well over time. Always add toppings fresh just before serving.
Nutrition and Benefits
Creamy homemade milkshakes are a treat meant to be enjoyed mindfully and in moderation. They provide energy from carbohydrates and fats, making them satisfying and comforting. Because they are rich, smaller portions often feel enough.
Making milkshakes at home gives you control over ingredients and sweetness. You can choose high-quality ice cream, adjust milk amounts, and limit added syrups. This makes homemade milkshakes a more intentional option than store-bought versions.
Milkshakes can also be adapted to include nutritional boosts. Adding nut butter, fruit, or protein-rich ingredients can increase satiety. This flexibility allows the milkshake to fit different needs and occasions.
Recipe FAQ
Why is my milkshake too thin?
A thin milkshake usually has too much milk or was overblended. Add more ice cream and blend briefly to thicken it. Start with less liquid next time.
Why is my milkshake too thick?
Too much ice cream or very cold ingredients can make blending difficult. Add a small splash of milk and blend again. Adjust slowly for best texture.
Can I make this milkshake without a blender?
A blender works best for smooth texture, but you can mash softened ice cream and stir vigorously. The result will be thicker and less smooth. A blender is recommended.
Can I use flavored ice cream?
Yes, flavored ice cream works very well. Chocolate, strawberry, or coffee ice cream create instant variations. Adjust add-ins to match the base flavor.
Is this recipe kid-friendly?
Yes, it is very kid-friendly. Kids enjoy the creamy texture and simple flavors. You can control sweetness easily.
Can I make a dairy-free milkshake?
Yes, plant-based ice cream and non-dairy milk work well. Choose creamy alternatives for best results. Texture may vary slightly by brand.
Can I double the recipe?
Yes, this recipe doubles easily. Make sure your blender can handle the volume. Blend in batches if needed.
A Comforting Classic You’ll Always Enjoy Coming Back To
Creamy homemade milkshakes are one of those simple treats that never lose their charm. They’re smooth, indulgent, and easy to customize for any craving or moment.
Whether shared or enjoyed quietly, it’s a classic recipe that always feels just right.