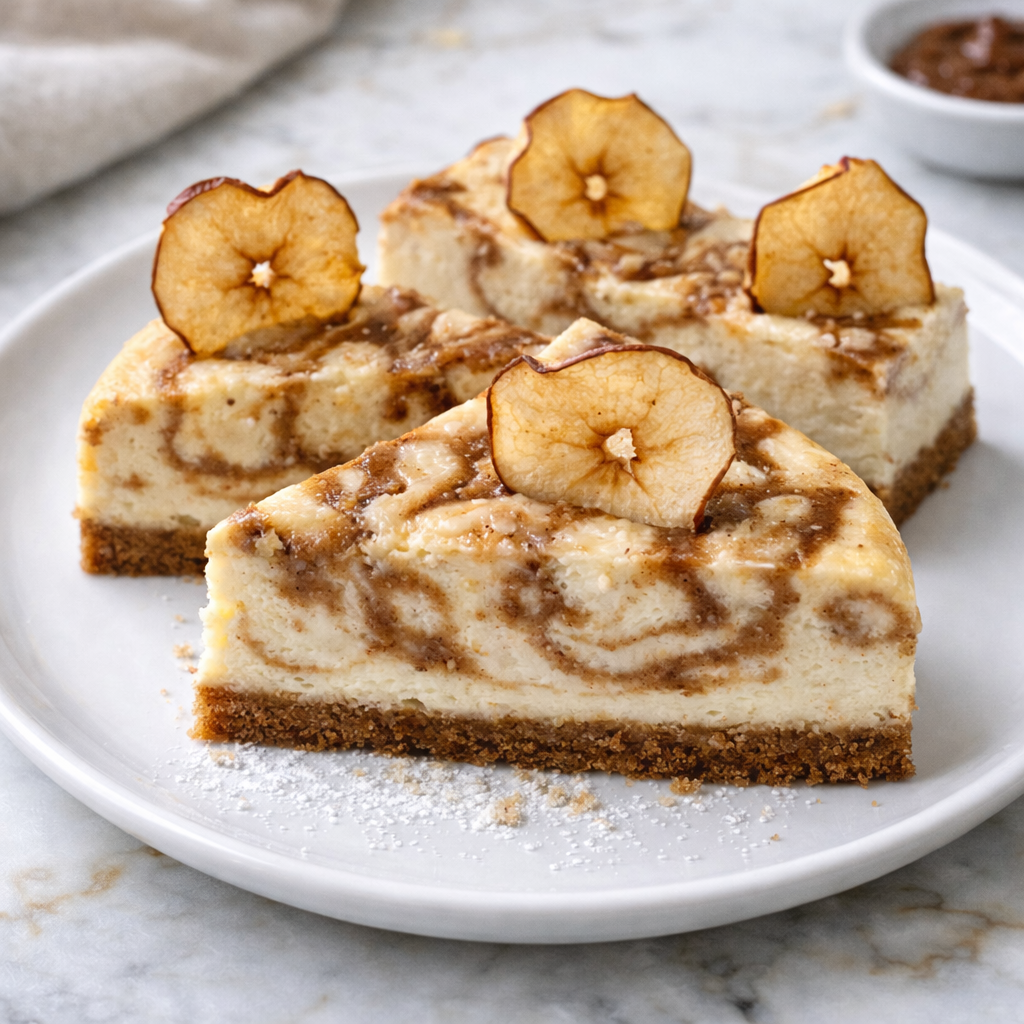
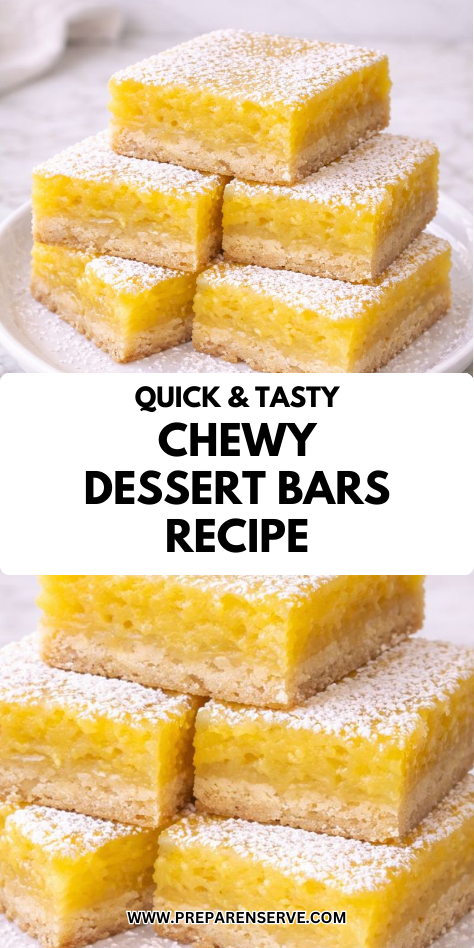
Chewy dessert bars are one of those treats that always feel comforting and familiar. They are the kind of dessert I make when I want something homemade but easy to slice, serve, and share without extra effort. In my kitchen, these bars are often the first thing to disappear, especially when everyone wants “just one more piece.”
This recipe came from wanting a dessert that landed right in the middle of soft and sturdy. I wanted bars that stayed chewy in the center, held together beautifully, and tasted just as good the next day. Every time I bake these chewy dessert bars, they remind me why simple, pan-baked desserts are such a reliable favorite.
Why You’ll Love This Recipe
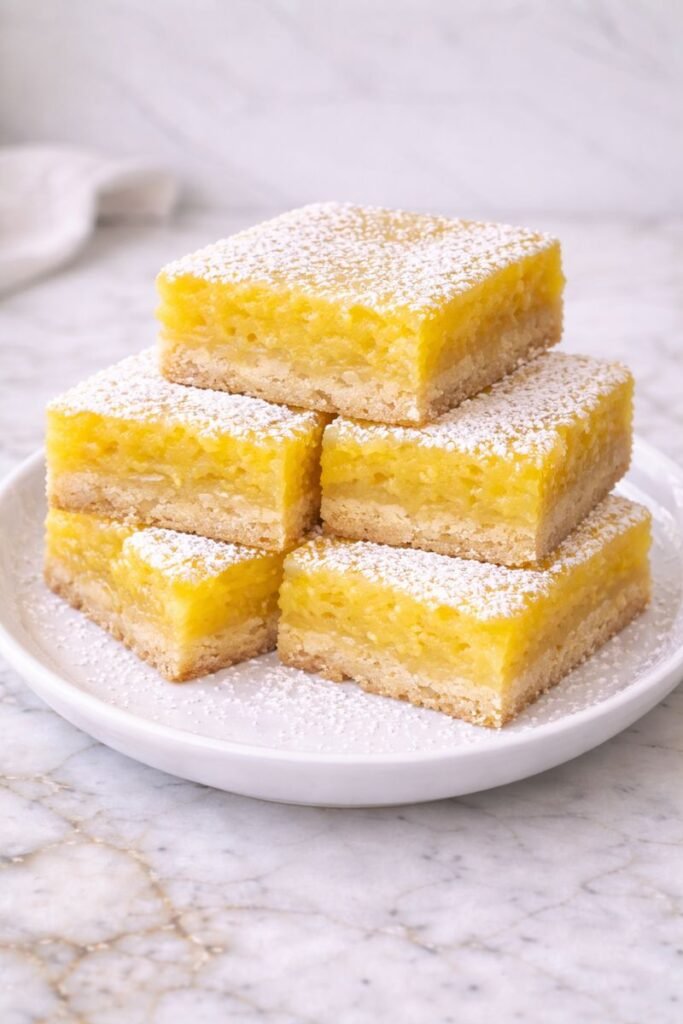
This Chewy Dessert Bars Recipe delivers a soft, dense texture with just the right amount of chew. The edges bake up slightly golden while the center stays tender and rich. Every bite feels satisfying without being heavy.
The recipe is straightforward and beginner-friendly. It uses basic pantry ingredients and simple mixing steps, making it easy to pull together anytime. You don’t need special tools or baking experience to get great results.
Families love these bars because they are easy to customize and easy to eat. Kids enjoy the chewy texture, and adults appreciate how balanced the sweetness is. They work well for snacks, desserts, or casual gatherings.
Serves: 2 people
This recipe makes a small batch of dessert bars that serves two people generously. It’s perfect for a cozy treat without lots of leftovers. The recipe can easily be doubled for a larger pan or group.
Ingredients You’ll Need
Bar Batter
- 1/2 cup unsalted butter, melted and slightly cooled
- 1/2 cup brown sugar
- 1/4 cup granulated sugar
- 1 large egg, room temperature
- 1 teaspoon vanilla extract
- 1 cup all-purpose flour
- 1/2 teaspoon baking powder
- 1/4 teaspoon salt
Optional Mix-Ins
- 1/2 cup chocolate chips
- 1/4 cup chopped nuts
- 1/4 cup sprinkles
Pro Tips
Use melted butter that has cooled slightly before mixing. Butter that is too hot can affect the texture of the bars. Slightly cooled butter blends more smoothly with the sugars.
Brown sugar is key for chewiness. It adds moisture and depth of flavor that keeps the bars soft. Using more brown sugar than white sugar helps prevent dryness.
Do not overmix the batter once the flour is added. Overmixing can create a tougher texture. Stir just until everything is combined.
Line the pan with parchment paper for easy removal. This makes slicing cleaner and serving easier. It also helps prevent sticking.
Slightly underbake the bars for the chewiest center. They will continue to set as they cool. Removing them at the right time keeps them soft.
Tools You’ll Need
- Mixing bowls
- Whisk or wooden spoon
- Measuring cups and spoons
- Rubber spatula
- Small square baking pan
- Parchment paper
- Cooling rack
Substitutions and Variations
You can replace the chocolate chips with white chocolate or butterscotch chips. This changes the flavor while keeping the same chewy texture. Choose what you enjoy most.
For a richer flavor, substitute half of the butter with melted coconut oil. This adds a subtle sweetness and keeps the bars moist. Use refined coconut oil if you prefer a neutral taste.
If you want a slightly firmer bar, reduce the baking powder slightly. This creates a denser texture. Small adjustments can change the bite.
To make these bars dairy-free, use plant-based butter. The texture remains chewy and soft. Choose a baking-friendly alternative.
For a festive version, fold in sprinkles at the end. Add them gently to avoid color bleeding. This makes the bars especially fun for celebrations.
Make Ahead Tips
Chewy dessert bars are a great make-ahead treat because their texture actually improves after resting. You can bake the bars one day in advance and store them tightly covered at room temperature. This allows the flavors to deepen and the bars to firm up slightly while staying soft.
If you prefer to prep further ahead, the baked bars can be refrigerated for up to three days. Bring them to room temperature before serving for the best chew and flavor. Cold bars tend to feel firmer.
The batter itself can also be mixed a few hours ahead of time. Keep it covered in the refrigerator and allow it to sit at room temperature for about 10 minutes before baking. This helps ensure even baking.
Instructions
Step 1: Prepare the Pan and Oven
Preheat the oven to 350°F. Line a small square baking pan with parchment paper, leaving an overhang for easy removal. Lightly grease the parchment if needed.
Set the prepared pan aside. Proper pan preparation ensures clean edges and easy slicing. This step saves time later.
Step 2: Combine Butter and Sugars
In a mixing bowl, whisk together the melted butter, brown sugar, and granulated sugar. Mix until smooth and glossy. The mixture should look thick and well combined.
This step helps dissolve the sugars slightly. It also contributes to the chewy texture. Take a moment to mix thoroughly.
Step 3: Add Egg and Vanilla
Add the egg and vanilla extract to the sugar mixture. Whisk until fully incorporated and smooth. Scrape down the sides of the bowl as needed.
The batter should look cohesive and shiny. Even mixing here helps the bars bake evenly. Avoid vigorous whisking.
Step 4: Mix the Dry Ingredients
In a separate bowl, whisk together the flour, baking powder, and salt. Whisking distributes the leavening evenly. This prevents uneven texture.
Add the dry ingredients to the wet ingredients. Stir gently until just combined. Do not overmix.
Step 5: Fold in Mix-Ins
If using chocolate chips, nuts, or sprinkles, fold them in gently. Distribute them evenly throughout the batter. Keep additions balanced.
Overloading the batter can affect structure. Gentle folding keeps the texture tender. This step is optional but fun.
Step 6: Transfer Batter to Pan
Pour the batter into the prepared pan. Use a spatula to spread it evenly into the corners. The batter will be thick.
Tap the pan lightly on the counter to release air bubbles. This helps with even baking. Smooth the top if needed.
Step 7: Bake the Bars
Place the pan in the preheated oven. Bake for 20 to 25 minutes until the edges are set and lightly golden. The center should still look slightly soft.
A toothpick inserted should come out with moist crumbs. Avoid overbaking for the best chew. Remove promptly when done.
Step 8: Cool Completely
Remove the pan from the oven and place it on a cooling rack. Let the bars cool completely in the pan. Cooling allows them to set.
Do not cut while warm. Warm bars can crumble and lose structure. Cooling ensures clean slices.
Serving Suggestions
Serve chewy dessert bars at room temperature for the best texture. The centers stay soft and satisfying. This highlights their chewy bite.
These bars pair well with a glass of milk or a warm drink. Coffee or tea balances the sweetness nicely. They make an easy afternoon treat.
For gatherings, cut the bars into small squares. Their richness makes smaller portions perfect. They are easy to serve and share.
Chewy dessert bars also work well as a simple dessert after dinner. Their familiar flavor feels comforting. They fit naturally into any occasion.
Leftovers and Storage
Leftover chewy dessert bars should be stored in an airtight container to keep their soft texture. They can be kept at room temperature for up to three days without drying out. Keeping them sealed helps preserve their chewiness.
If you prefer longer storage, the bars can be refrigerated for up to five days. Let them come to room temperature before serving for the best texture. Cold bars tend to feel firmer but still taste great.
Chewy dessert bars also freeze very well. Wrap individual bars tightly in plastic wrap and place them in a freezer-safe container. Thaw at room temperature when ready to enjoy.
Nutrition and Benefits
Chewy dessert bars are a rich treat meant to be enjoyed in moderation. They provide carbohydrates for energy and fats that help make each serving satisfying. Because they are dense and flavorful, smaller portions often feel just right.
Baking dessert bars at home allows you to control the ingredients. You can adjust sugar levels or mix-ins to suit your preferences. This makes homemade bars more intentional than store-bought options.
There is also comfort in simple baked desserts. Making and sharing bars creates moments of connection. That enjoyment is part of what makes this recipe special.
Recipe FAQ
Why are my dessert bars dry?
Dry bars are often caused by overbaking or too much flour. Measuring carefully and removing the bars as soon as the edges are set helps keep them chewy. Slight underbaking is better than overbaking.
How do I keep the bars chewy?
Using brown sugar and melted butter helps maintain chewiness. Storing the bars in an airtight container also helps. Avoid overmixing the batter.
Can I add different mix-ins?
Yes, you can customize the bars easily. Chocolate chips, nuts, dried fruit, or sprinkles all work well. Keep mix-ins balanced so the bars hold together.
Can I double this recipe?
Yes, this recipe doubles easily. Use a larger pan and adjust baking time slightly. Check the center for doneness before removing.
Why did my bars sink in the middle?
Slight sinking can happen if the bars are underbaked. They usually firm up as they cool. A slightly soft center is normal for chewy bars.
Are these bars kid-friendly?
Yes, these bars are very kid-friendly. The texture is soft and easy to eat. You can customize mix-ins based on preferences.
Can I make these bars gluten-free?
Yes, you can use a gluten-free all-purpose flour blend. Make sure it is designed for baking. The texture may vary slightly but will still be chewy.
A Simple Treat That Always Works
Chewy dessert bars are the kind of recipe you can rely on anytime. Their soft centers, rich flavor, and easy preparation make them a go-to favorite.
Whether enjoyed fresh or saved for later, they are always comforting and satisfying.